The fast fashion industry creates a huge amount of waste and pollution – in fact it’s the second largest polluting industry on the planet. As I wrote in my previous post, we’re thinking more and more about sustainability and how we can avoid waste in our day to day lives. This visible mending series celebrates the beauty of rejuvenating our existing clothes – breathing life into old makes or garments, and celebrating their journey with us.
I recently picked up these second hand men’s jeans from a charity shop – they’ve got a few holes around the knees, but the denim is a lovely deep indigo and a good quality fabric. I’m planning on refurbishing them and using the denim to make myself a fun pair of patchwork jeans.
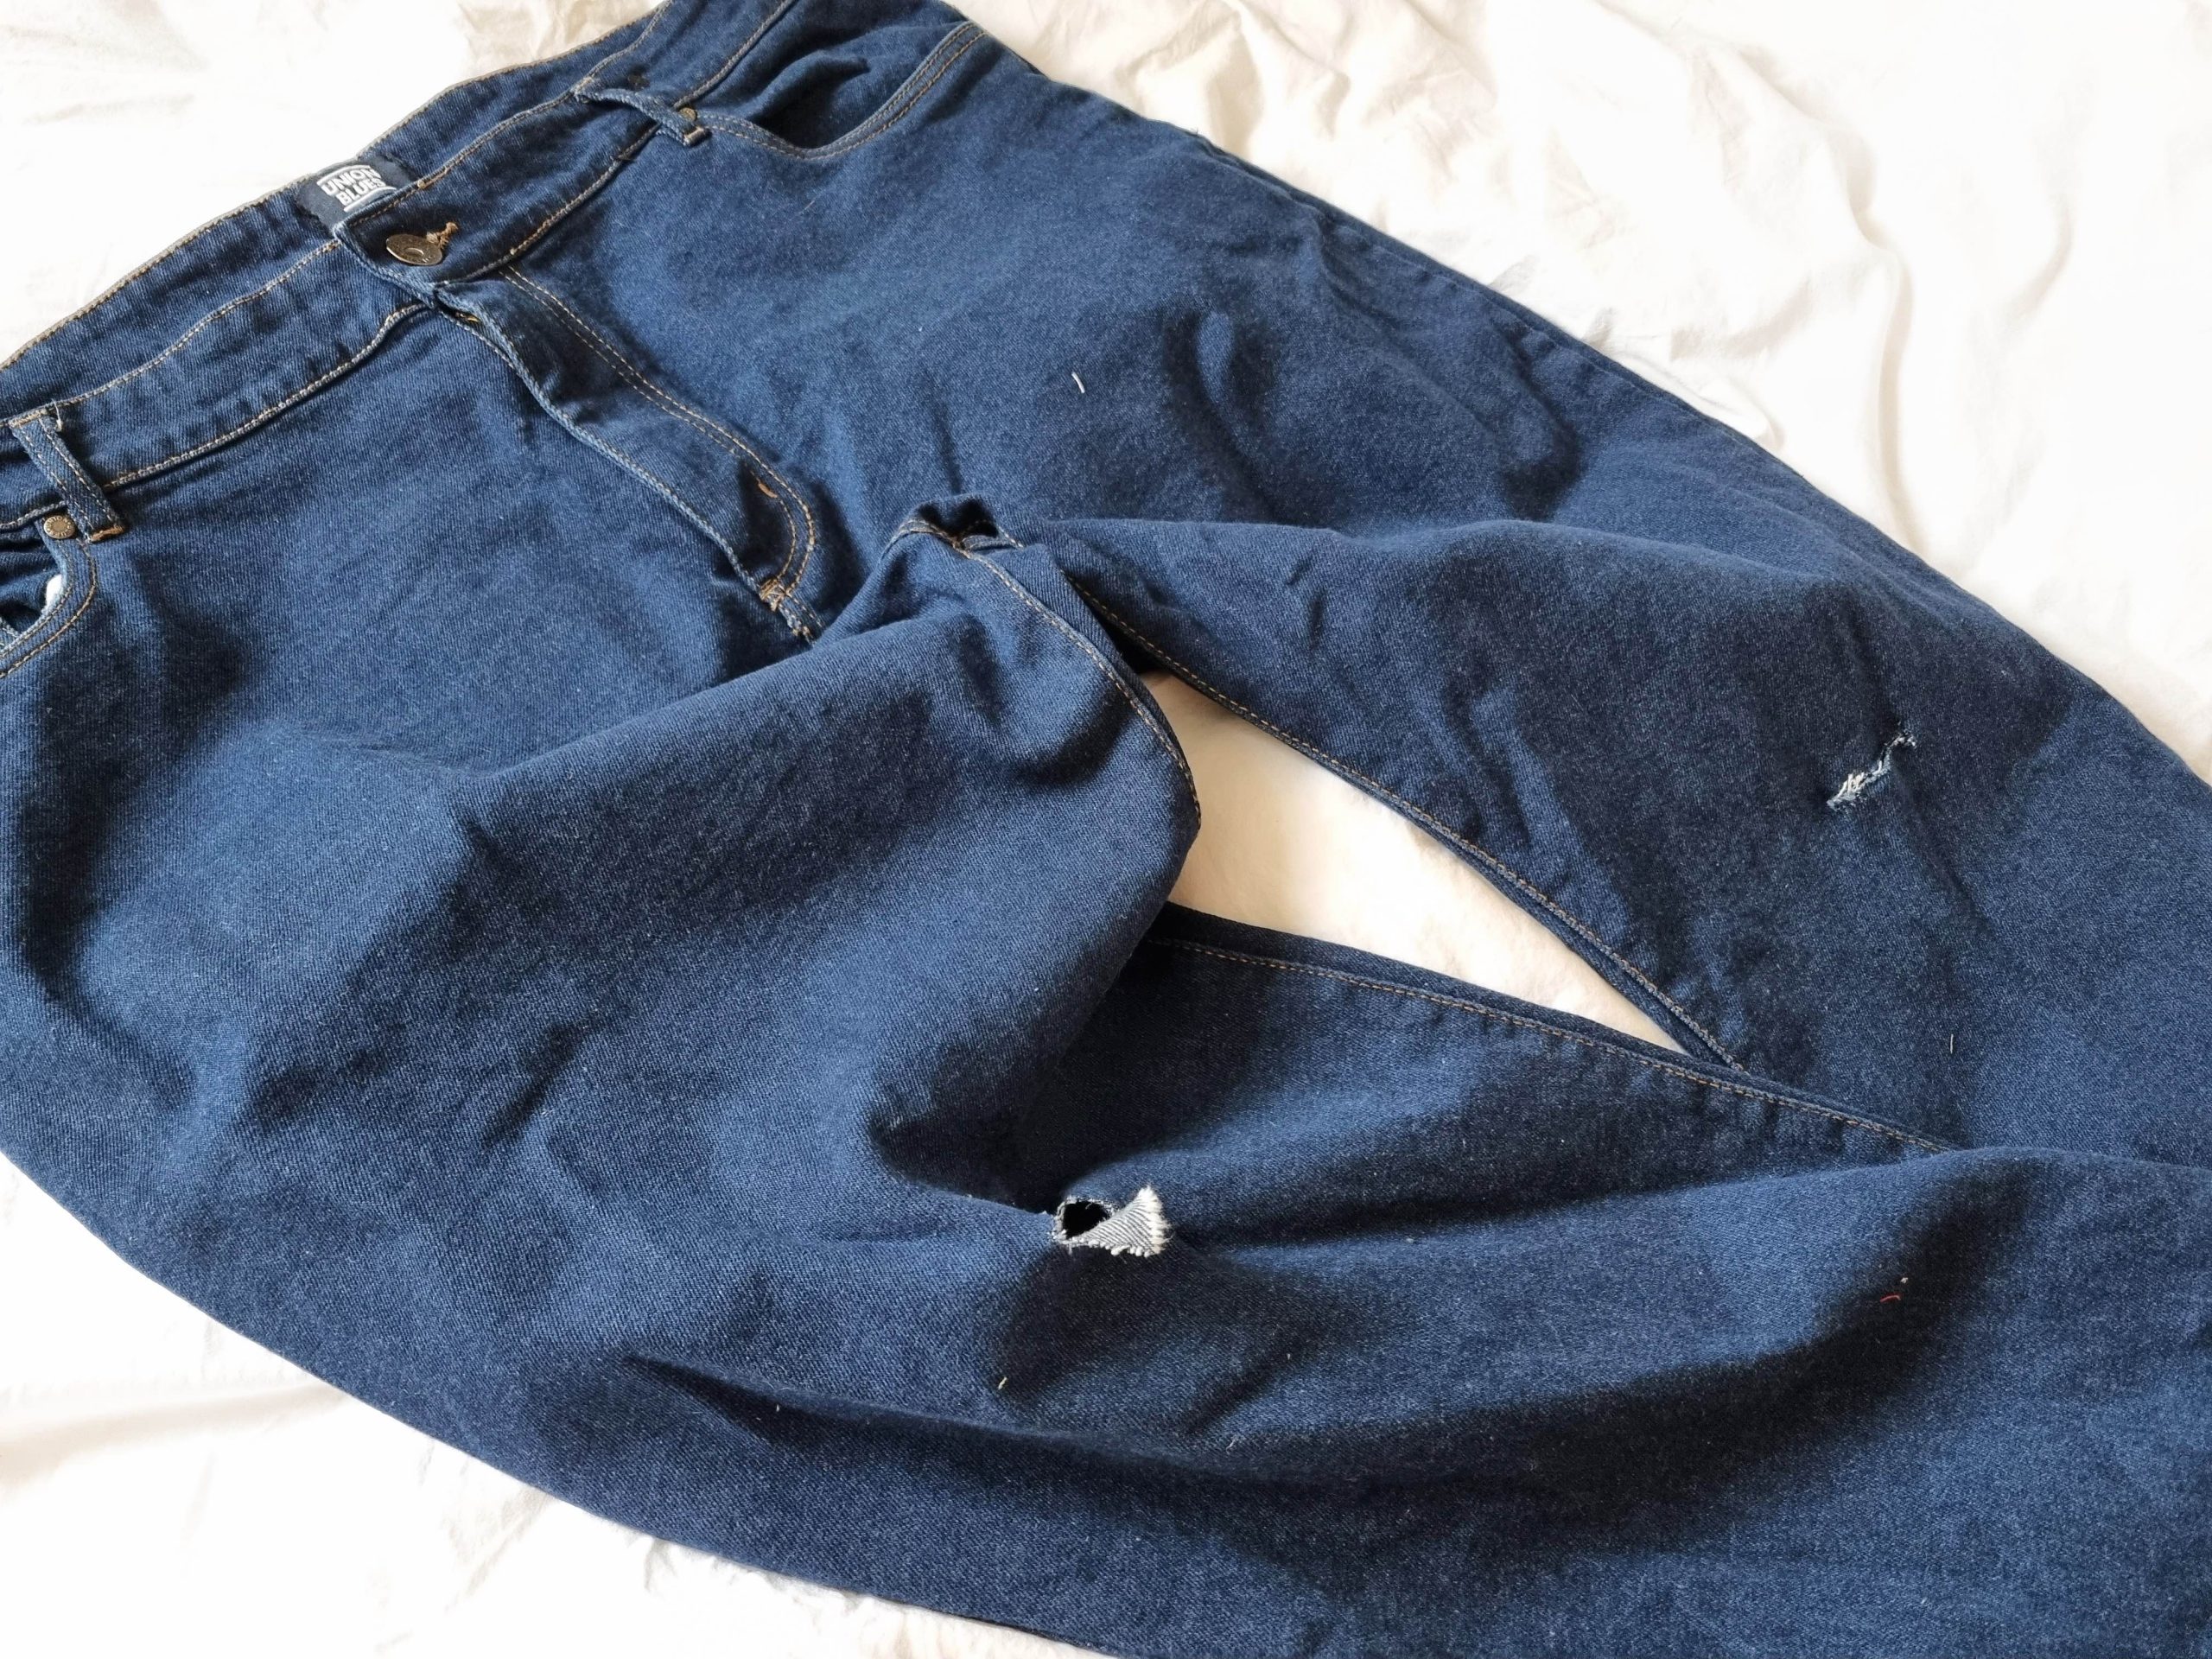
I’ll be using a mix of patchwork scraps and sashiko embroidery, as well as unpicking all the seams and adjusting the pattern to fit me. This is my first step in the remake: patching up those holes!

You’ll need
- Something to mend
- Patchwork fabric scraps
- Needle and thread
- Scissors or rotary cutter
Things that’ll help
What type of fabric you’ll need
You can be creative with how you patch your jeans – and how you do it will depend on whether it’s a small tear or a gaping hole.
Have a look at the bit you want to fix. If it’s a bigger hole, it might be better to use a stronger fabric, like denim or cotton twill. If you’re fixing a smaller area you could use any type of scrap. Or you could use a mix of textures!
If you don’t have any heavier fabric, you could bond your patch with some fusible interfacing.
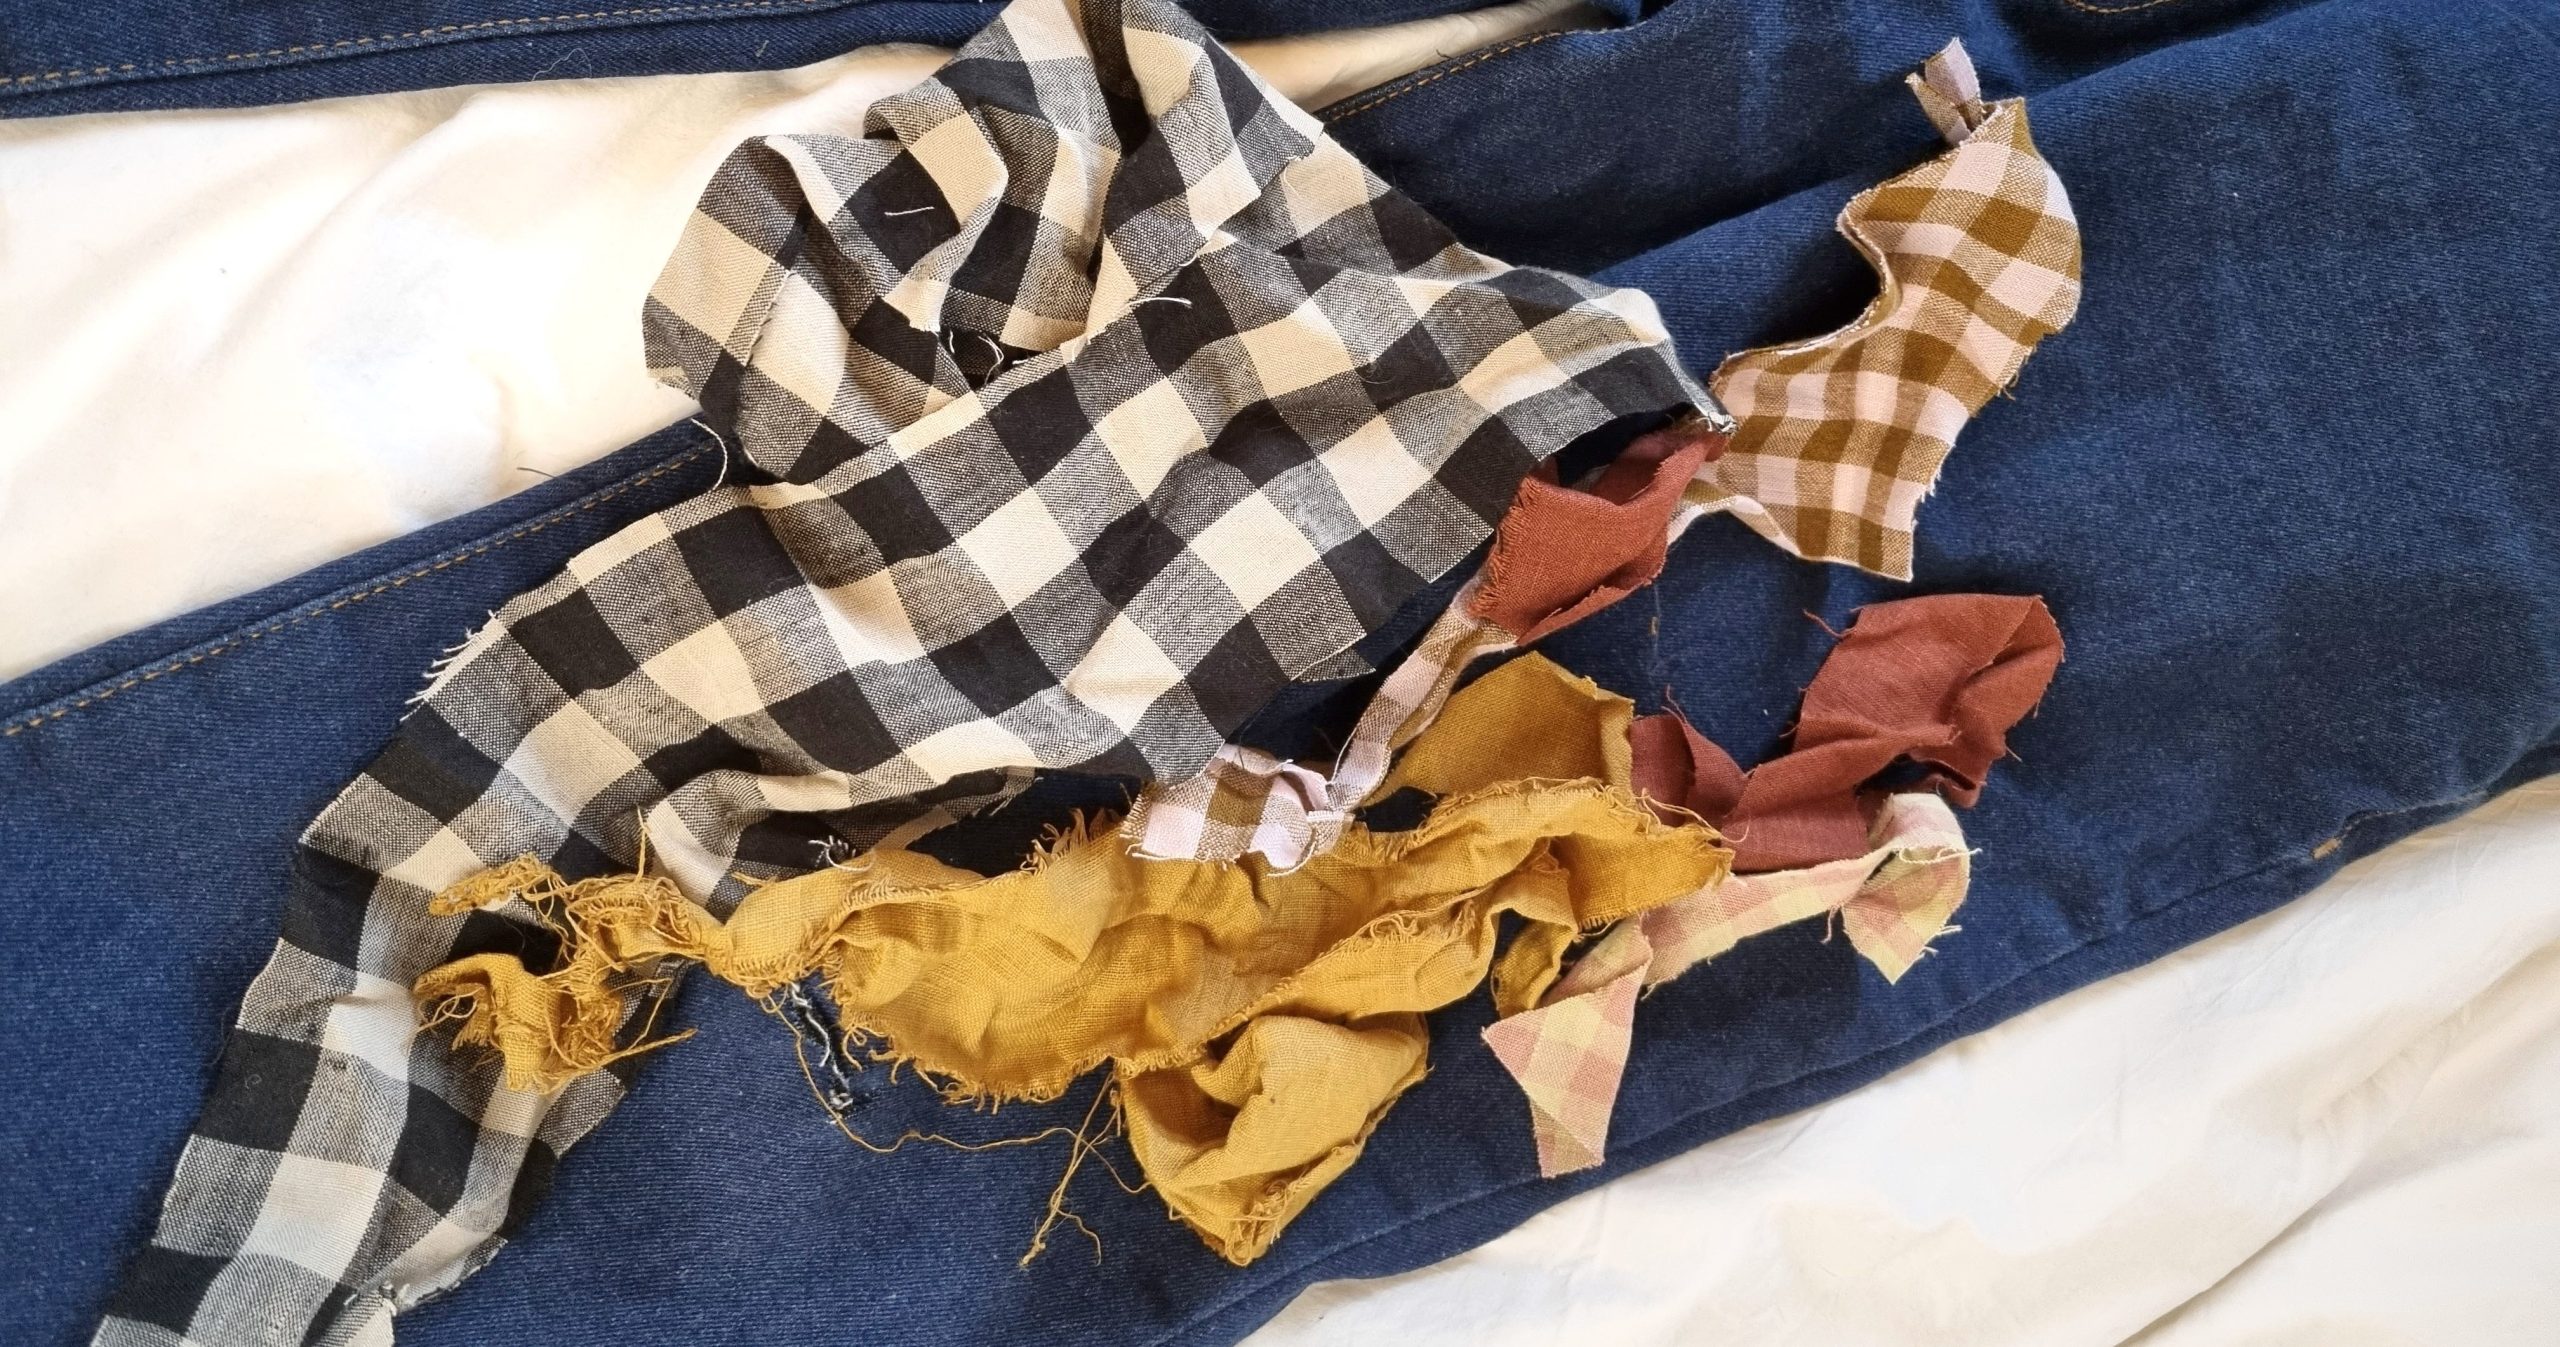
Have a play with what colours and textures you like the look of. I’ve chosen a mix of naturally dyed and bought linen scraps.
Designing your patch
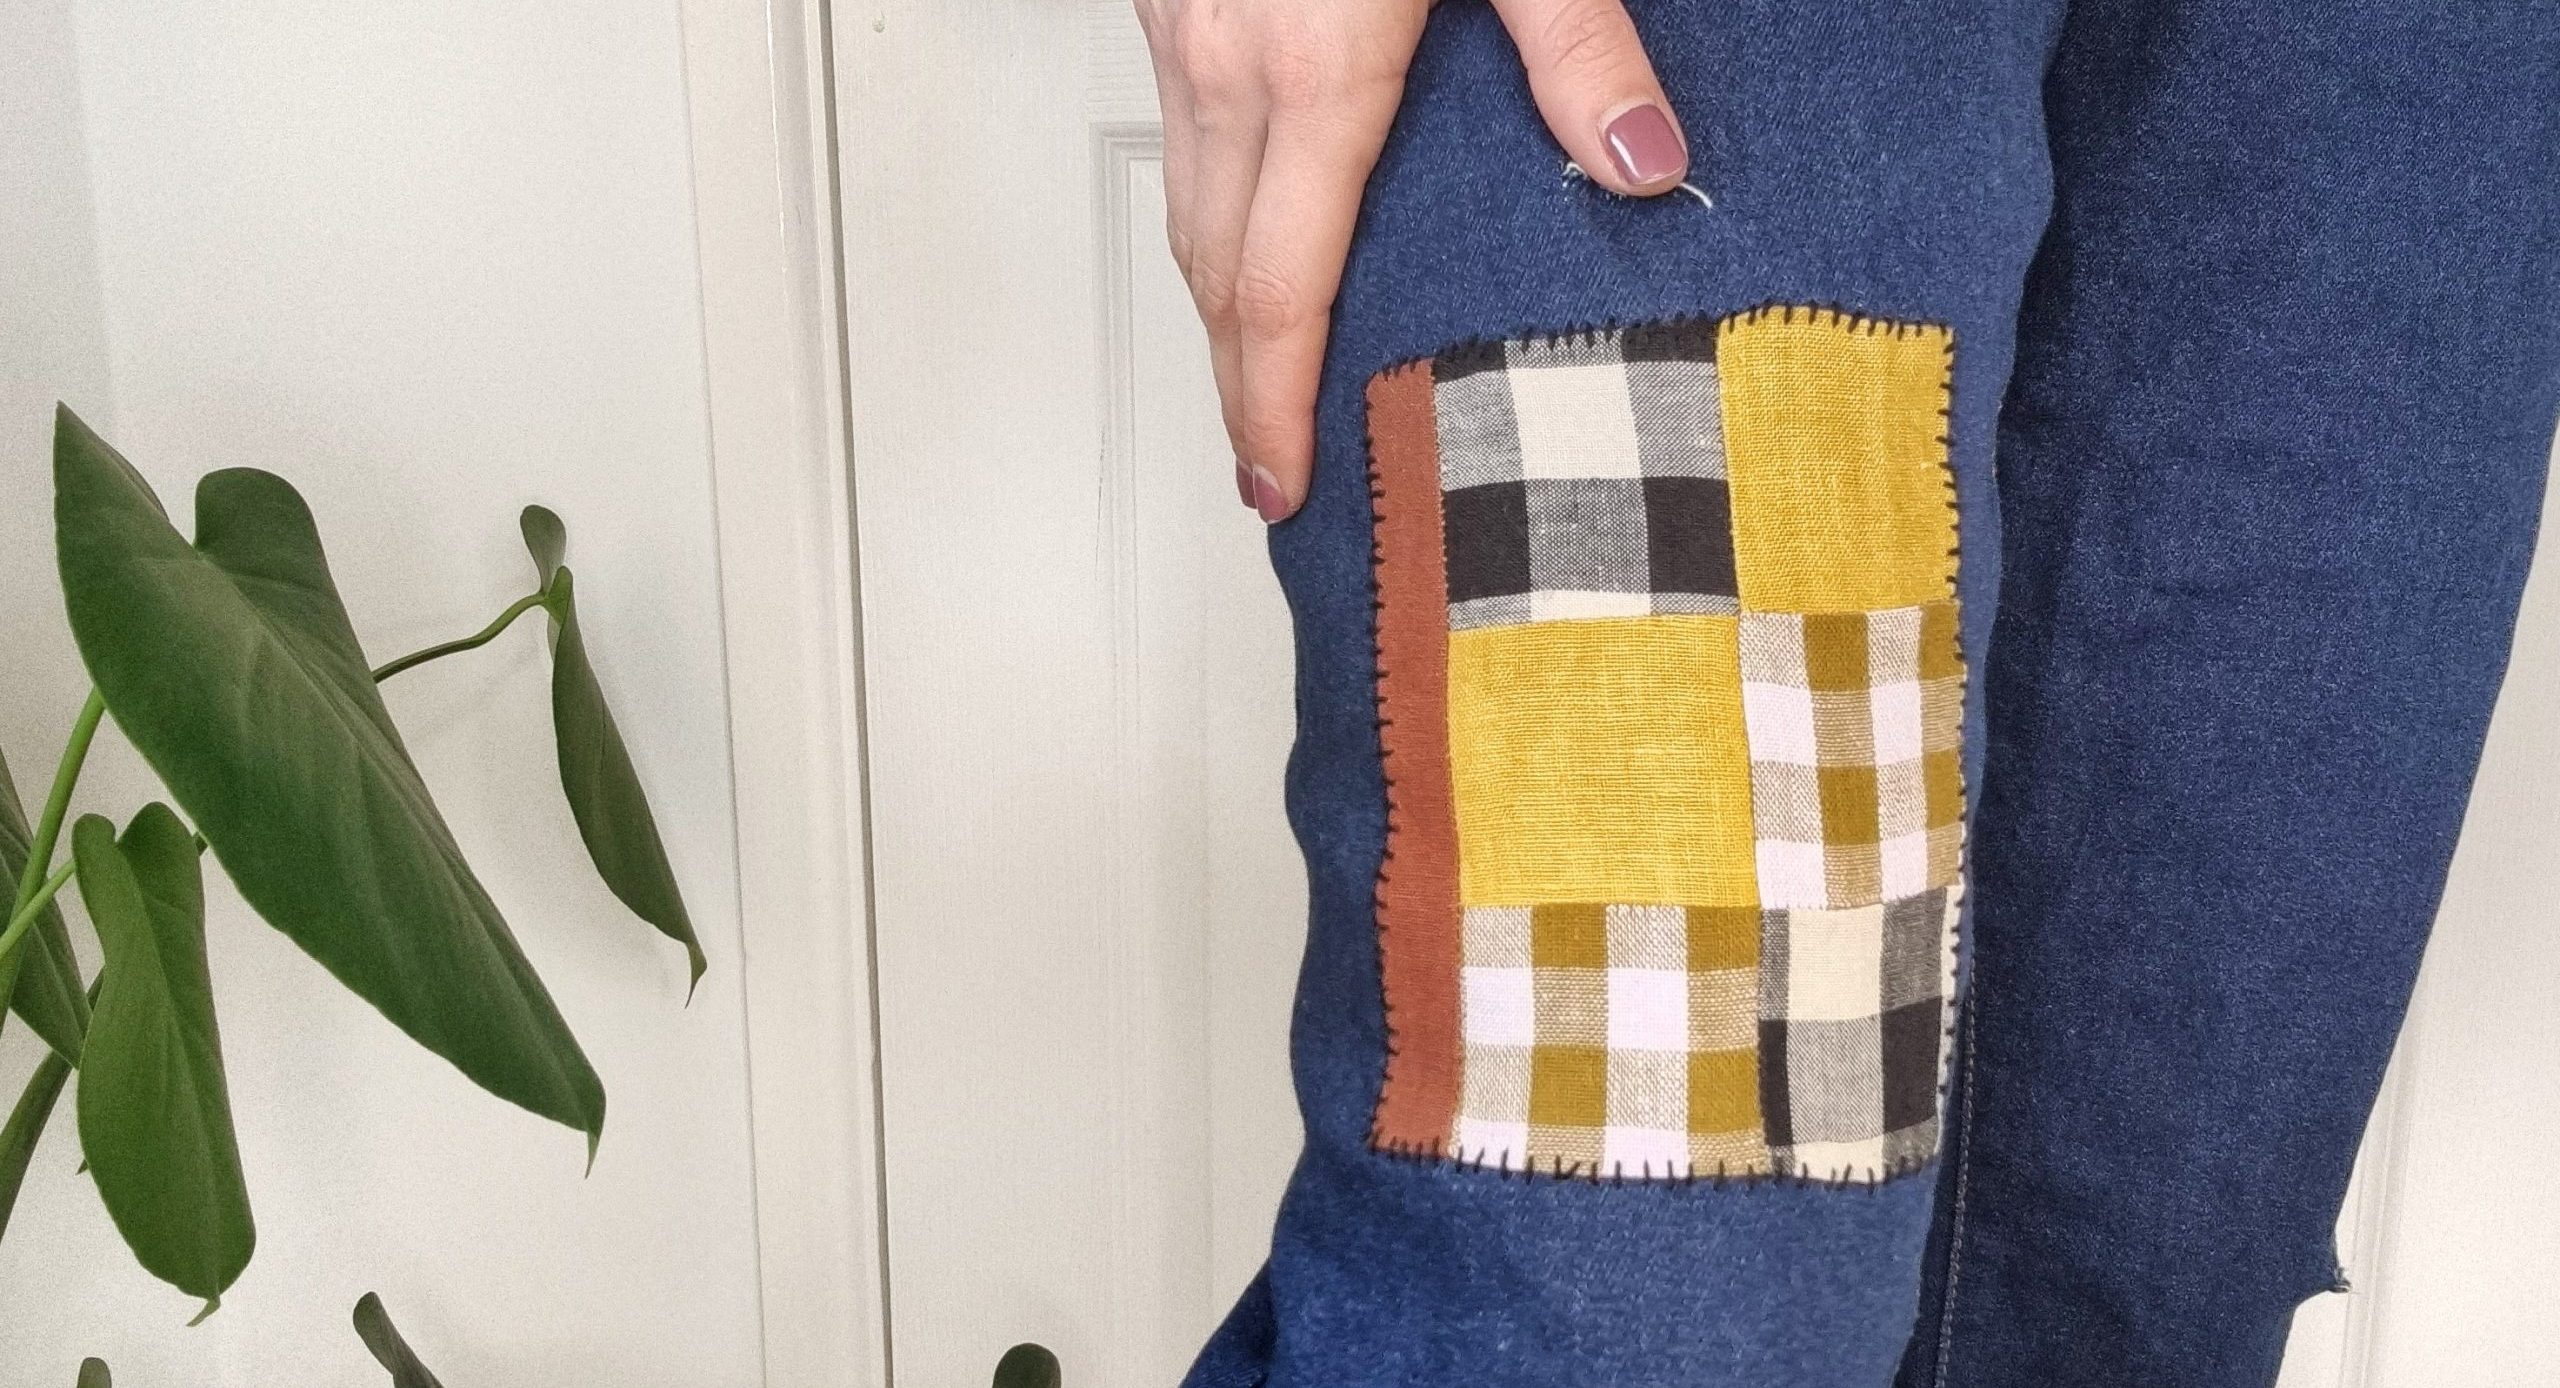
I’ve made a quilted section to lay over the whole area – I want my patchwork to look deliberate, and great in itself, rather than creating an less obvious repair.
Make sure the patch extends past the hole by about a cm on all sides. The fibres around the damage are likely to be weak, and you’ll want to make sure you’re stitching onto intact, strong fabric.

Here’s how I made my quilted patch
Some of you might be expert quilters and can skip this section! I’m going to run through how I cut and joined my scraps to make the patches for my jeans.
- Decide what shape you want you want your finished patch to be, and have a look through your scraps to see what’ll work. You can join simple squares, or get as creative as you like with shapes. Remember to include a 1/4″ seam allowance for all your pieces.

- Cut your pieces to shape using a rotary cutter, ruler and cutting mat if you have. You can just use fabric scissors, but these basic tools really help with accuracy (and generally make your life easier)!
- Press your pieces, and join your first squares together, laying one on top of another and sewing down one edge with a 1.4″ seam. It makes more sense to join long columns of them, so you only then need to sew the long middle seam once (see next step).

- Lay each side of the joined sections over each other , and sew down one side to make the middle join. It helps to pin to make sure you can match seams.

- You can keep adding more patches to get to the size you want. Just make sure to neaten them for a clean join, using your cutter and ruler.

- Press the seams of your patch flat.
Applying the patch
- Press the edges of your patch under by 1/4″ inch for a neat edge.

- Make sure your patch is big enough to go around the area you want to cover, and lay it over to see how it’ll look.
- I find it really helpful to slide a book into the jean leg, so there’s something to stitch onto in the next step (and to stop you stitching through to the second side of the leg).

- Pin in place, and start stitching around the edge!

You can use any strong thread (e.g. a hand-stitching or embroidery thread) to do this. I’m hand-stitching because it’s on the leg of a jean and it’d be too fiddly with a machine. If you’re repairing something flat, you could sew it on with a machine, and just use regular machine thread.
I’ve done a very basic edging stitch here, but you could also use whatever decorative edging stitch you like.
If your jean fabric is quite weak, you could also quilt over the top to secure the frayed edges, but my fibres are still quite tough and bonded with the fusible interfacing.
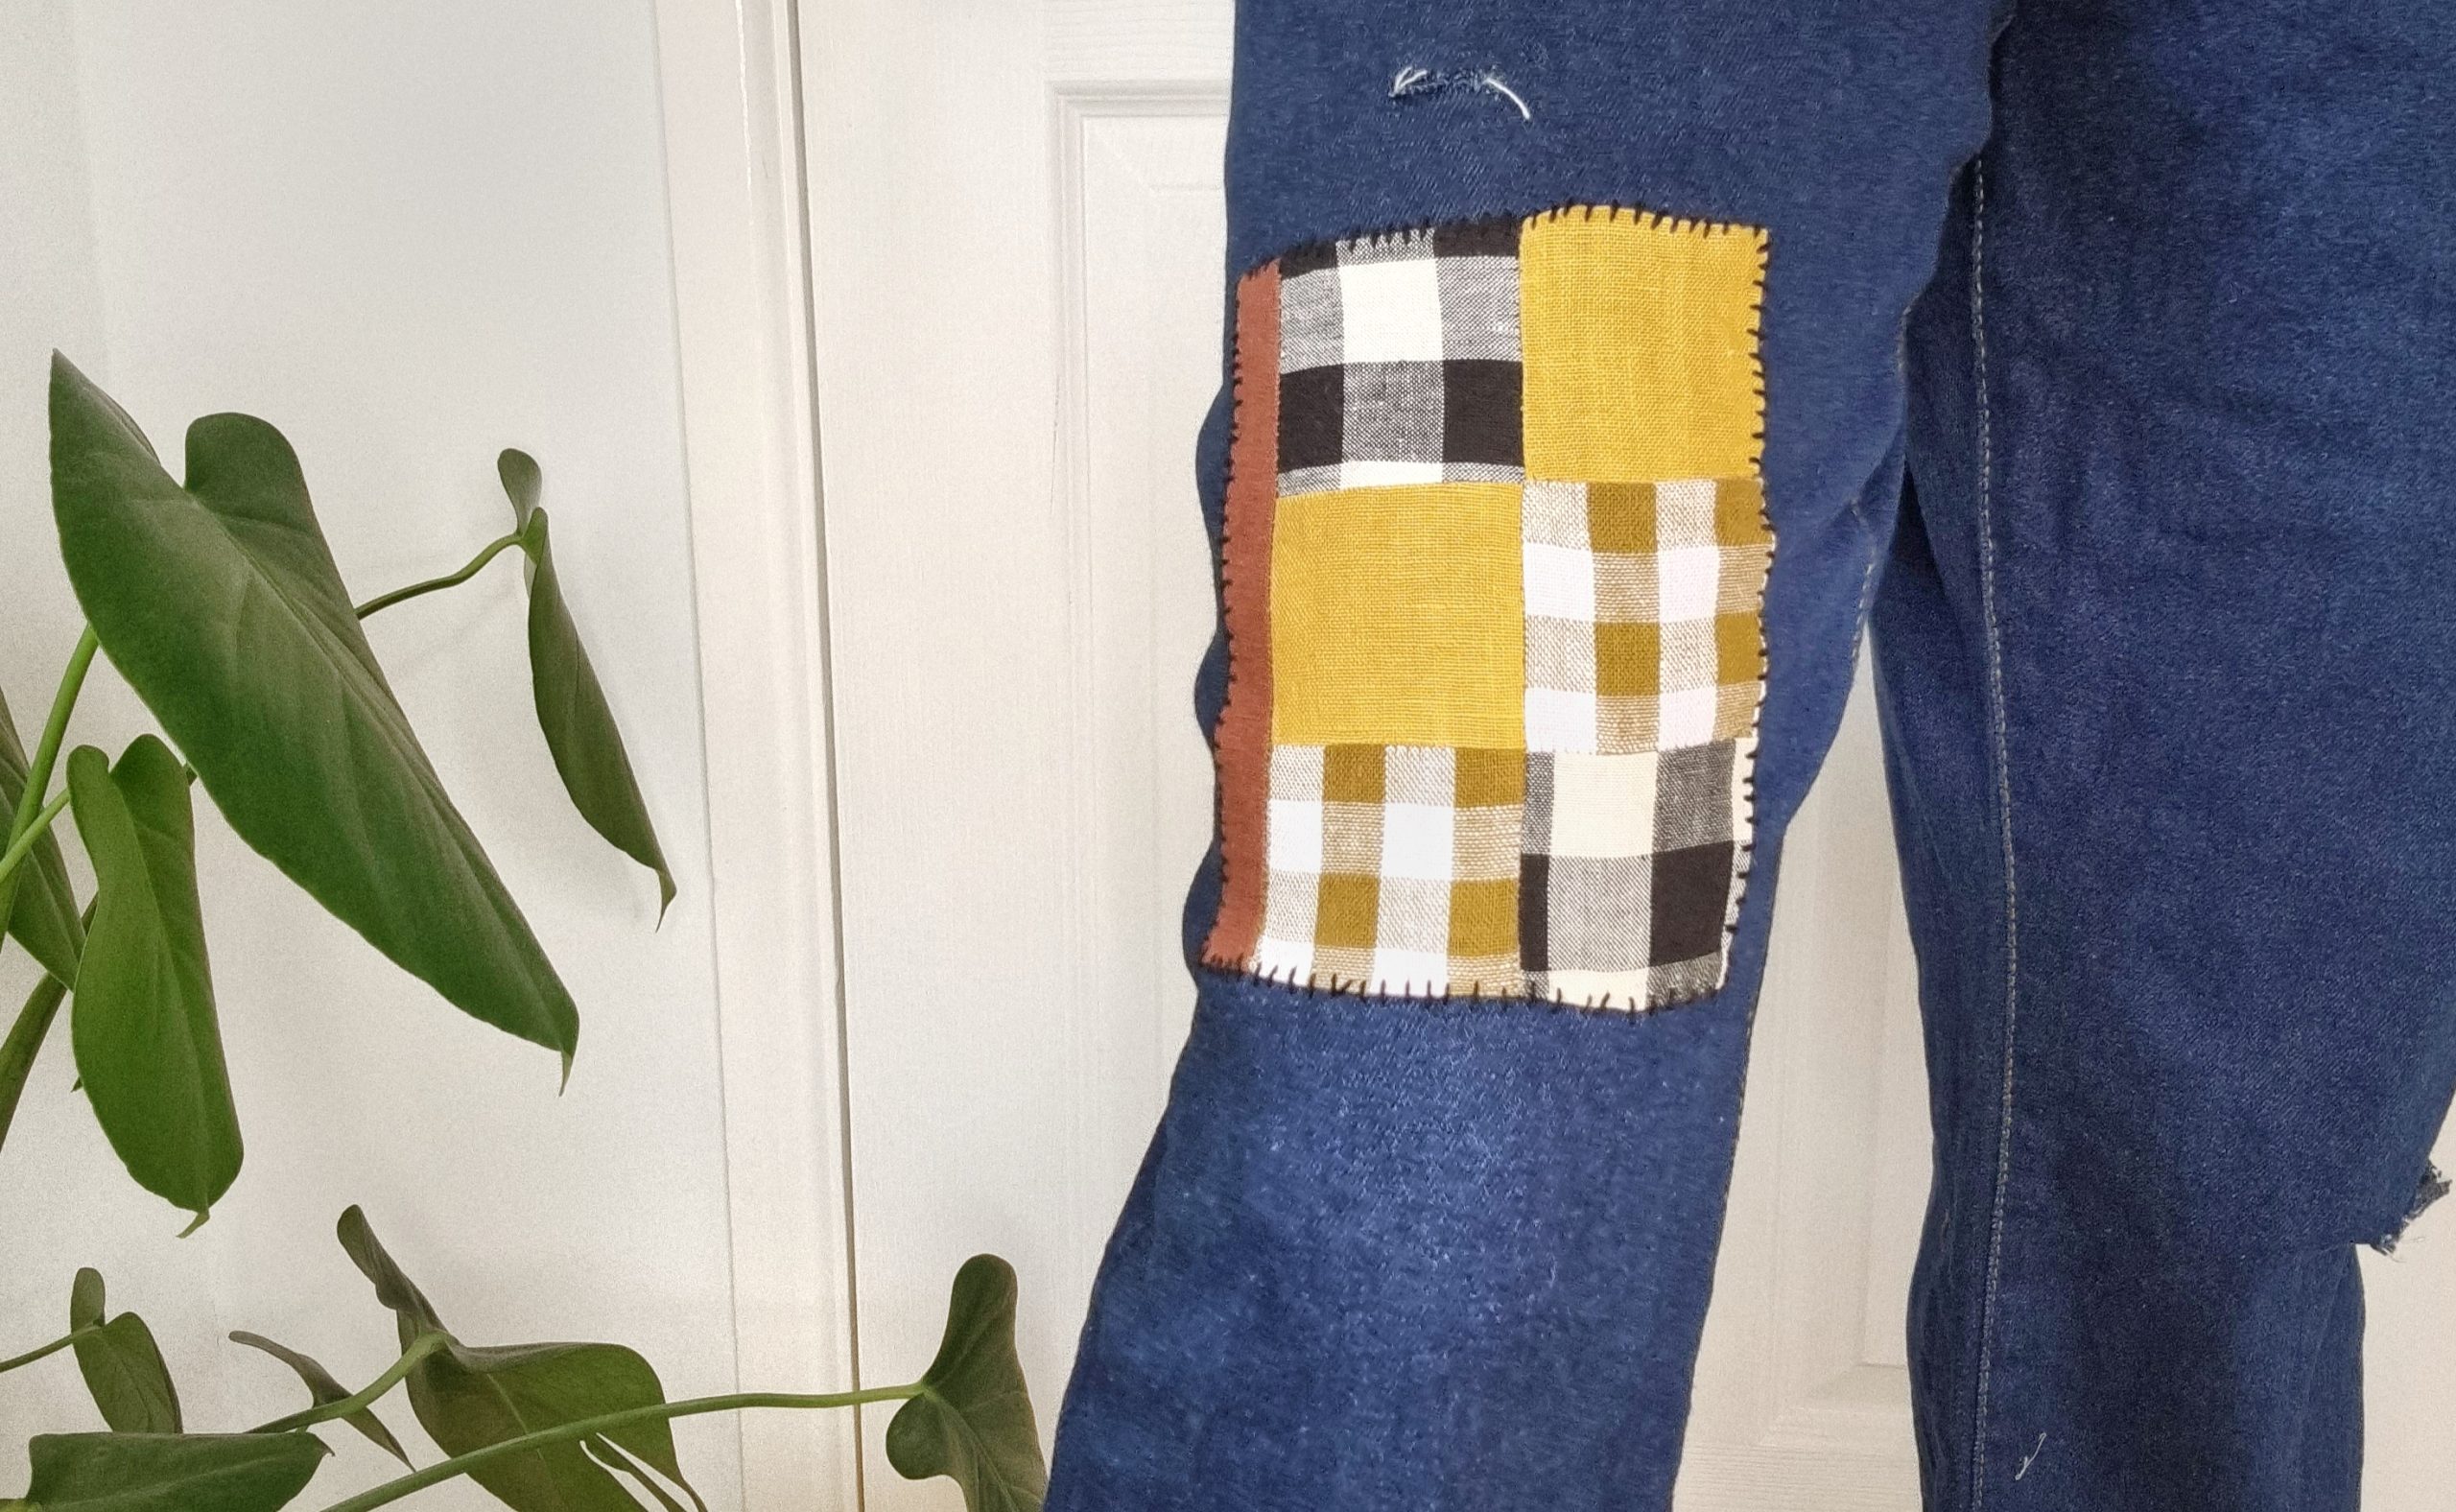
That’s it, you’re done!
You could add as many patches as you like for decoration. I’ll be adding a sashiko patch next week to cover up the second little hole above. I think the different textures and stitches will look really interesting!
Let us know how you get on!
Lorna


 We’re thrilled to announce that we’ve partnered with Tree Nation, the platform to reforest the world & fight climate change! Home to over 90 planting projects in 33 countries, Tree Nation is a non-profit organisation that helps people & companies offset their CO2 emissions.