Welcome back to our beginner series on quilting. We’ve covered how to make a classic ‘Ohio Star’ quilt block and how to attach wadding and lining. This next step explains how to bind the edges of your quilt, and how to get a neat mitred corner.
There are a few ways to bind the edges of a quilt, and many quilters will have their preferred method. This is the way I enjoy finishing them, as it leaves a neat and soft edge, and also works in a bit of hand-stitching. I’ve mentioned my love of hand-stitching before – I feel it works intention into your project, and gives you peaceful time to slowly finish your work.
What you’ll need
- A pre-quilted project
- Bias binding – you can buy some pre-made, or make you own with fabric. If you make your own, a bias binding maker really helps!
- Needle and thread
- Pins
- Sewing machine (if you’d like to machine stitch the first step)
William Gee has a good range of bias binding to match your projects.
Getting started
Before you get started, make sure you’ve finished the quilting step with your project, and tidy up the edges so the quilt top, wadding and base layer are all equal.
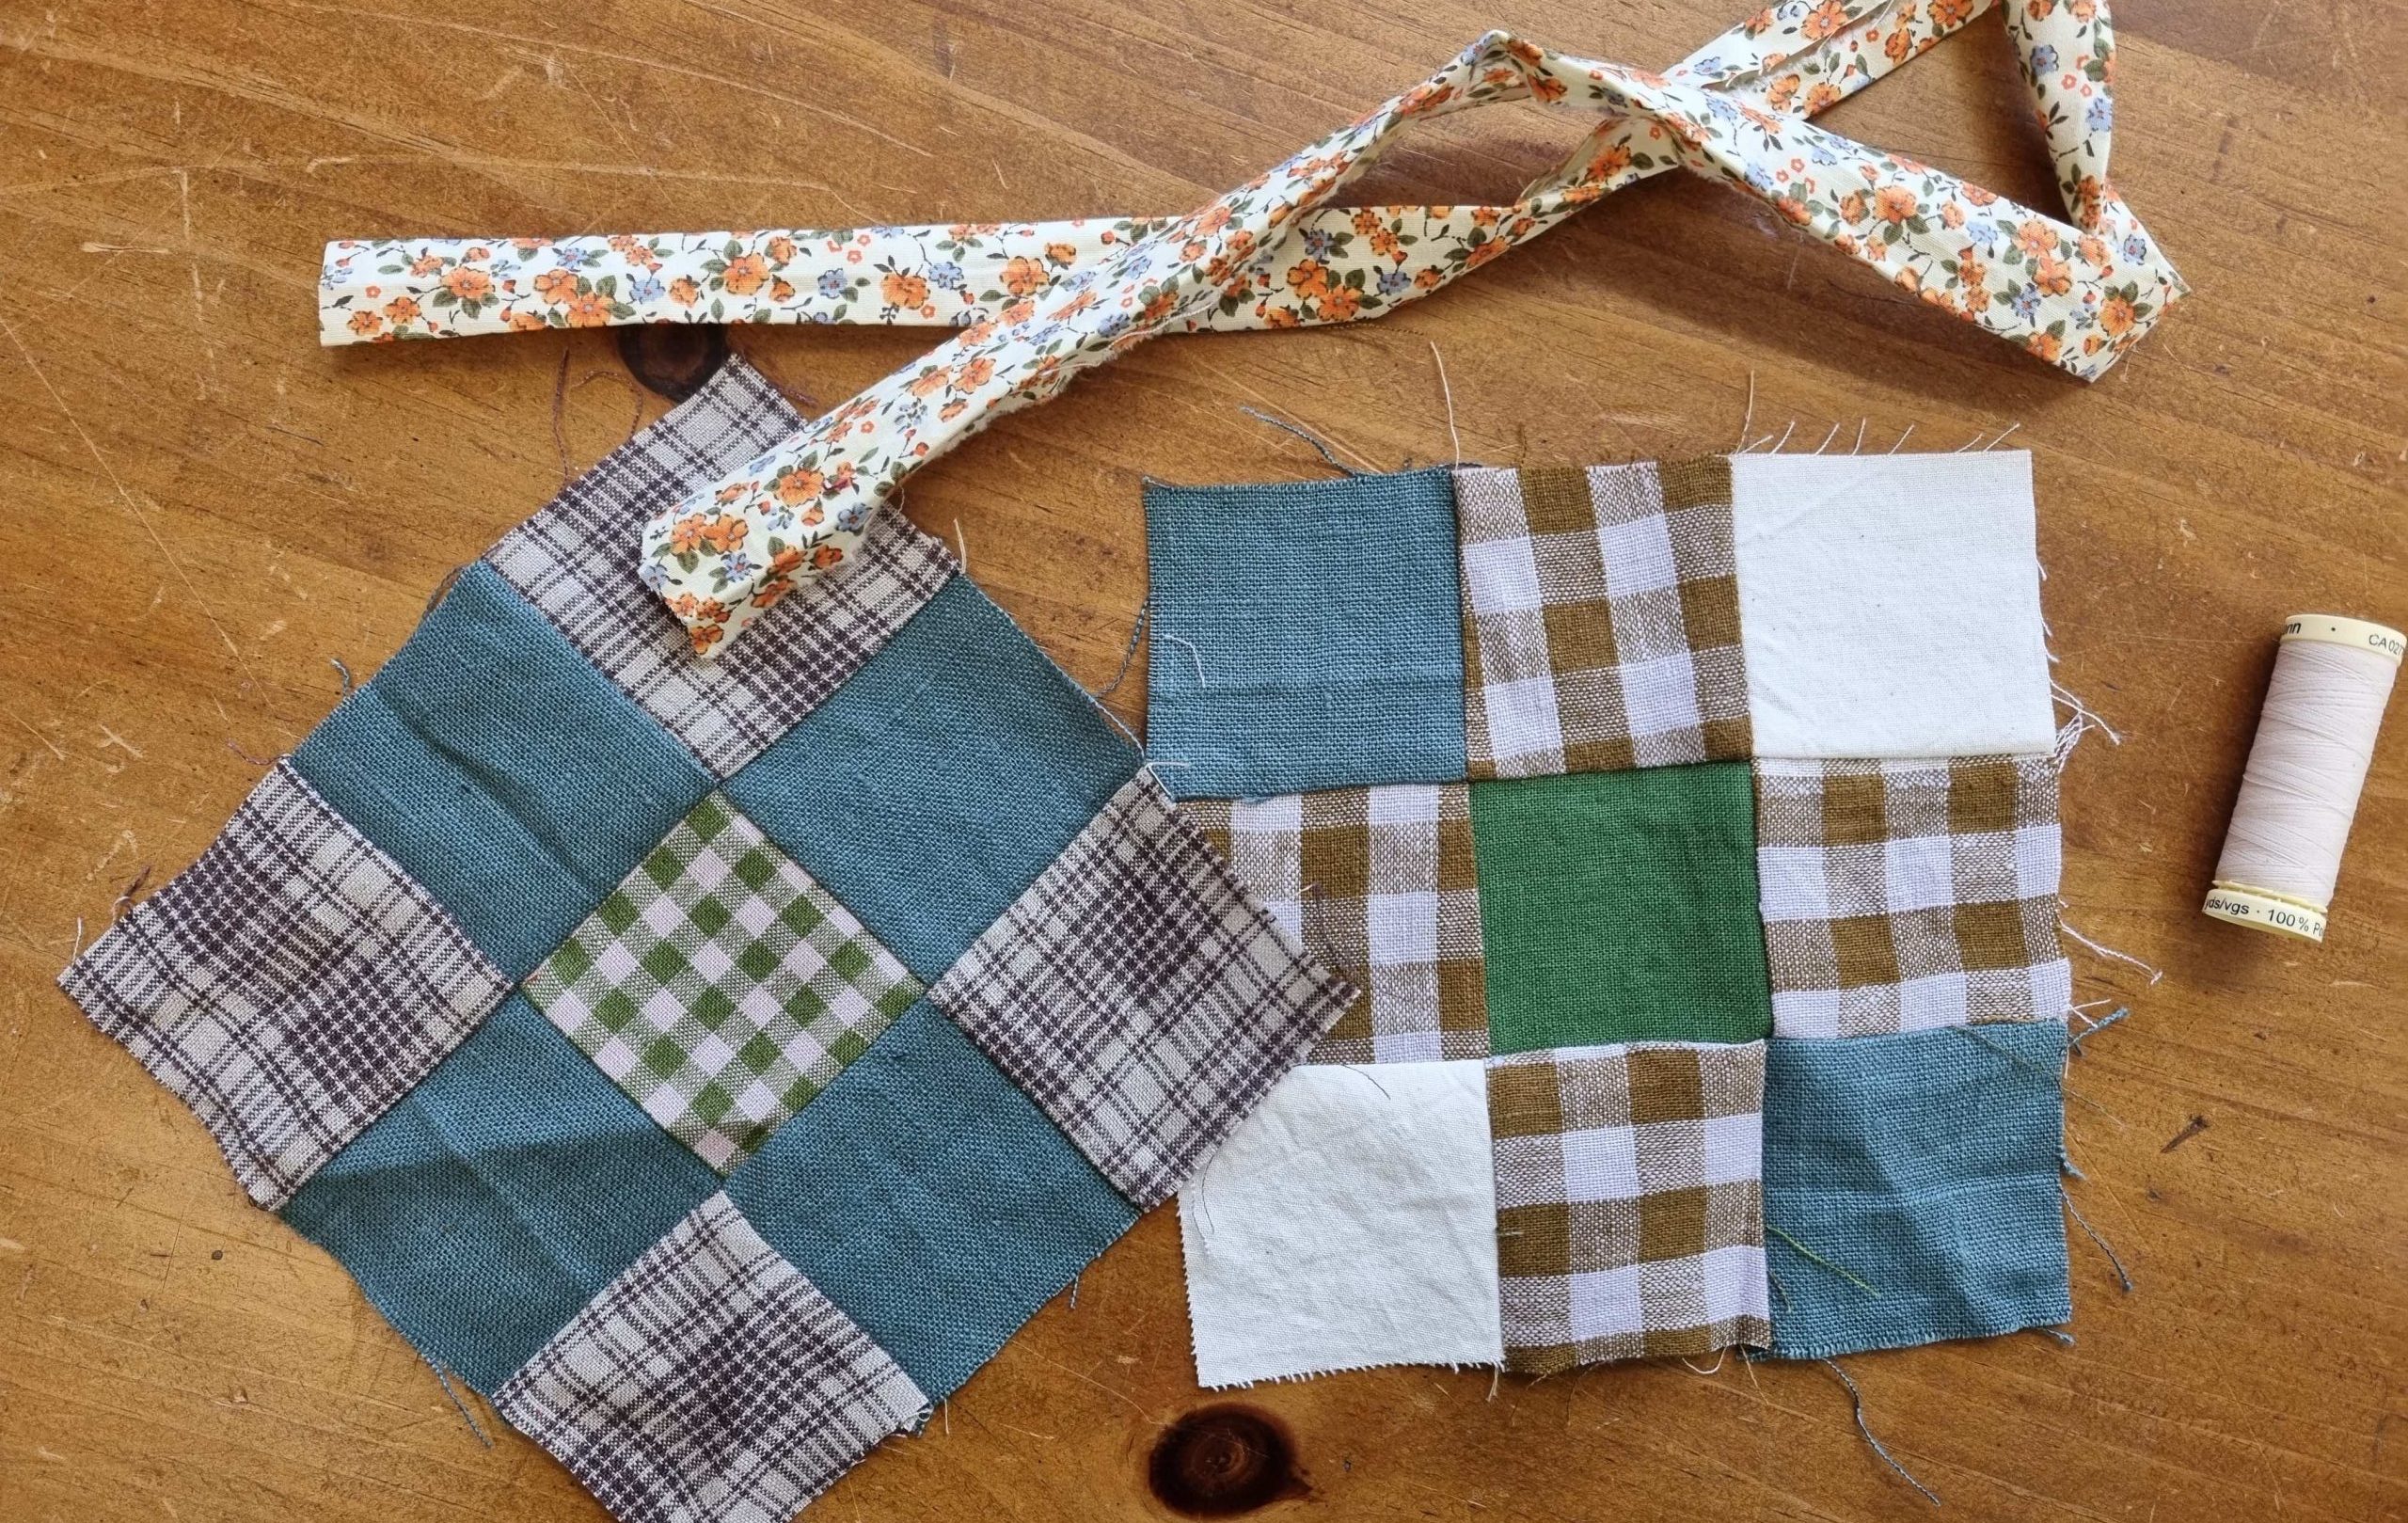
1. Prepare your binding
If you bought pre-made bias binding, it’ll be prepared and ready to cut to length and attach. It’ll have both of its long side raw edges pressed to meet underneath.
If you’re making your own, cut fabric which is 4-5cm wide and the length that you need to go around the edges of your quilt. Press both raw edges behind in to meet in the centre, wrong sides together.

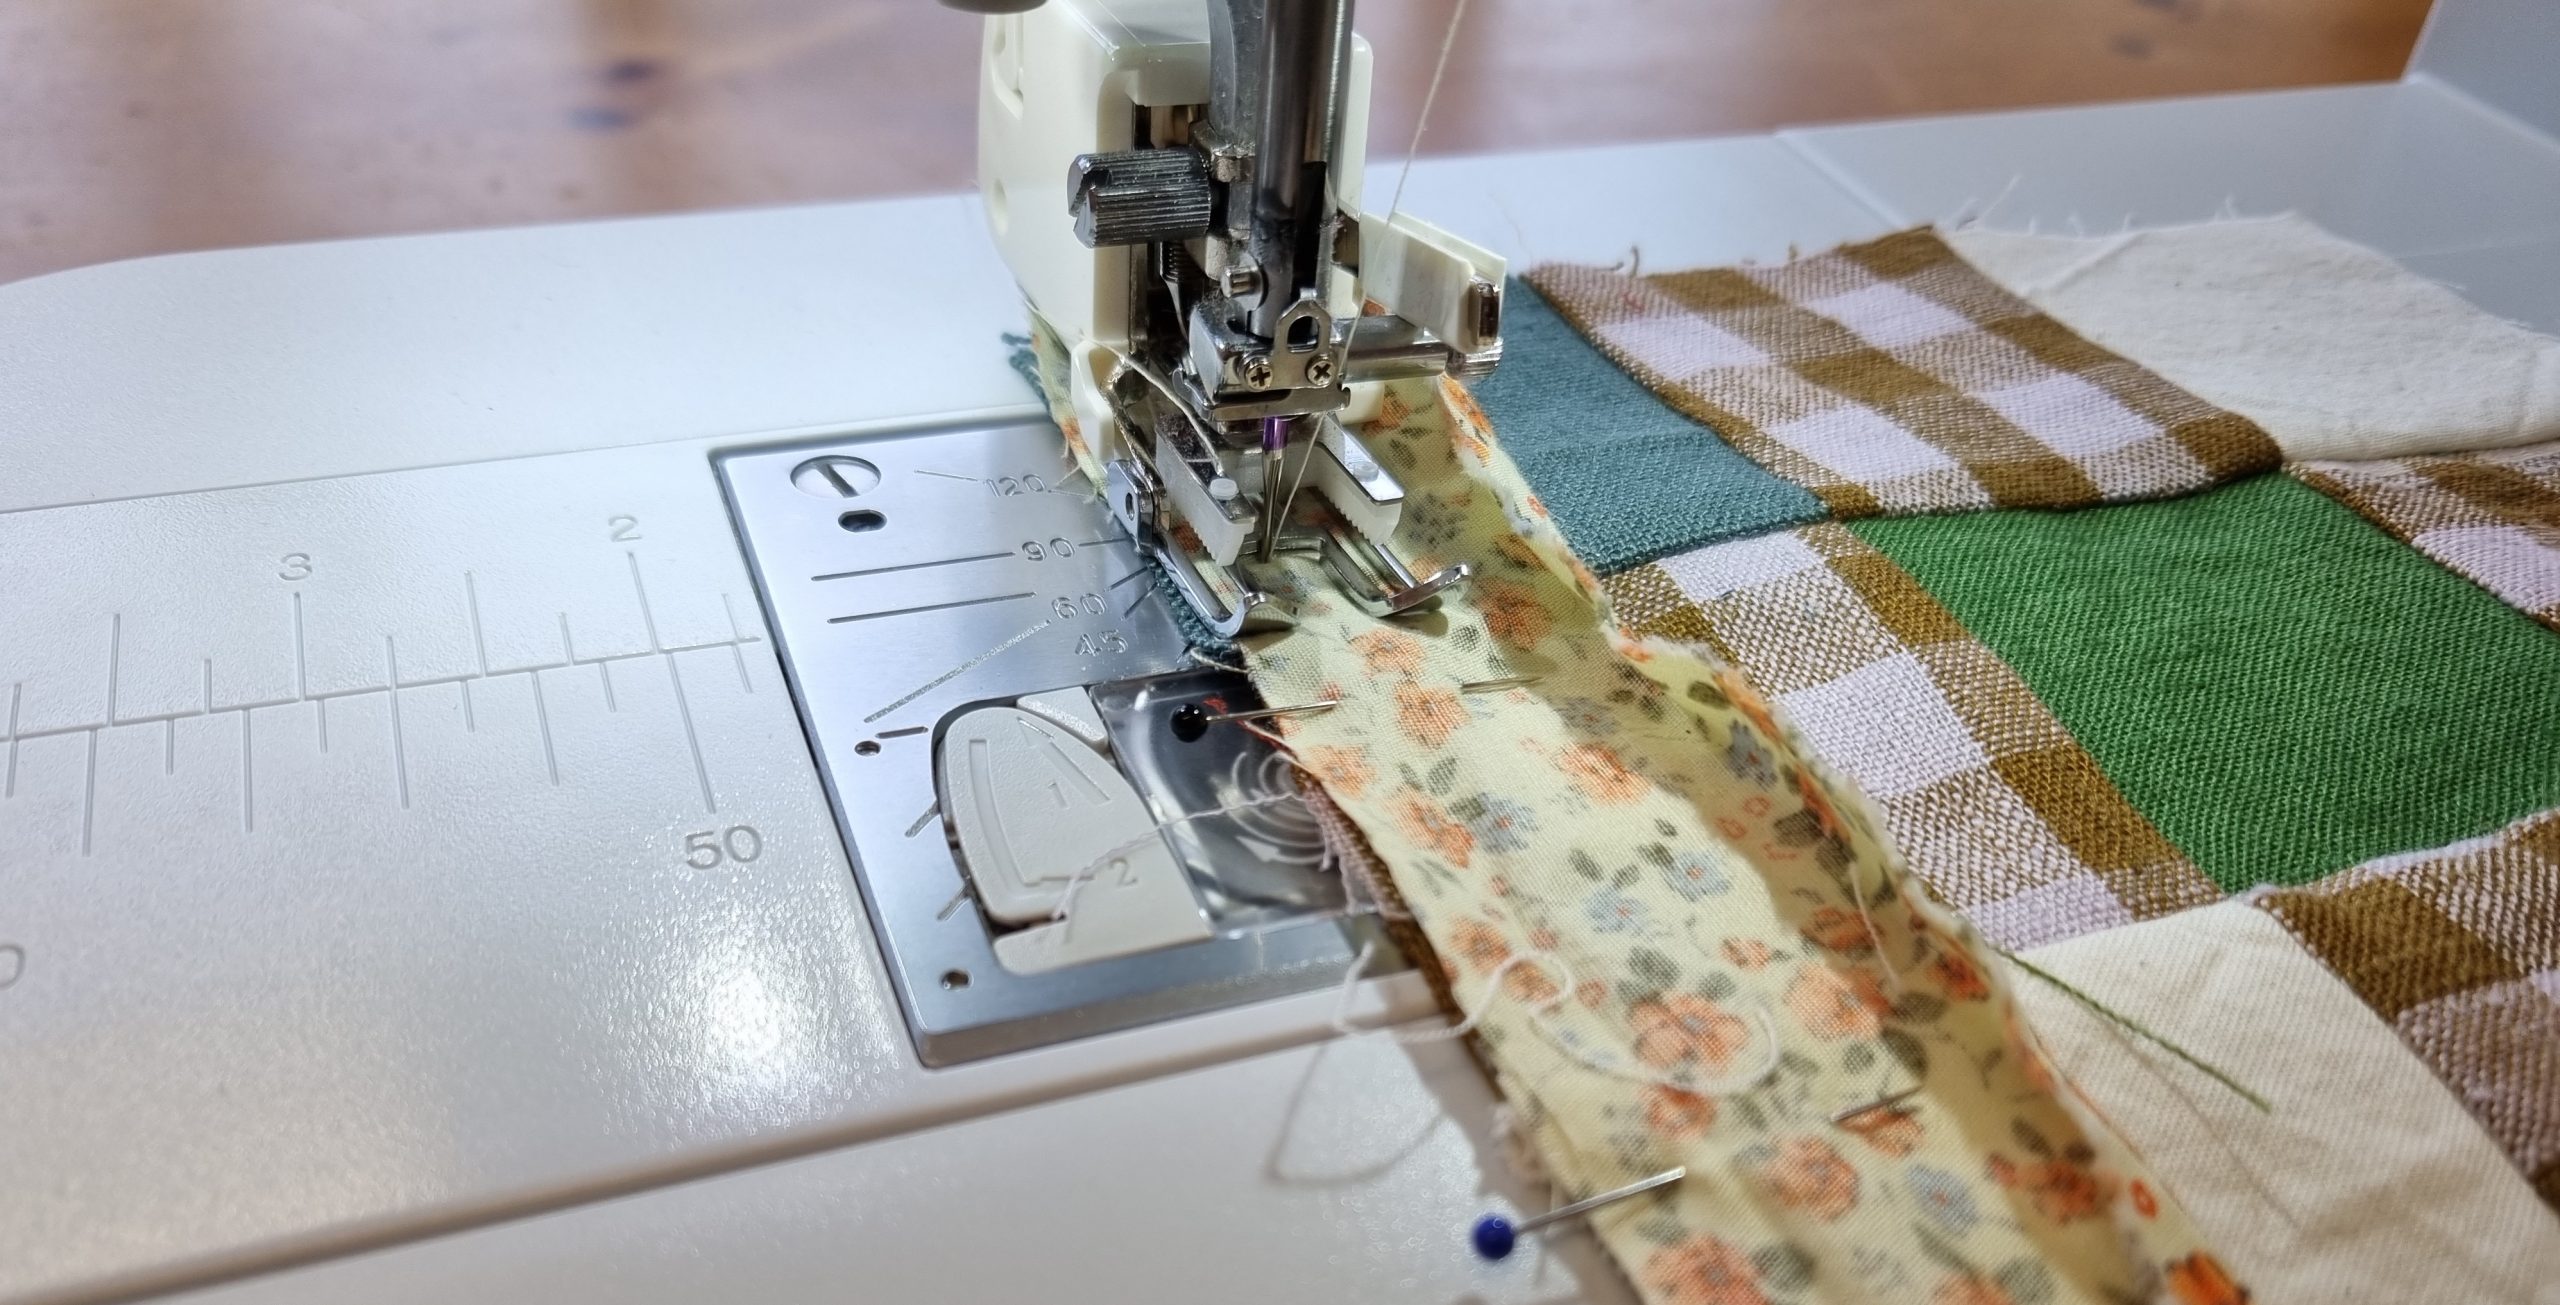
2. Attach binding in place on one side
Turn your binding so it’s right sides together with your quilt top. Line up the raw edges and pin in place.

Sew together with a 1/4″ seam allowance, To achieve the mitred corner, start sewing 1/4″ away from the beginning of the edge, and stop 1/4″ from the end. Backstitch to secure. You can also mark these points beforehand with a little fabric marker.

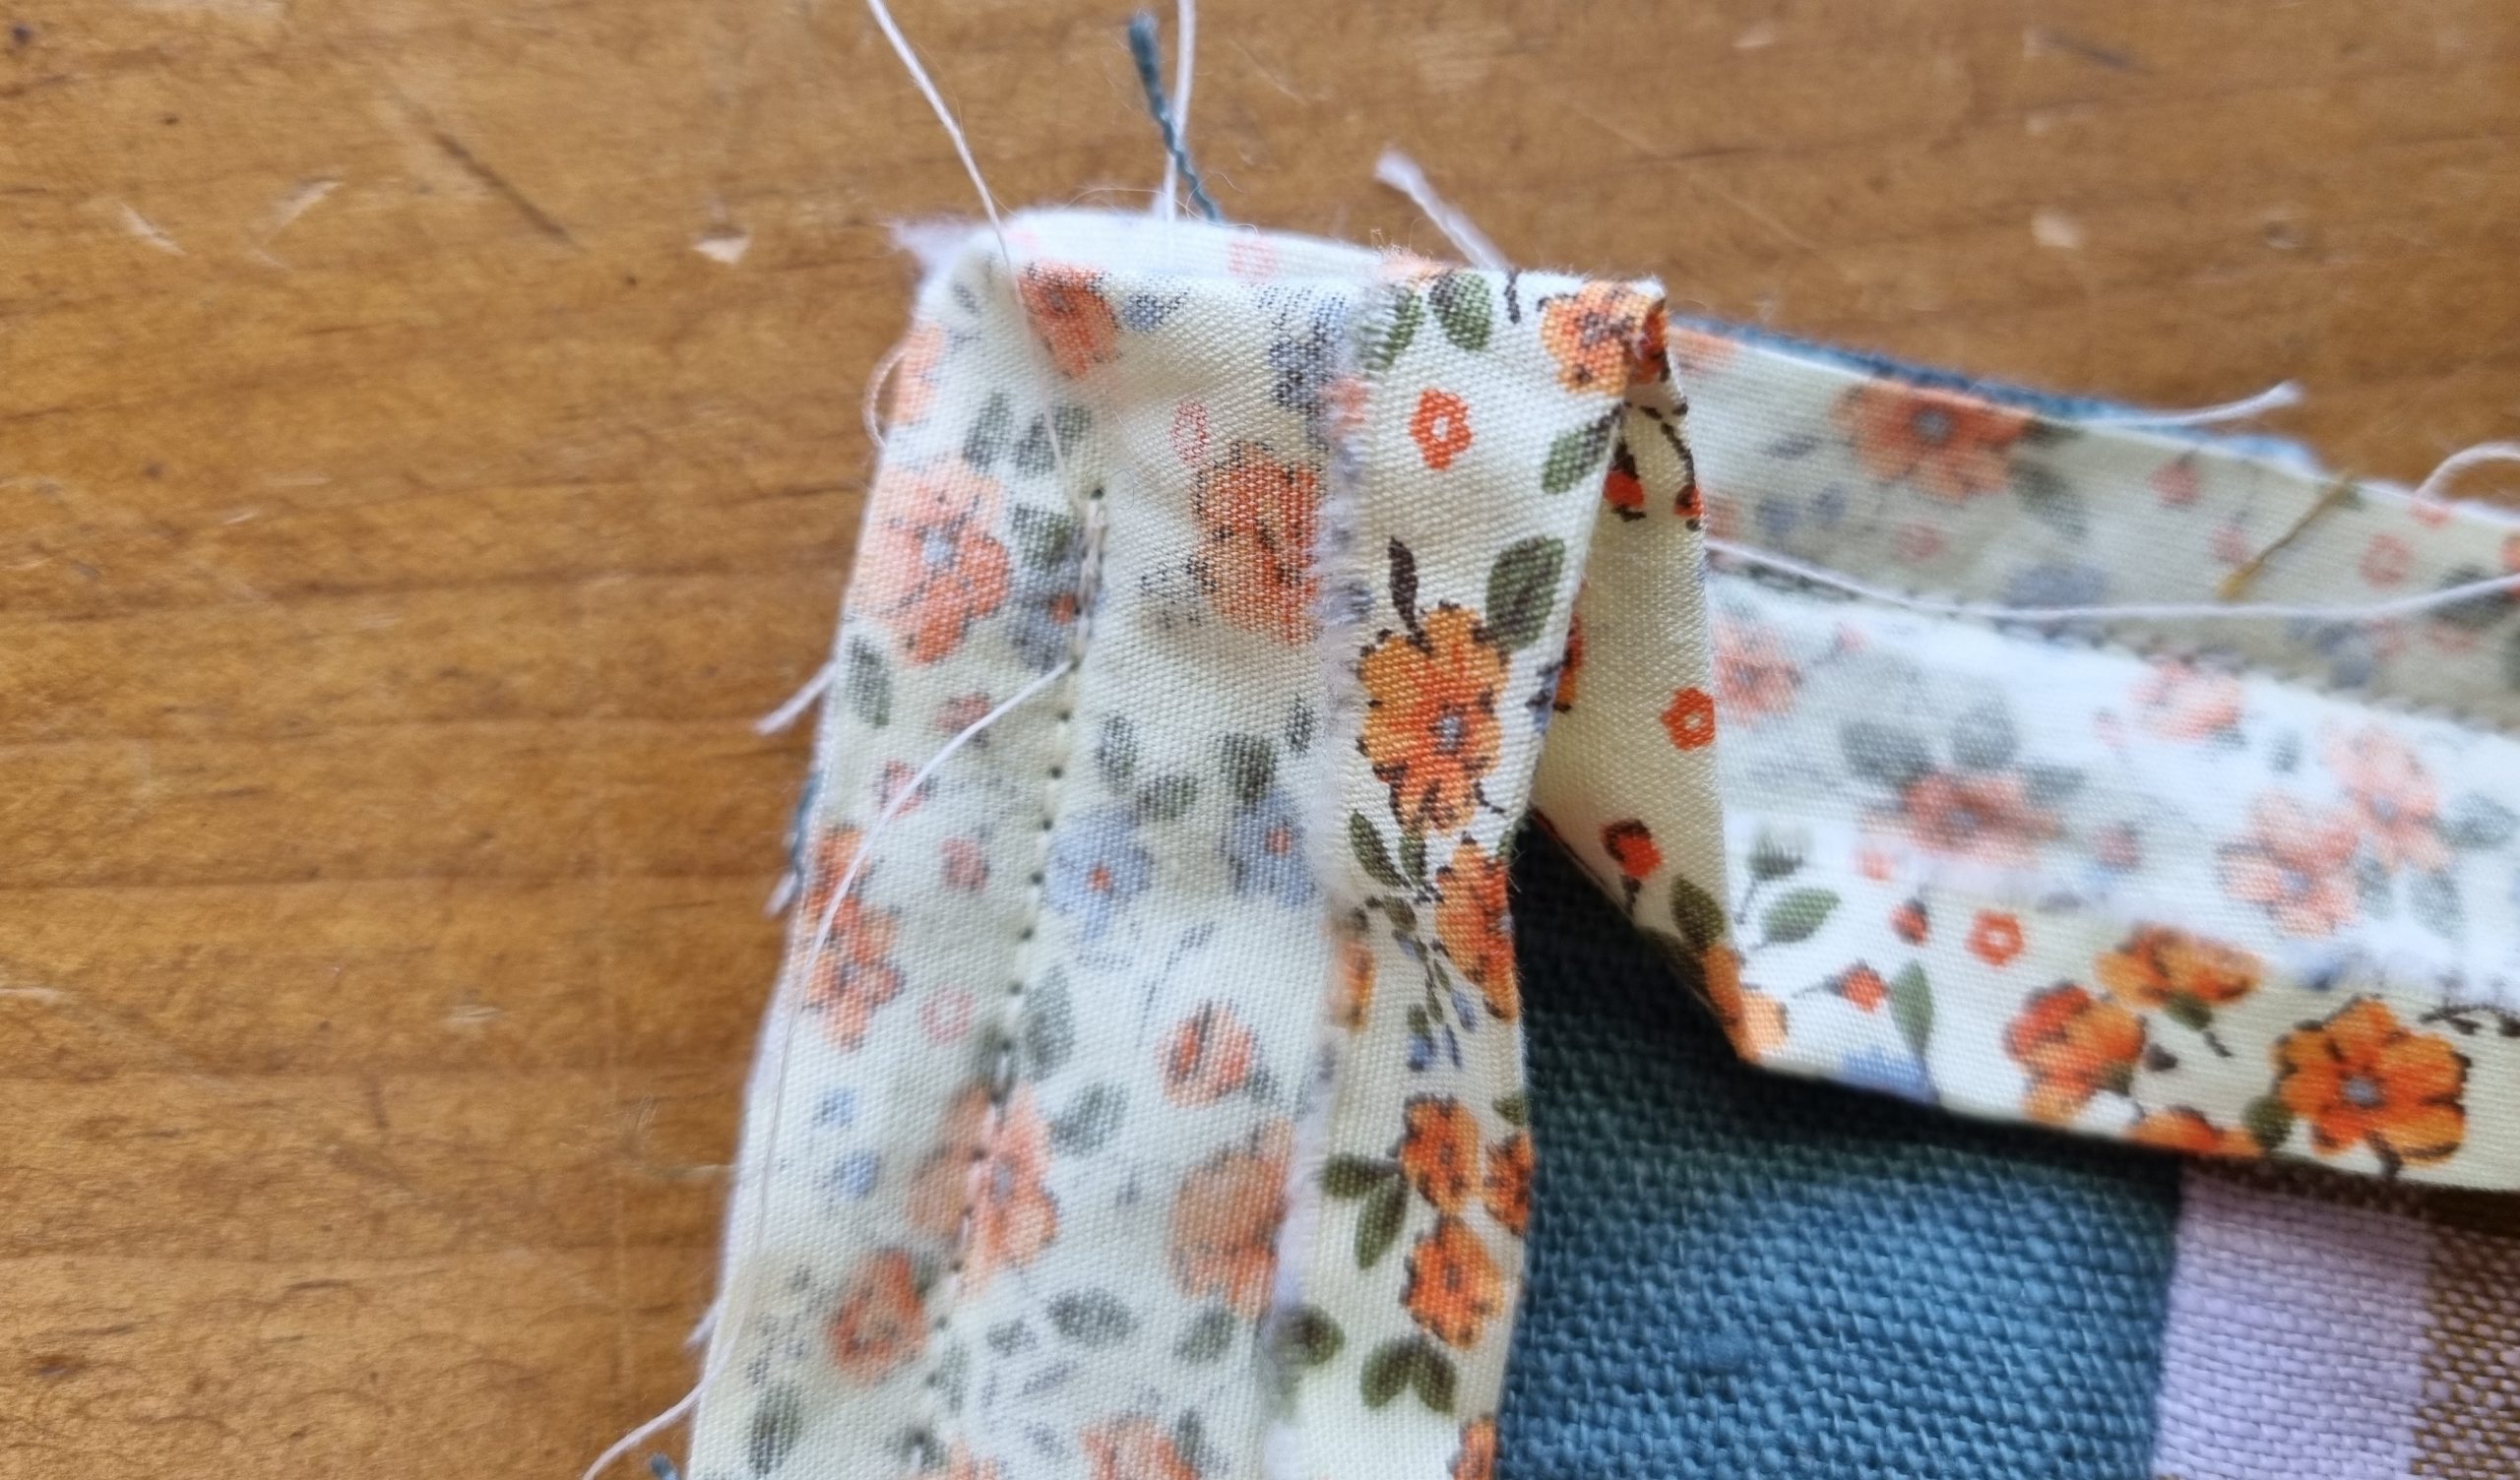
3. Mitred corner
As you stopped sewing your first seam 1/4″ from the end, you now have room to move your next side into place in a way that leaves you with lovely mitred corners. Don’t cut the binding, instead fold the next length up away at a 45deg angle. Then fold it back down on itself to meet the next quilt edge.
It should look like this:
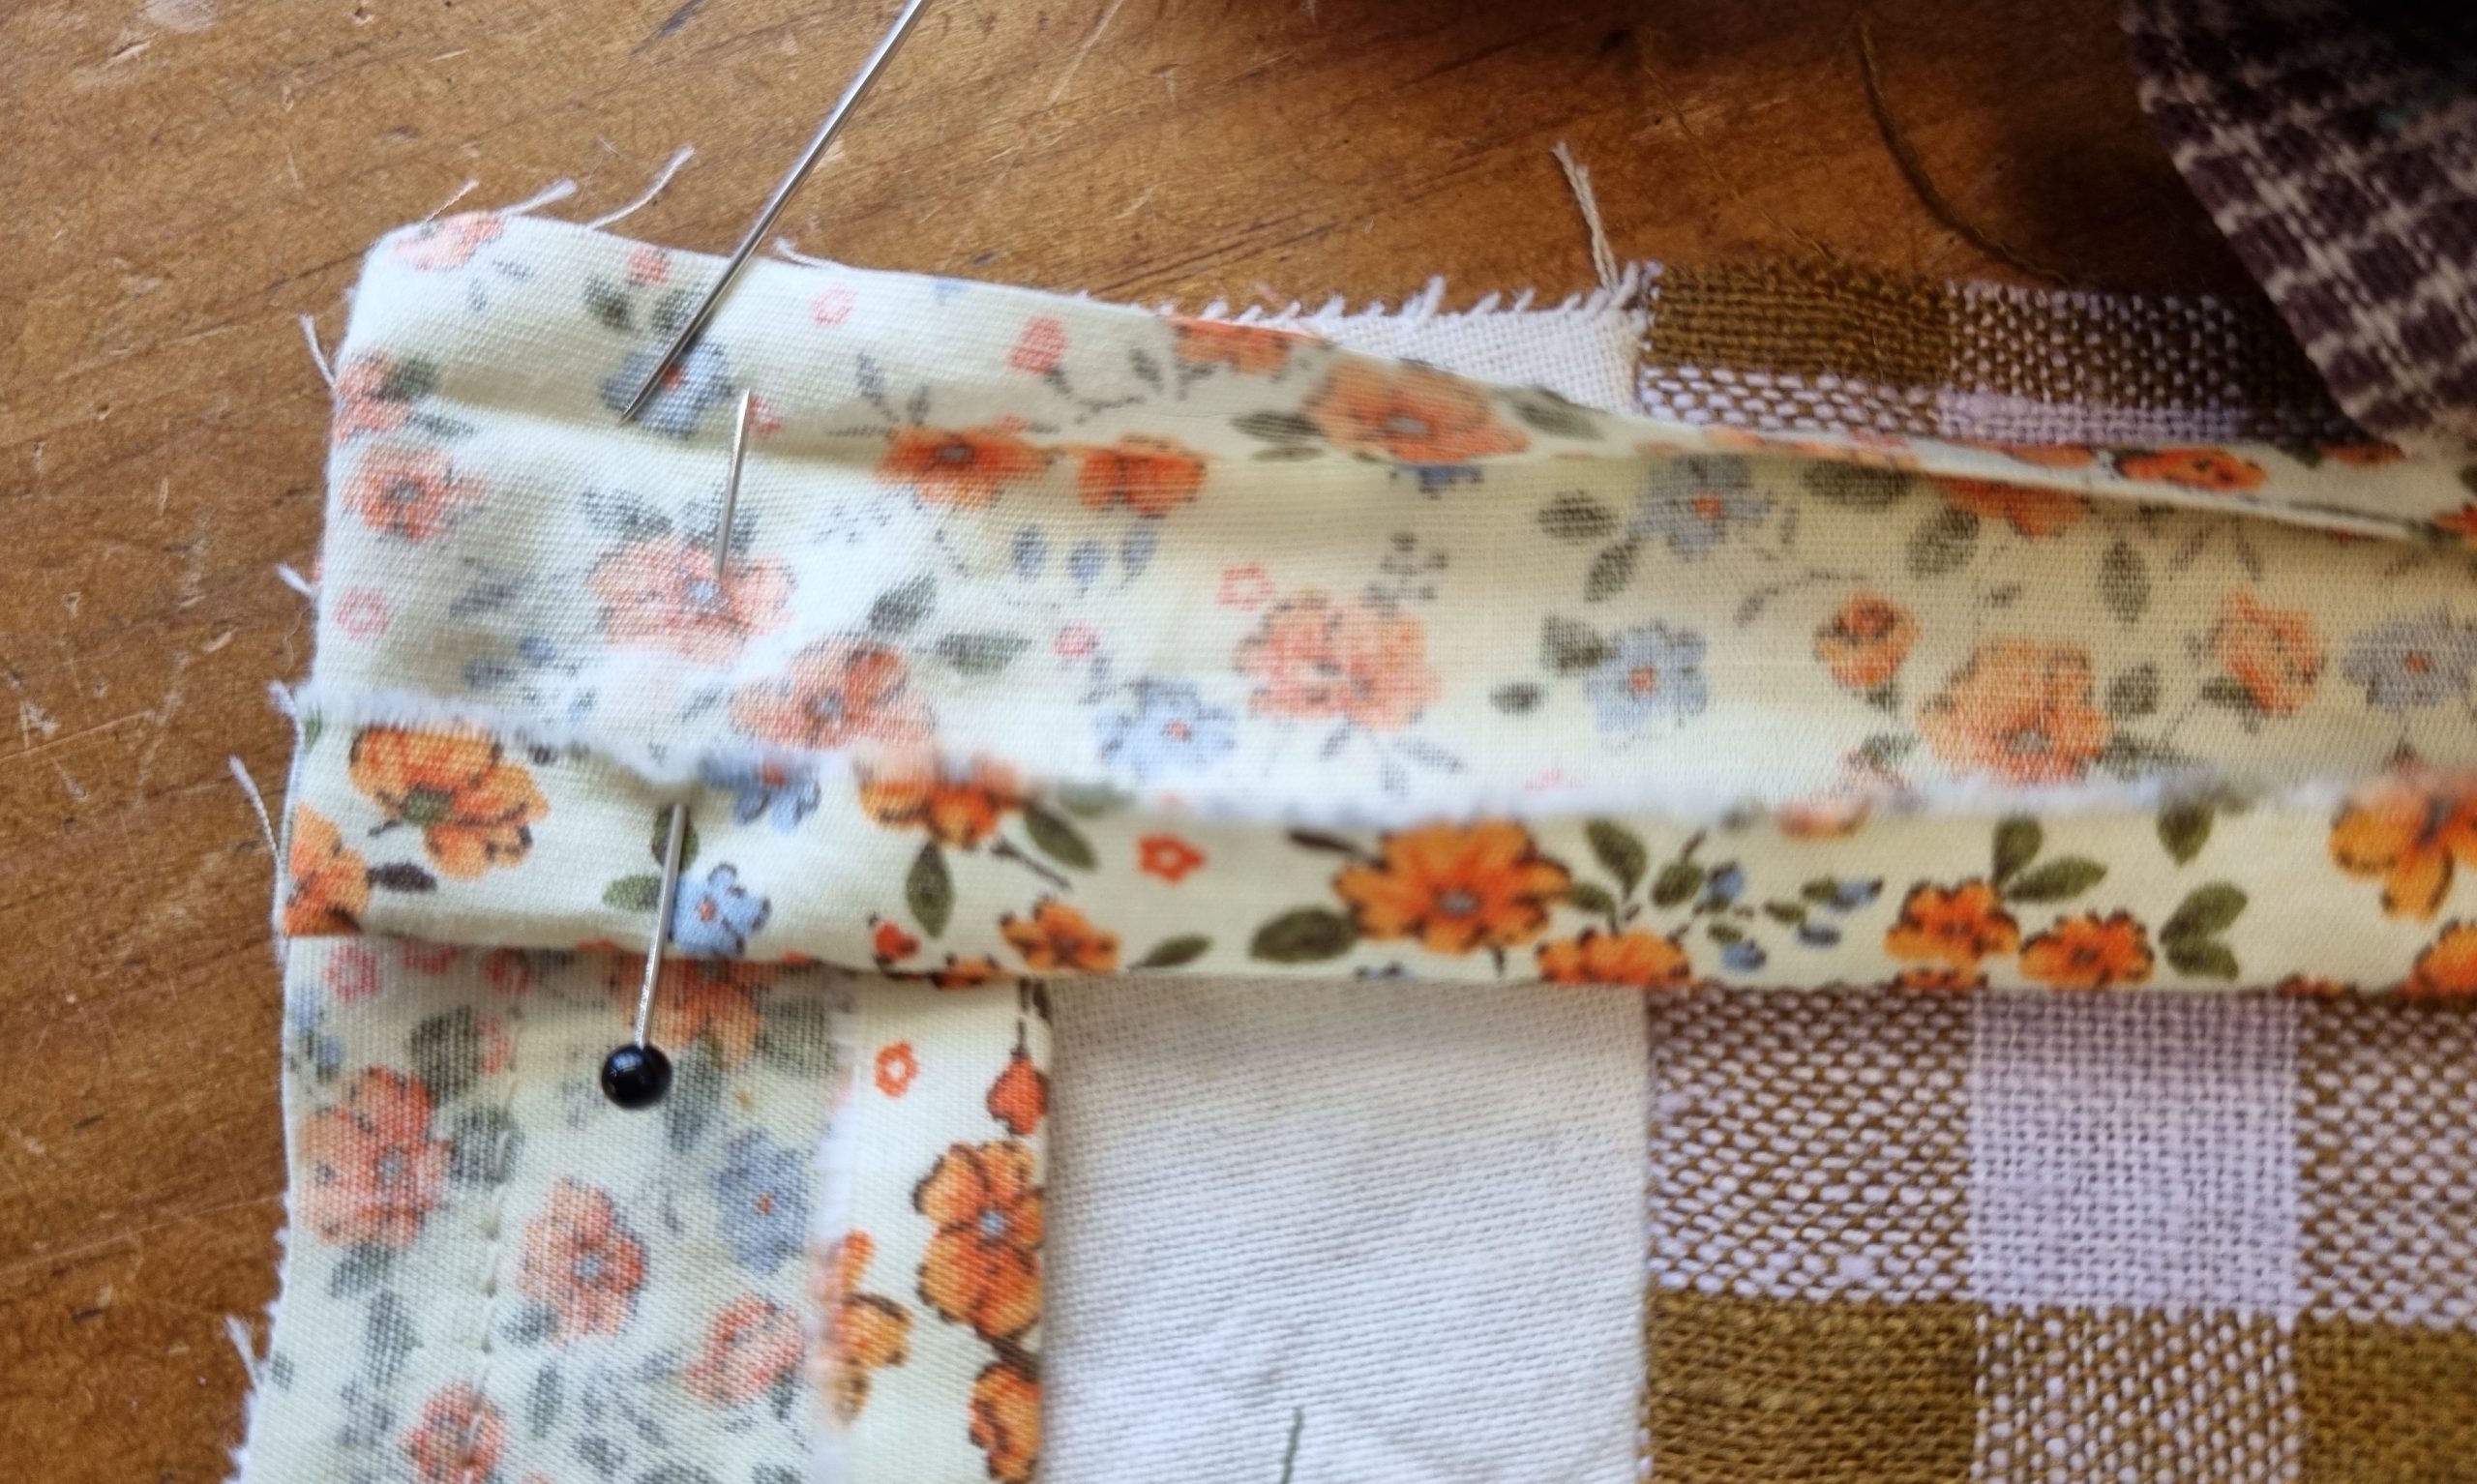
You’ll now sew your next line, again beginning 1/4″ from the start (at the place where my pin is pointing) and stop 1/4″ from the end. It should look like this:
What’s happening is that your new start point is in the same place (or at least very close to) the end point on your last line. This creates the neat corner, and the folded over fabric gives enough space for a right-angle, instead of stretching it over the corner.
Be careful not to start sewing your new line over the top of the last line – the start and finish points should be on top of each other.
Keep going around your quilt in this way.
4. The last corner
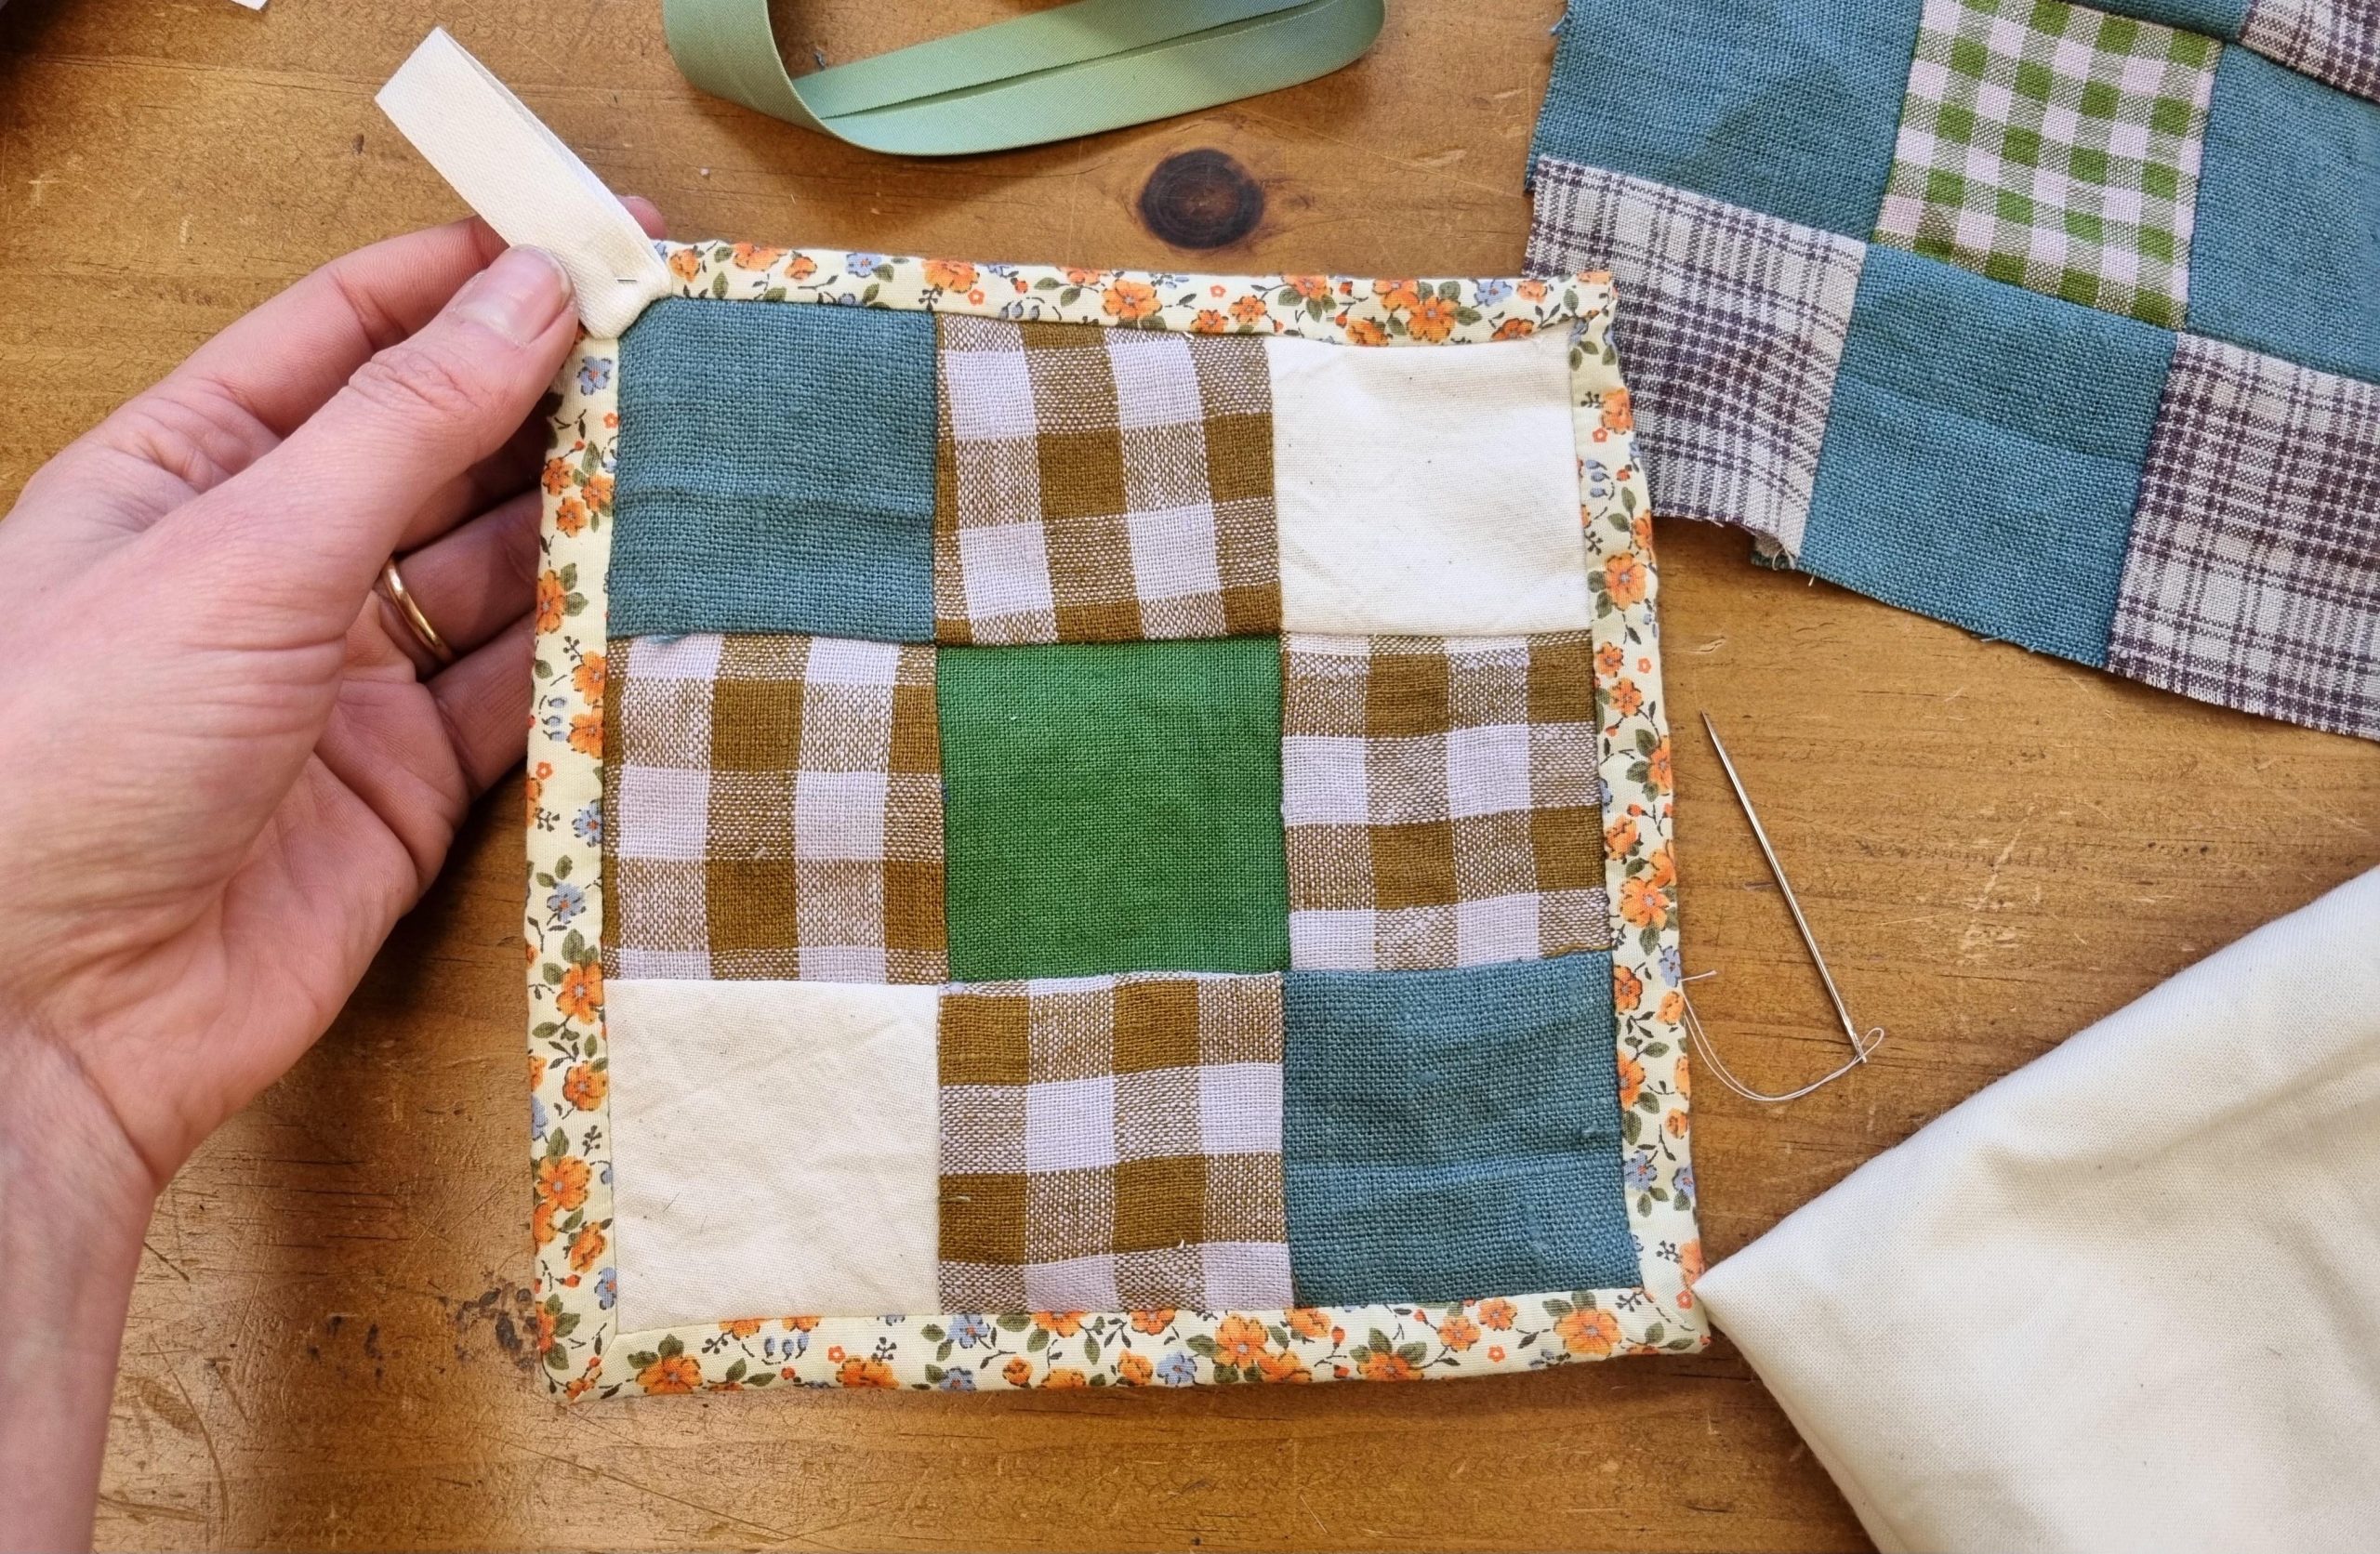
When you get to the last corner, you can decide whether to create one last mitred edge, or a little loop. I’m making a quilted pot rest here, and I like to add little loops from binding so I can hang them in my kitchen.
5. Finishing the back of the quilt
The front of your quilt is now all bound and neat, so it’s just the underside that needs finishing. It should look like this:

Fold your binding over to the back.
6. Sew the binding to the back of the quilt
This is the step I like to do by hand. It gives the quilt binding a soft and seamless effect.
I do this with a slip stitch. To do this:
- Prepare your needle and thread. Most hand-sewing needles will do, and an all purpose thread.
- Hide your knot or thread end under the binding where it won’t be seen.
- Starting from one corner, place a small stitch into the fabric back, in line with the binding seam, or just above it.
- Now place a similar length stitch right on the crease/fold line of the binding:

- Pull tight, but not so much as to gather the fabric.
- Now repeat the last three steps until you’re all the way around.
- Tie off your thread and hide the loose end in the seam allowance.
Now you have a finished cosy quilted project!
It’s good to practice on little things like this pot rest, and build confidence with other household quilts – for example: a wall hanging, hot water bottle covers and a quilt for your sofa or bed.
Happy quilting!


 We’re thrilled to announce that we’ve partnered with Tree Nation, the platform to reforest the world & fight climate change! Home to over 90 planting projects in 33 countries, Tree Nation is a non-profit organisation that helps people & companies offset their CO2 emissions.