
I’ve been excited about this episode of our visible mending series: sashiko has become increasingly popular in the UK over the last few years as a way of mending and decorating our clothes, inspired by the heritage and beauty in this practice. Visible mending generally has become a covetable skill, but this ancient Japanese form of repairing garments has particularly caught the attention of home crafters.
This is a very basic intro, I’m certainly not a sashiko expert, but I’m enjoying learning about different mending practices and hope you will too.
What is sashiko?
Sashiko, pronounced ‘sash-co’, means ‘little stab’ and refers to the many small stitches used in the embroidery design. Originally, it was used by the working class as a way to reinforce as well as repair clothes, adding more warmth to garments through layering fabrics.
You may also have heard of it from The Great British Sewing Bee, who ran a technical challenge based on the technique last year.
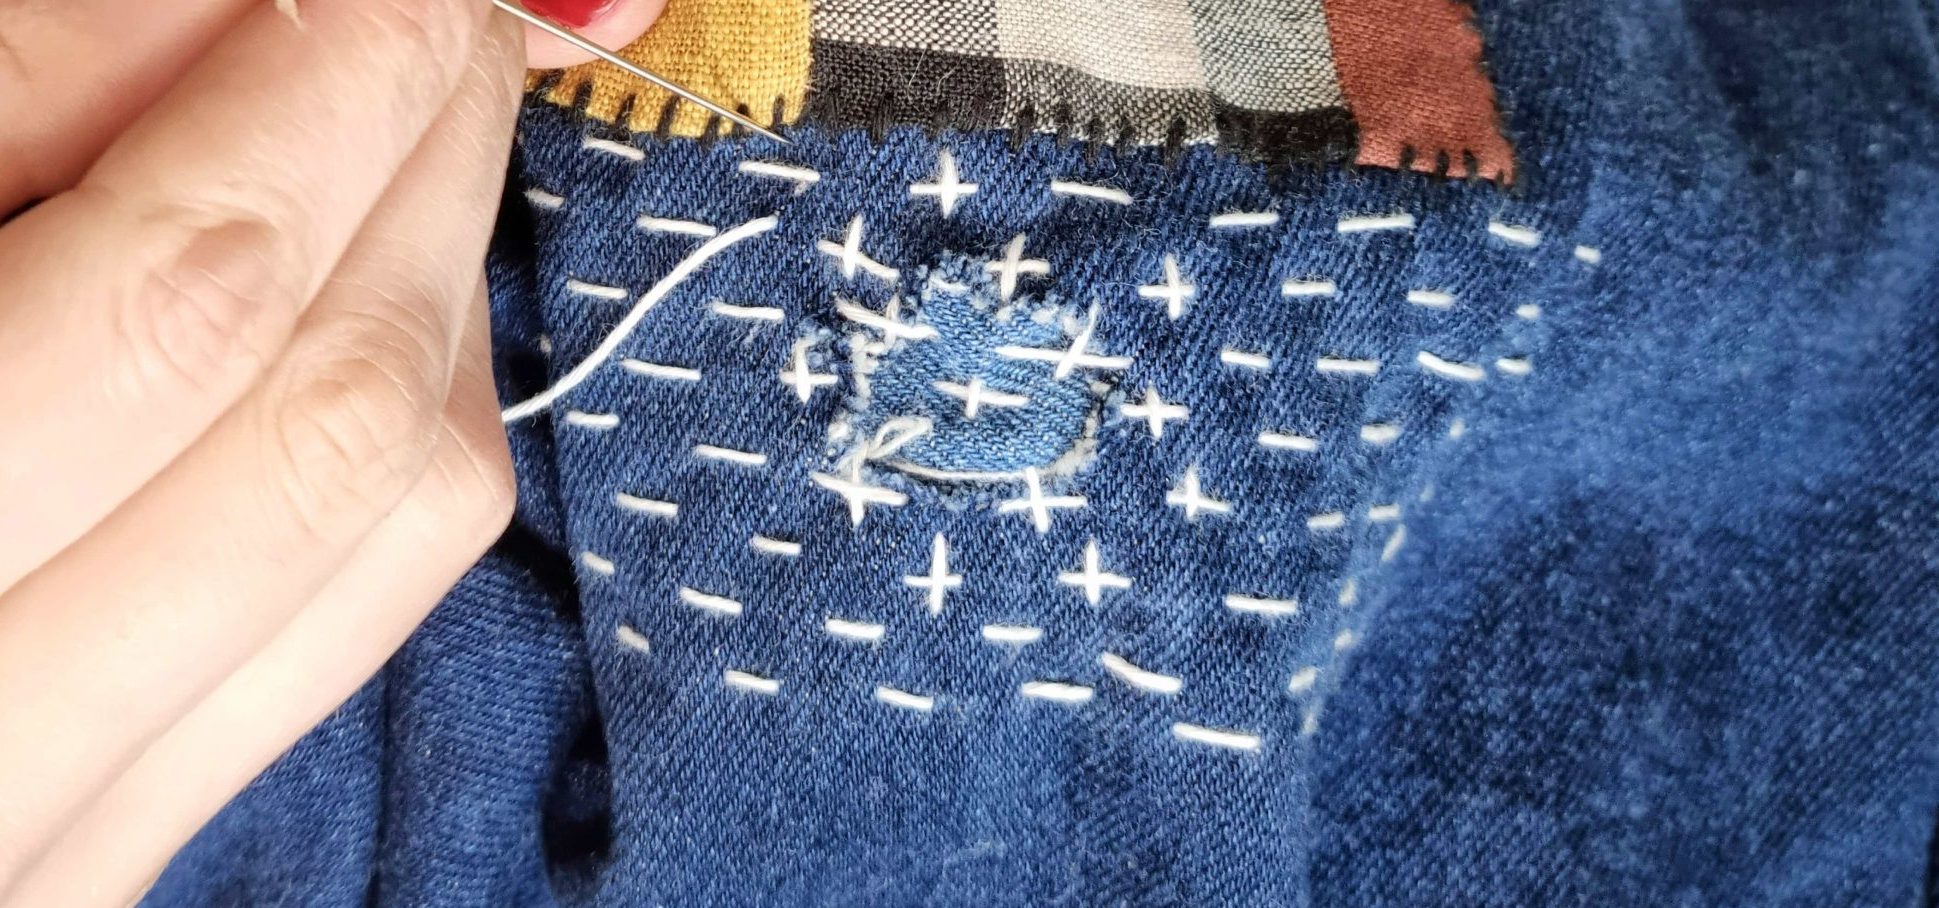
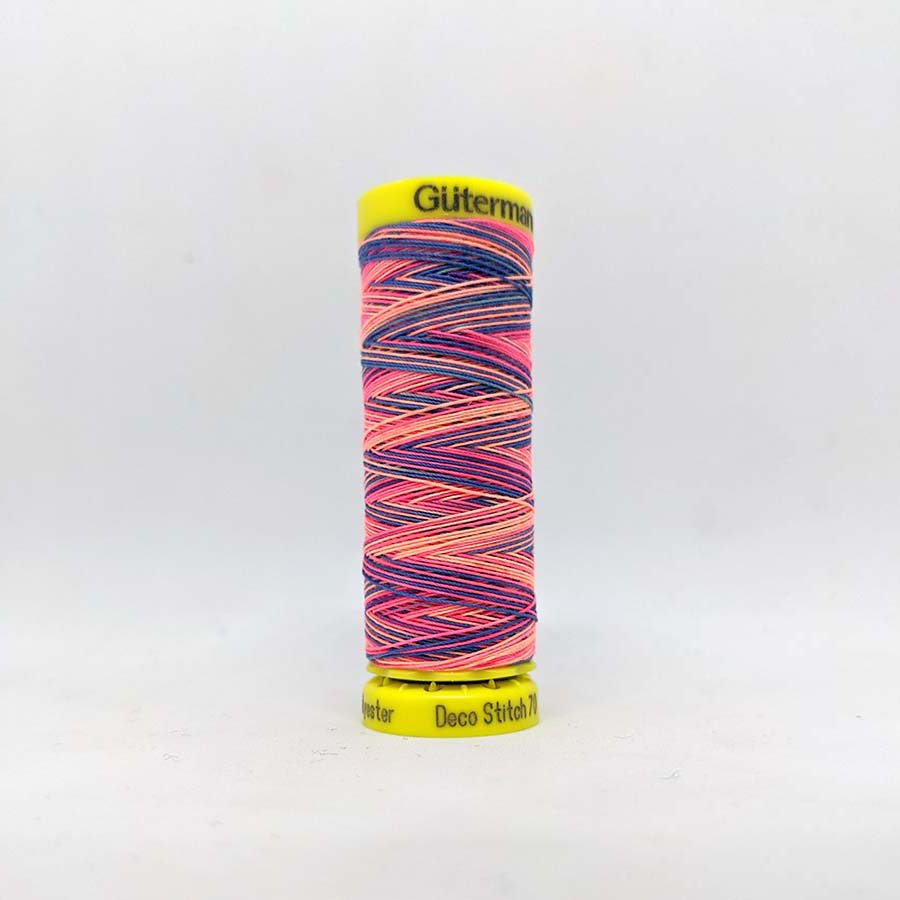
The sample I’ve made for this article is more of a classic style, with short white stitches on a grid, and little crosses where the fabric needs extra support. As always though, you can be as creative as you like! The idea is just to patch and reinforce fabric using hand-stitching. You can use plain embroidery thread, or self-patterning for an effect like the one below.

The Great British Sewing Bee, 2022
What you’ll need
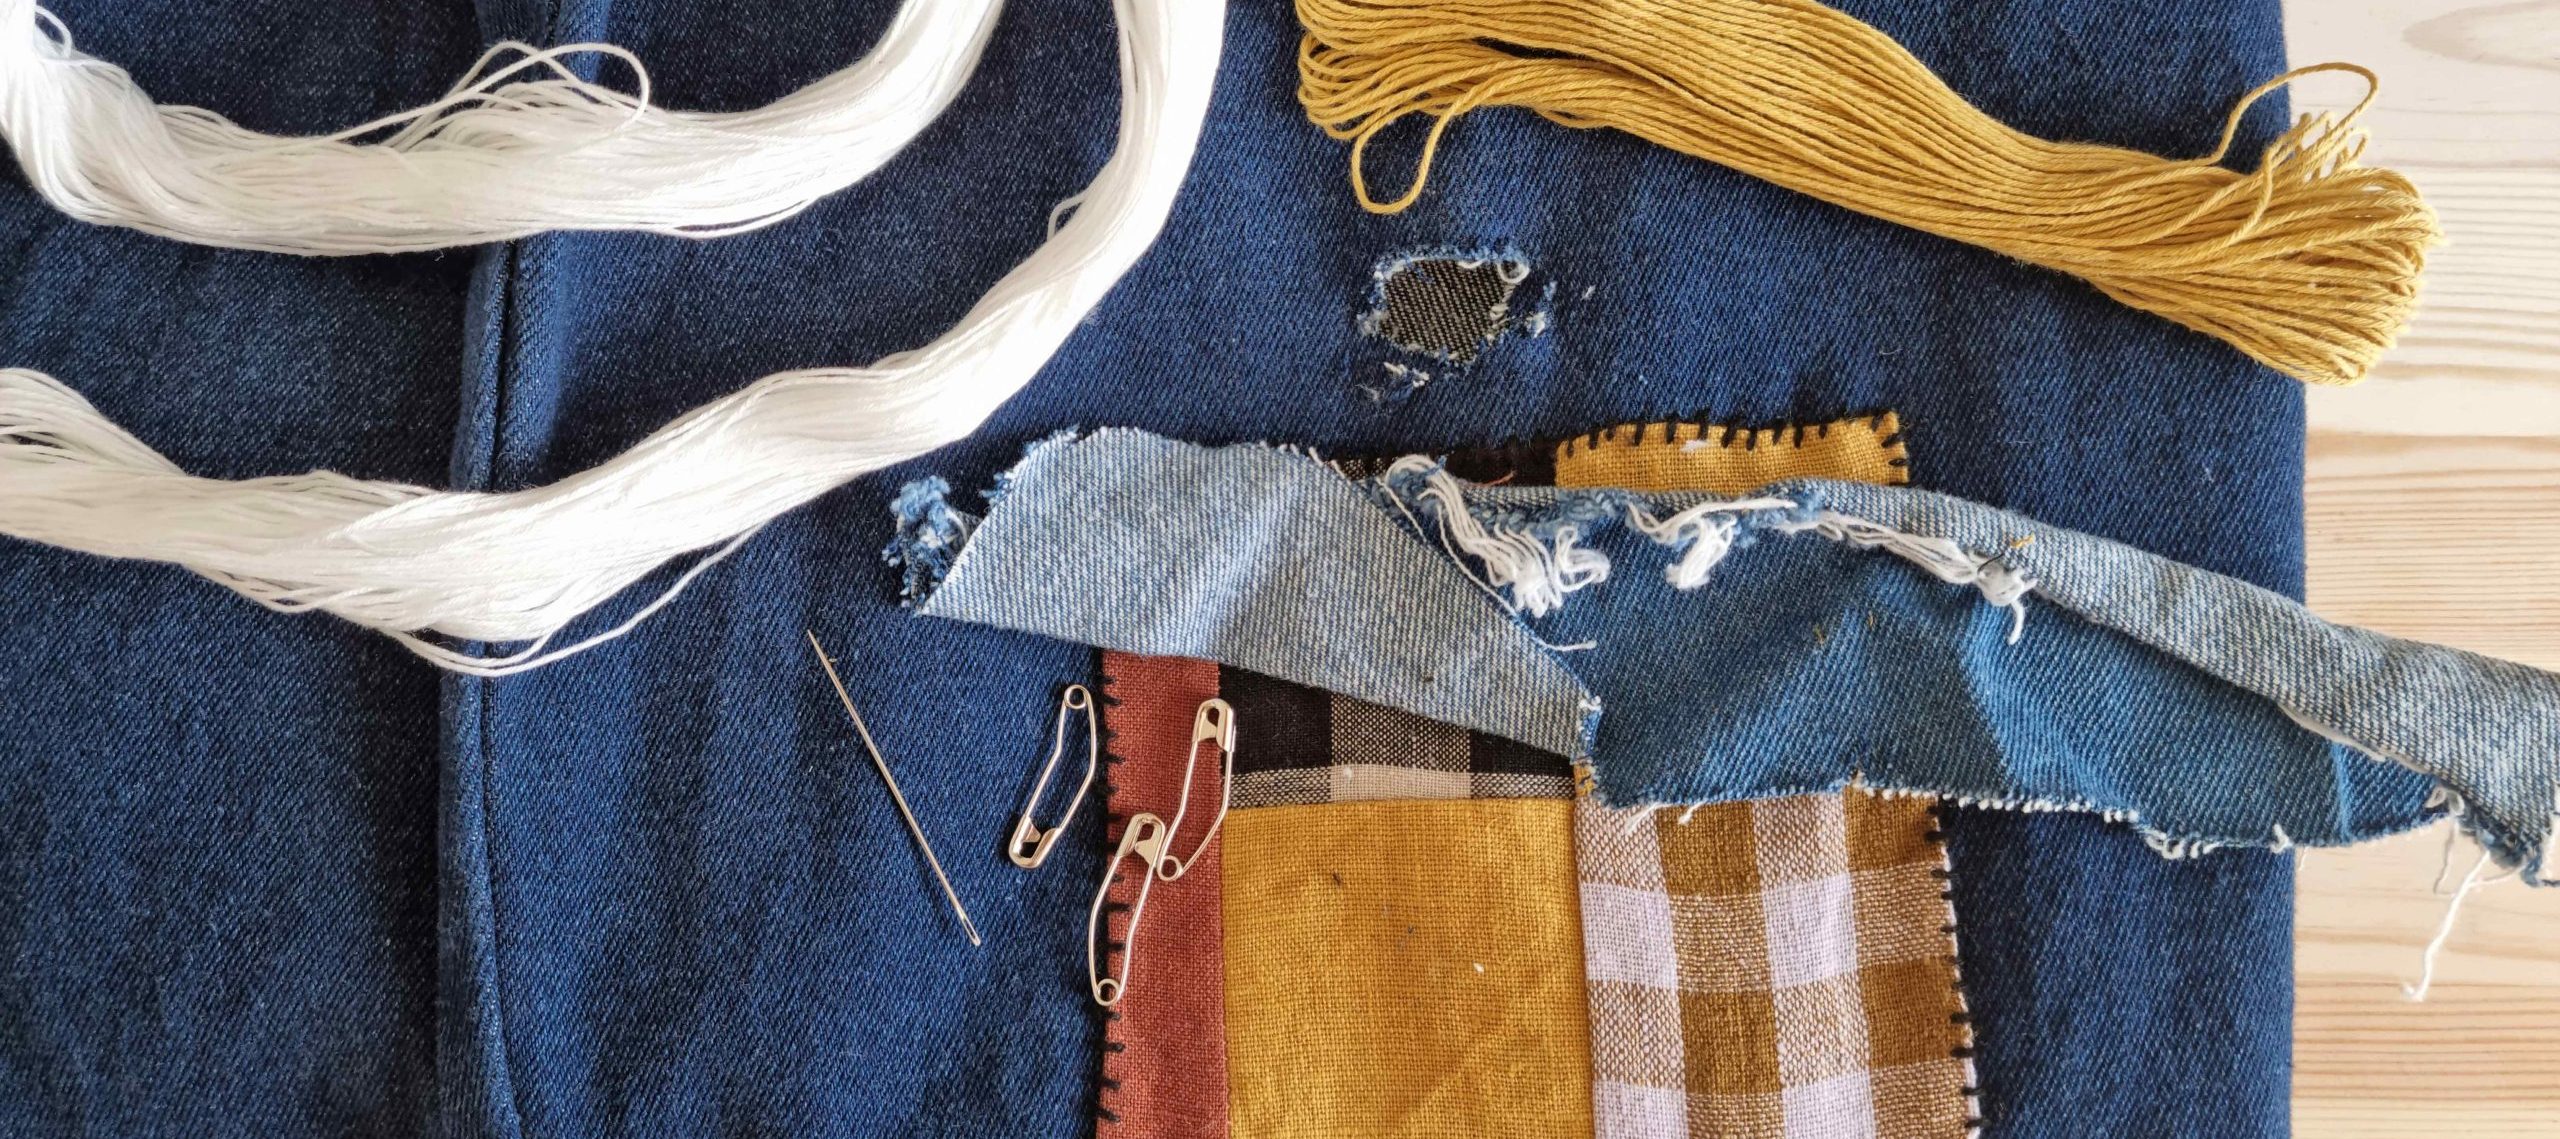
- Something to mend – denim or heavier fabric like cotton canvas or twill works best
- Hand-sewing needles – these need to be big enough for your thread, and to go through heavy fabric
- Fabric scrap (preferably denim, canvas or twill)
- Safety pins
- Chalk or a washable pen
- A hand-stitching or embroidery thread. I love these patterned threads William Gee sell here!

Let’s get started
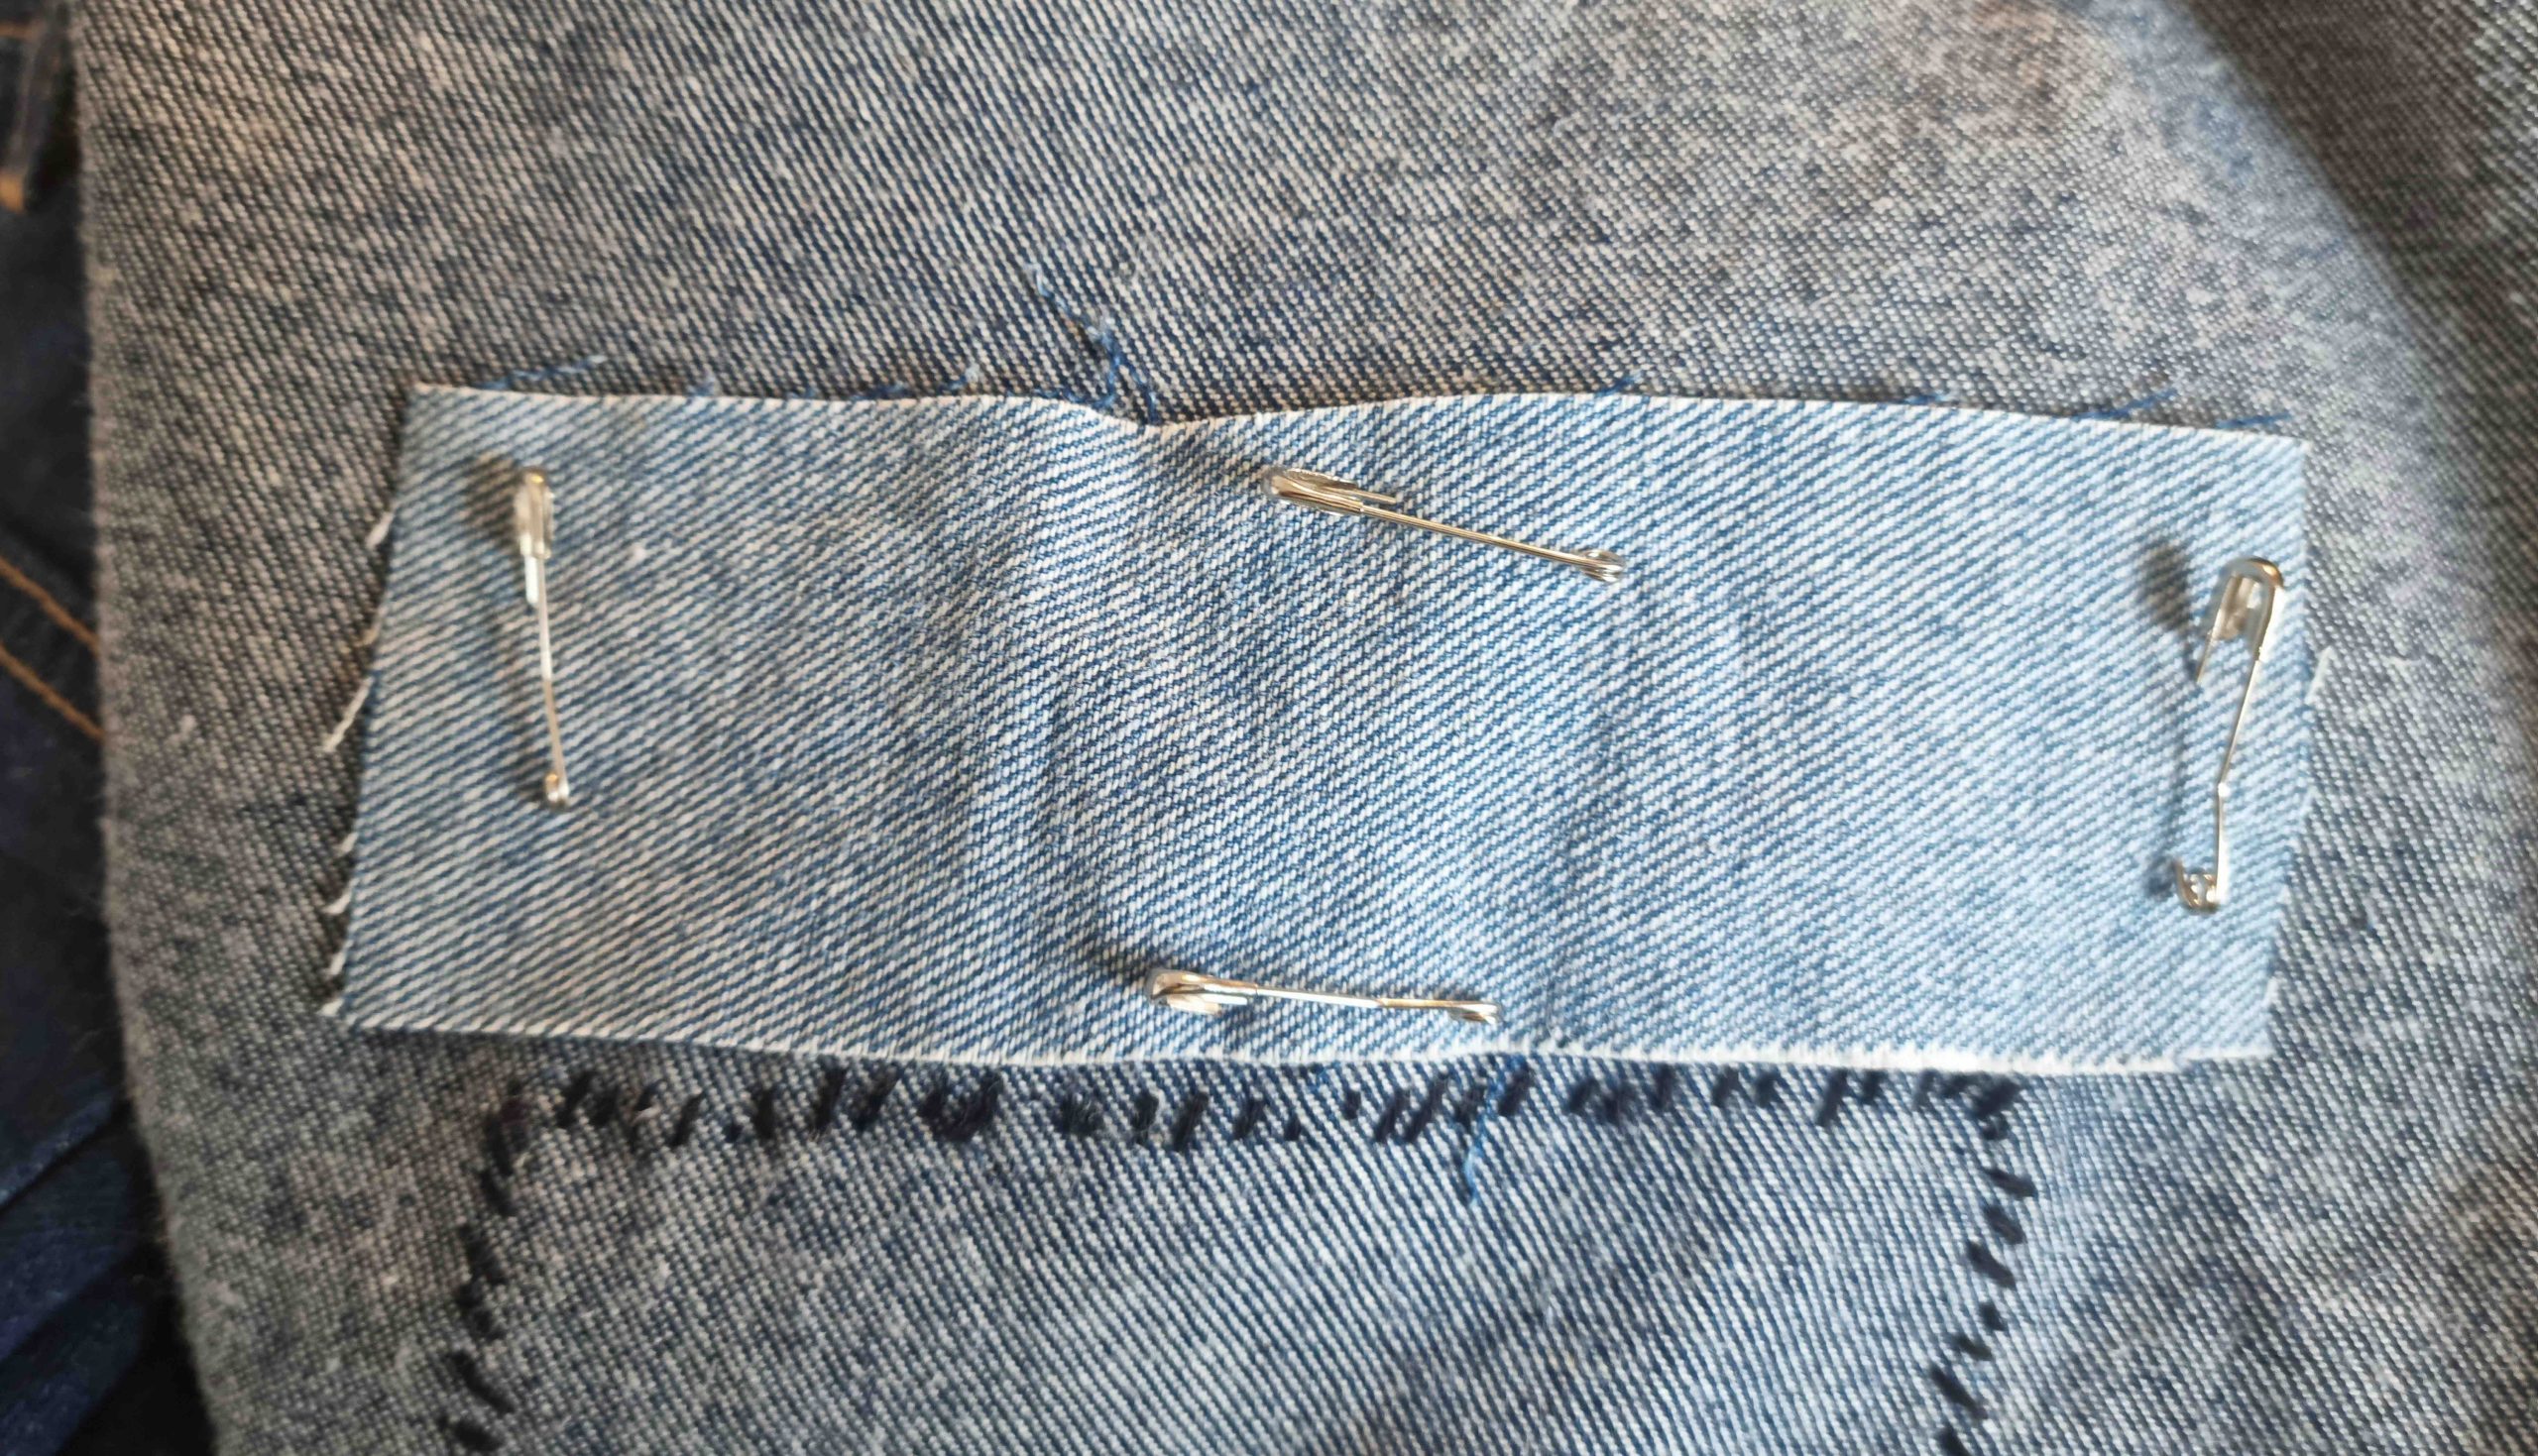
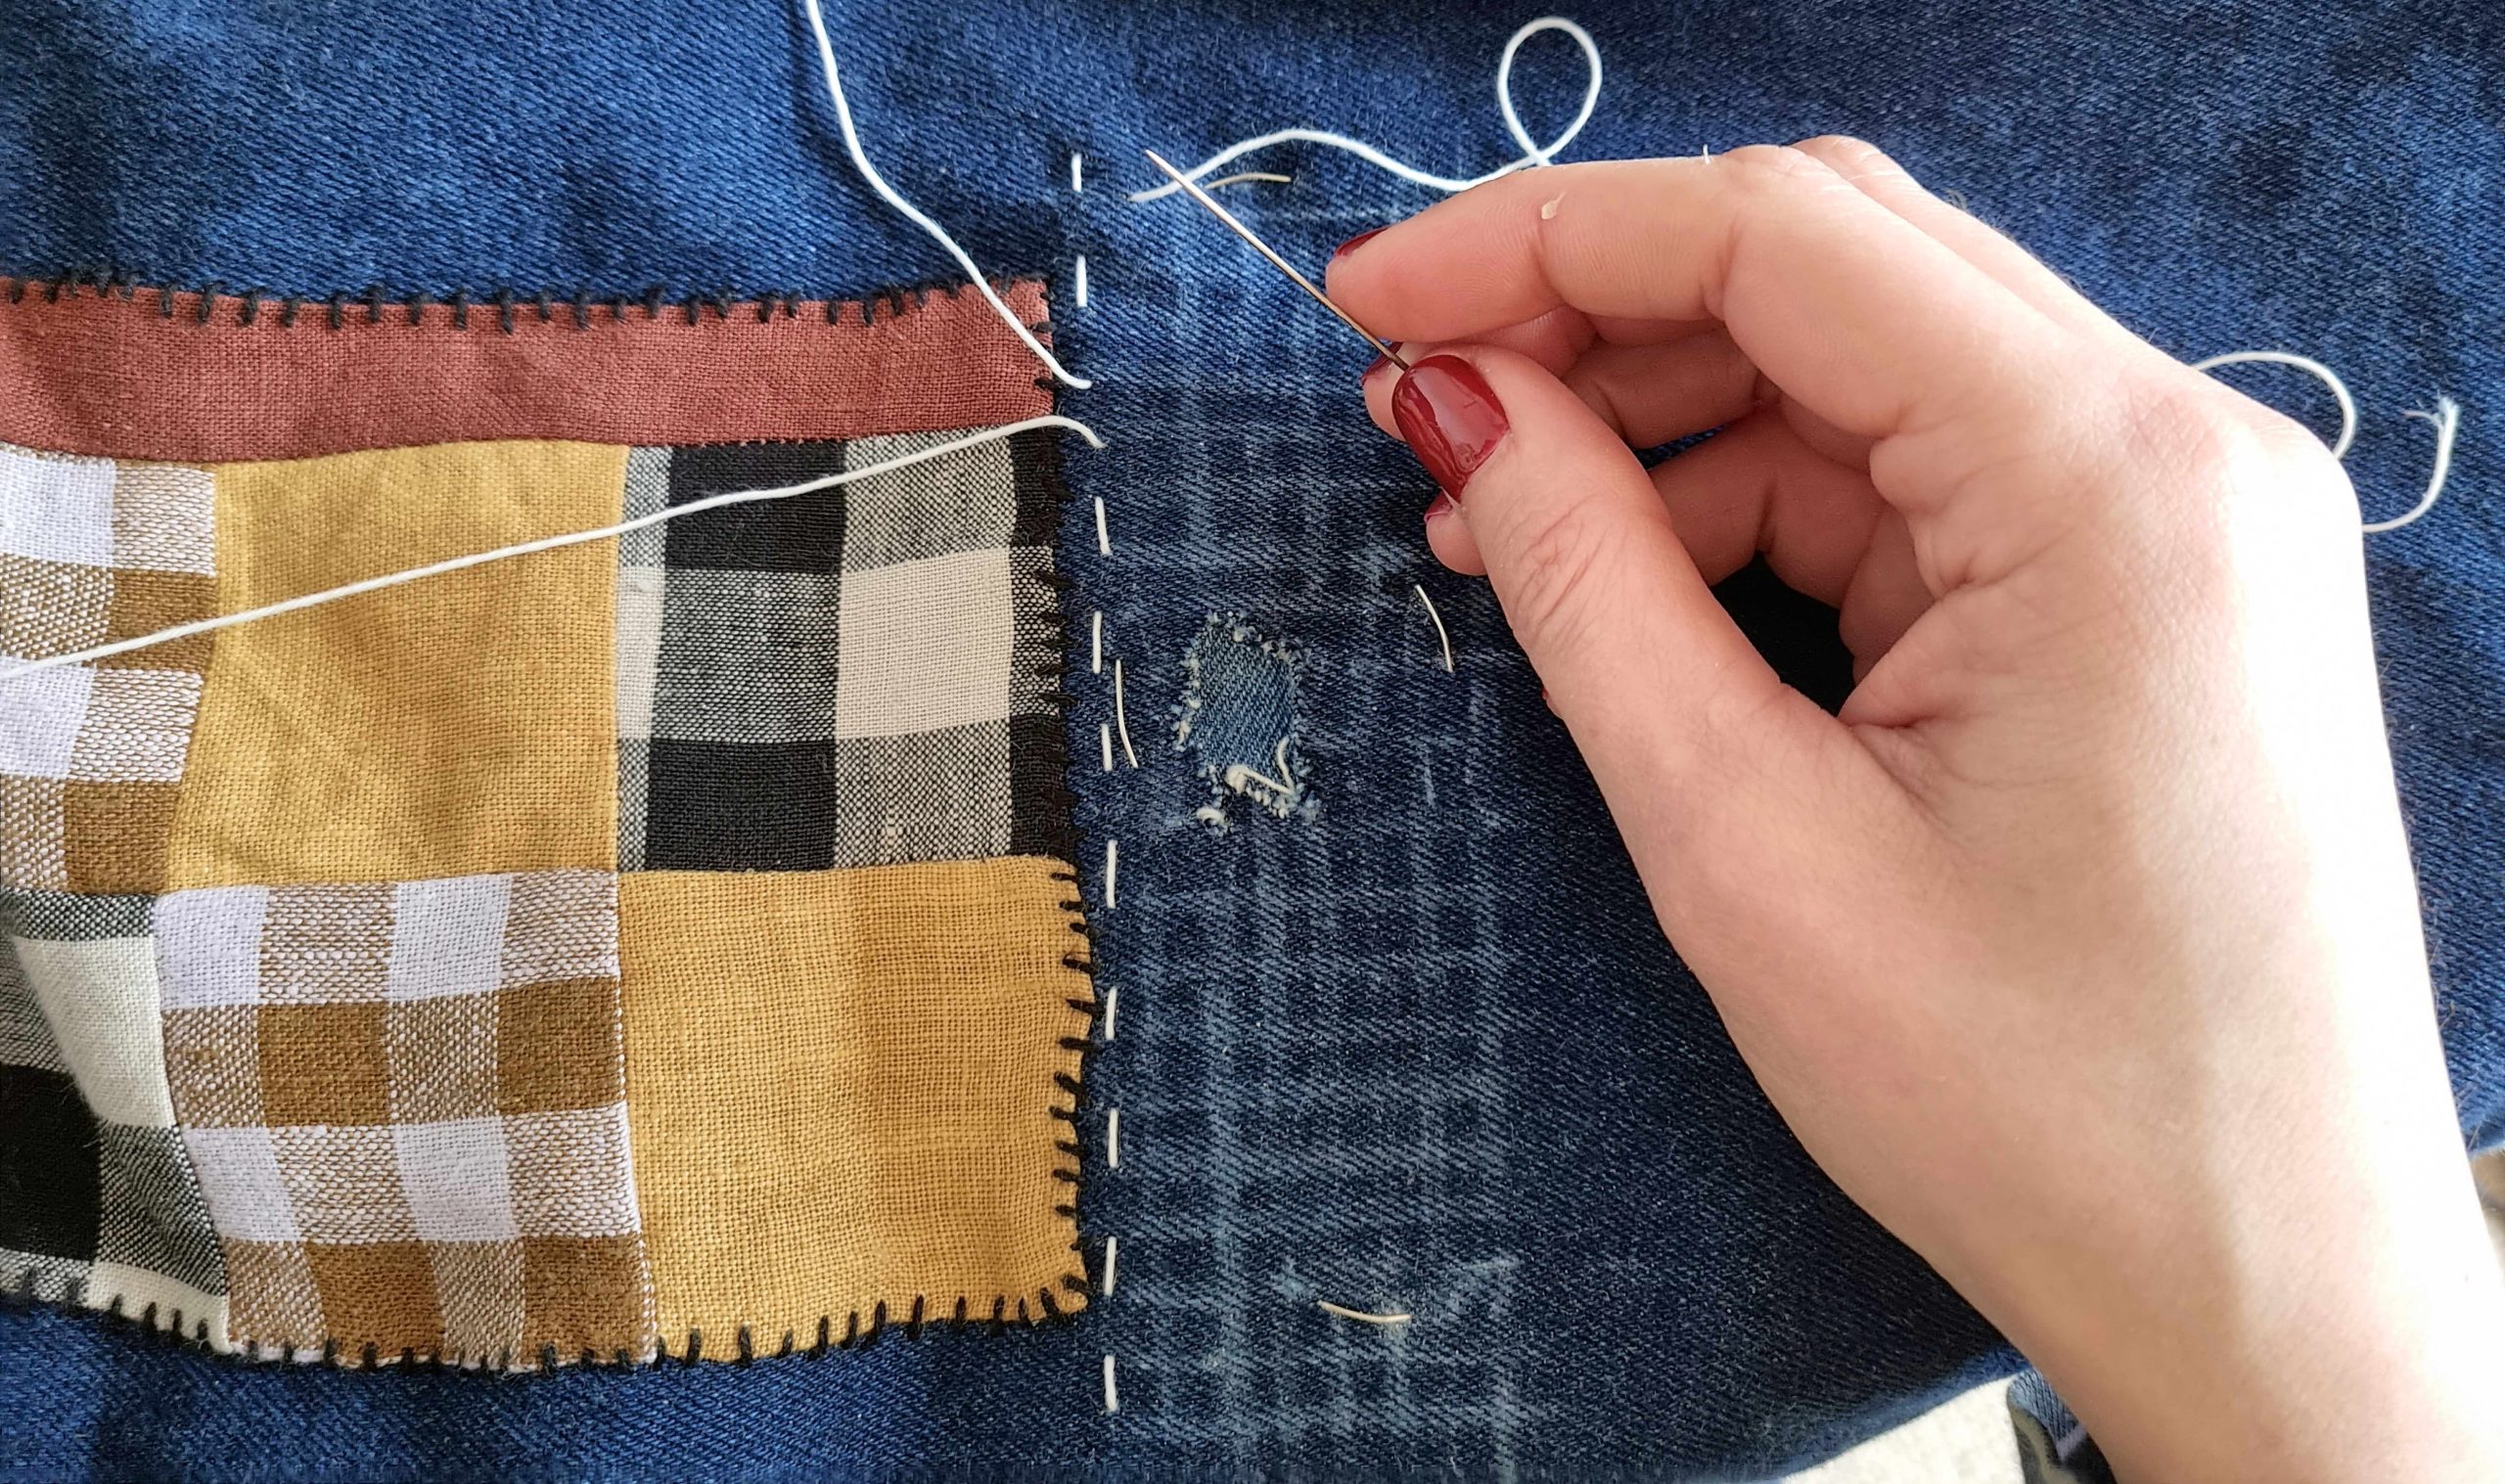
Turn your garment inside out, and lay the patch you’re going to use on top of the hole/weakened area. I’ve safety-pinned mine in place to stop it moving (and to make sure I don’t stab myself with pins while I’m stitching)! Make sure you have a good perimeter of patch fabric around the hole – the damaged fabric is likely to be weak in the surrounding area too.
Turn your garment back the right way out. It’s a good idea to now sketch the stitch pattern you’d like to use with chalk, or a removable ink pen/pencil. As I said, I’ve gone for a more classic design – for this, I drew a 1/4″ grid using chalk and a ruler.

This is really useful once you start stitching! Next, tie a knot at the end of your thread, and go through from the back to the front at the start of your design (so the knot/end of thread is on the inside).
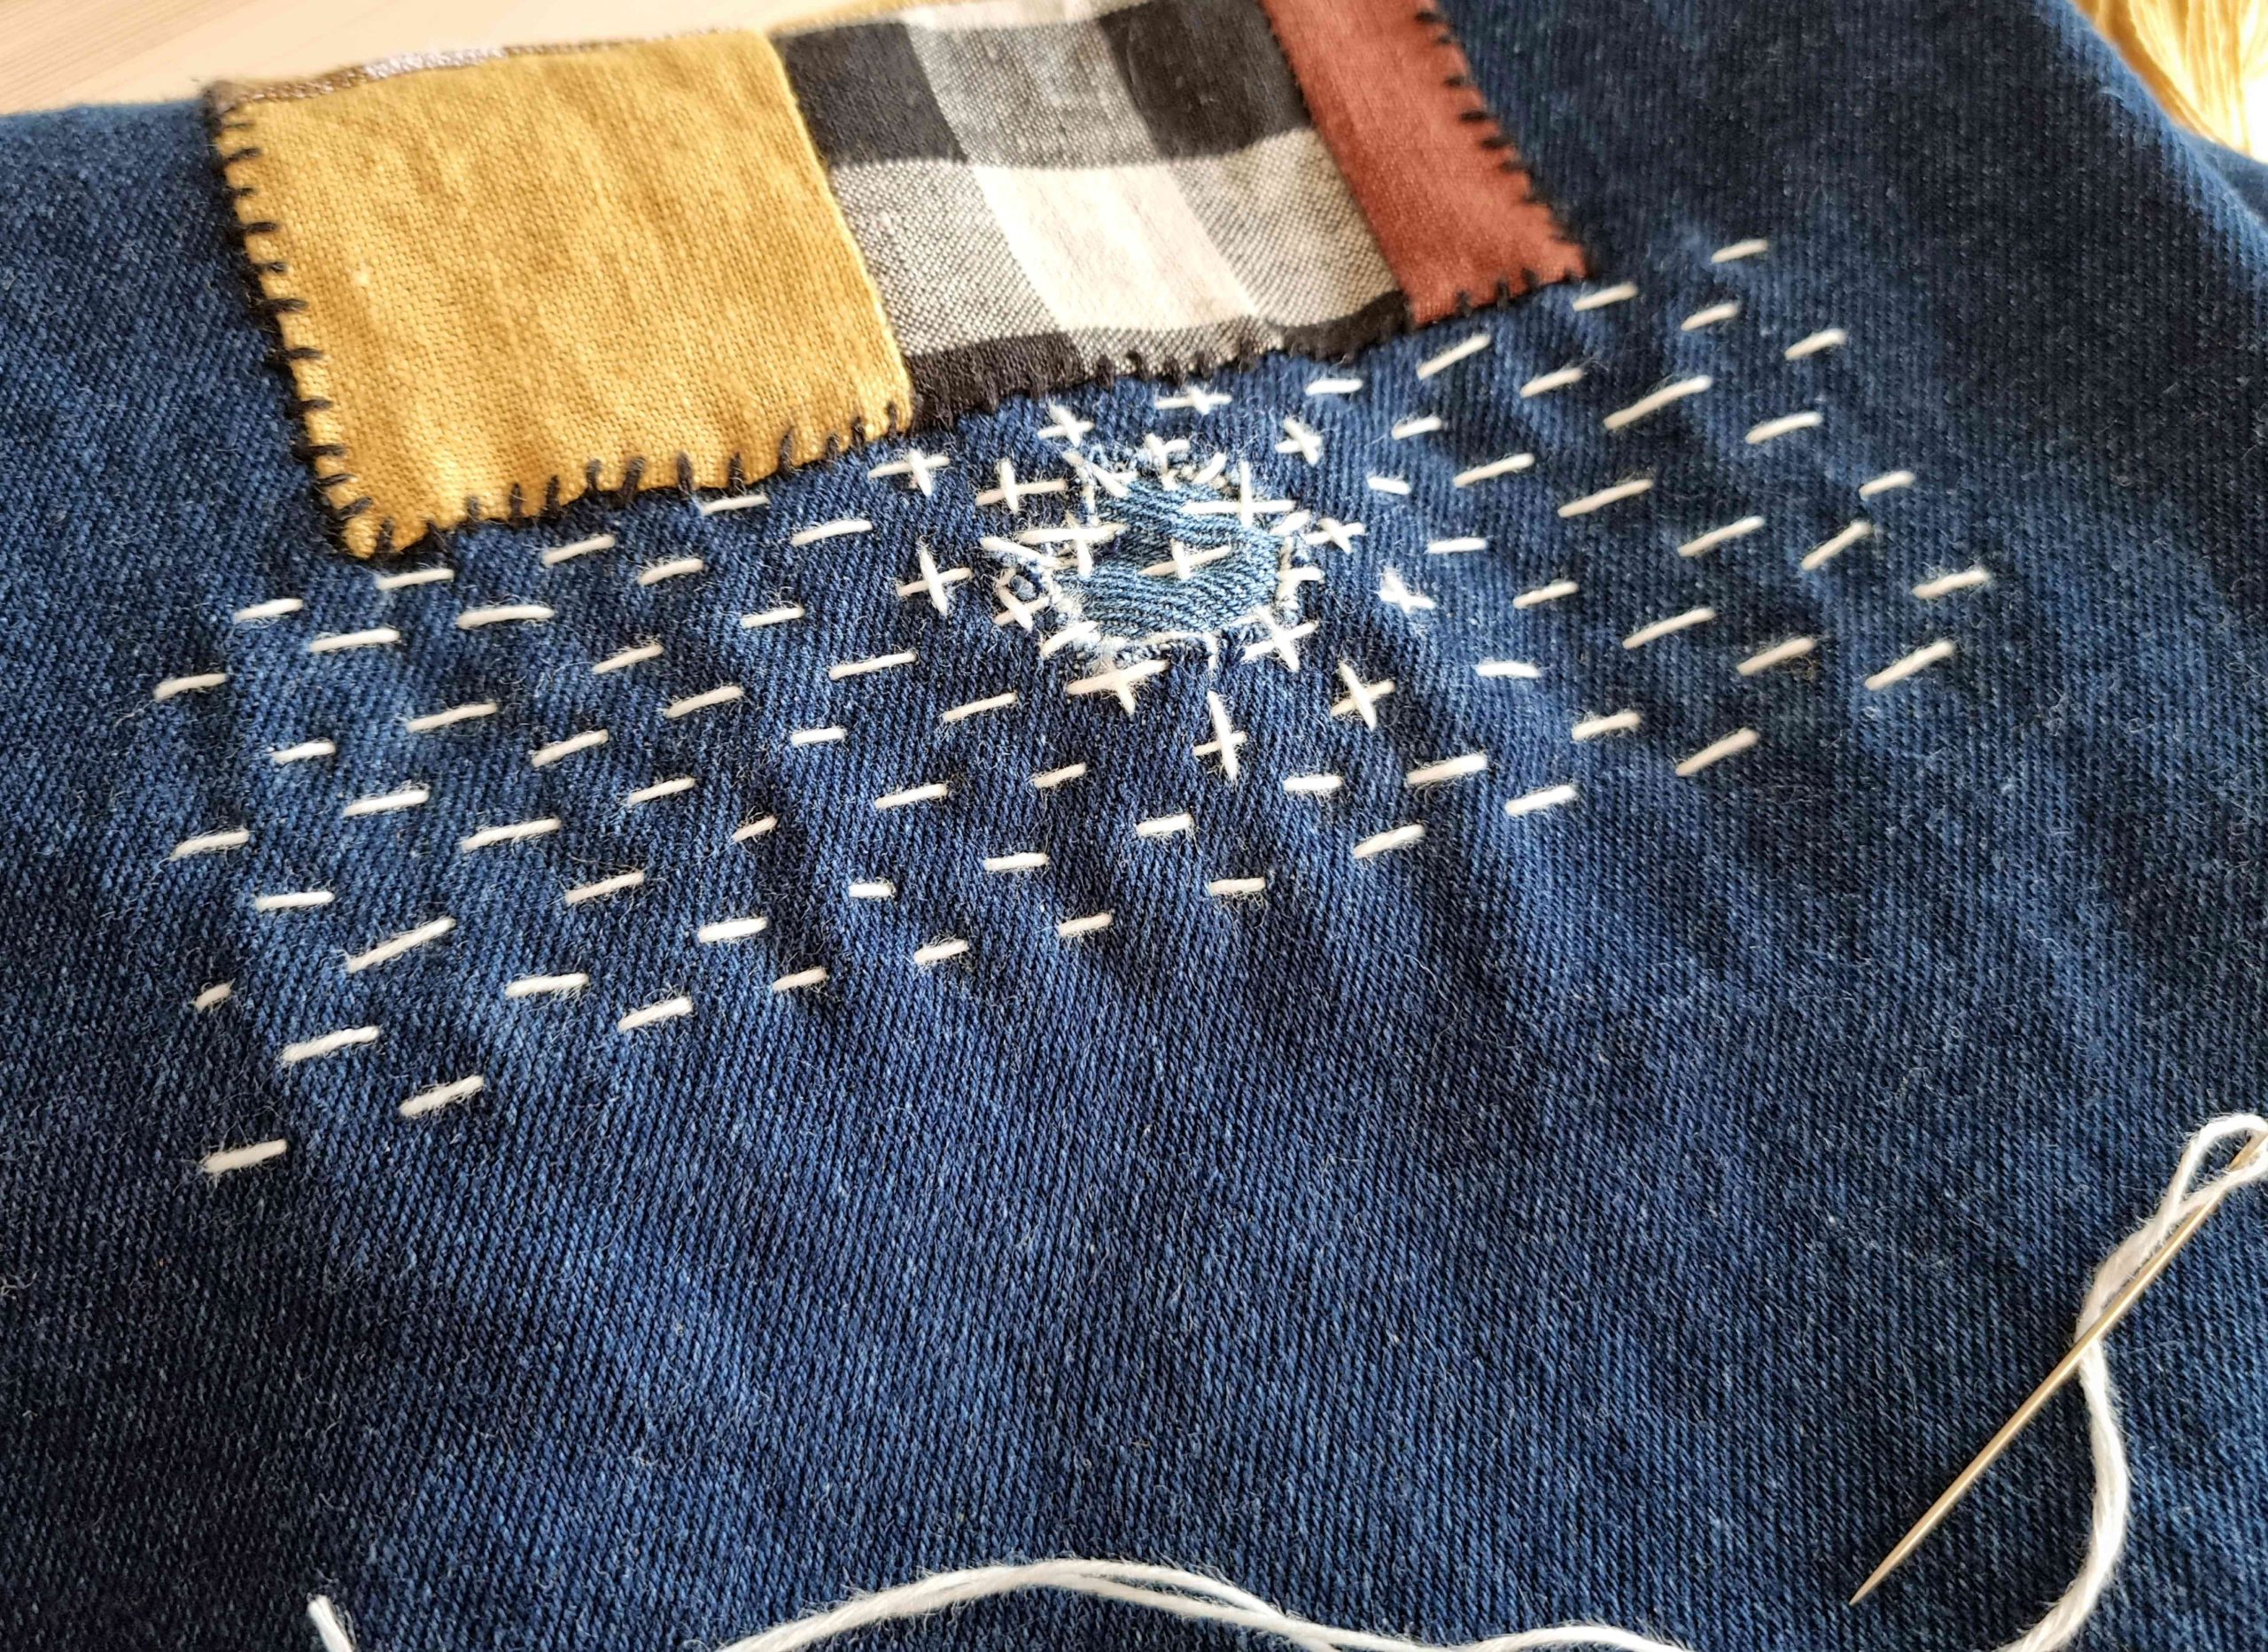
Now start stitching! Traditionally, sashiko stitches were no bigger than a grain of rice, so 1/4″ is about right for each stitch length (hence my chalk grid!)
Work along your design with simple running stitches. In my grid design, I’m alternating how the stitches appear on each row for a traditional and even finish:

So far, I’ve just carried on over the patch. Once I’ve finished the basic shape, I went back to the patch/hole area to reinforce it. It’s up to you how you do this. You could edge stitch all the way along, or create little crosses over the top of your horizontal stitches to make them stronger.
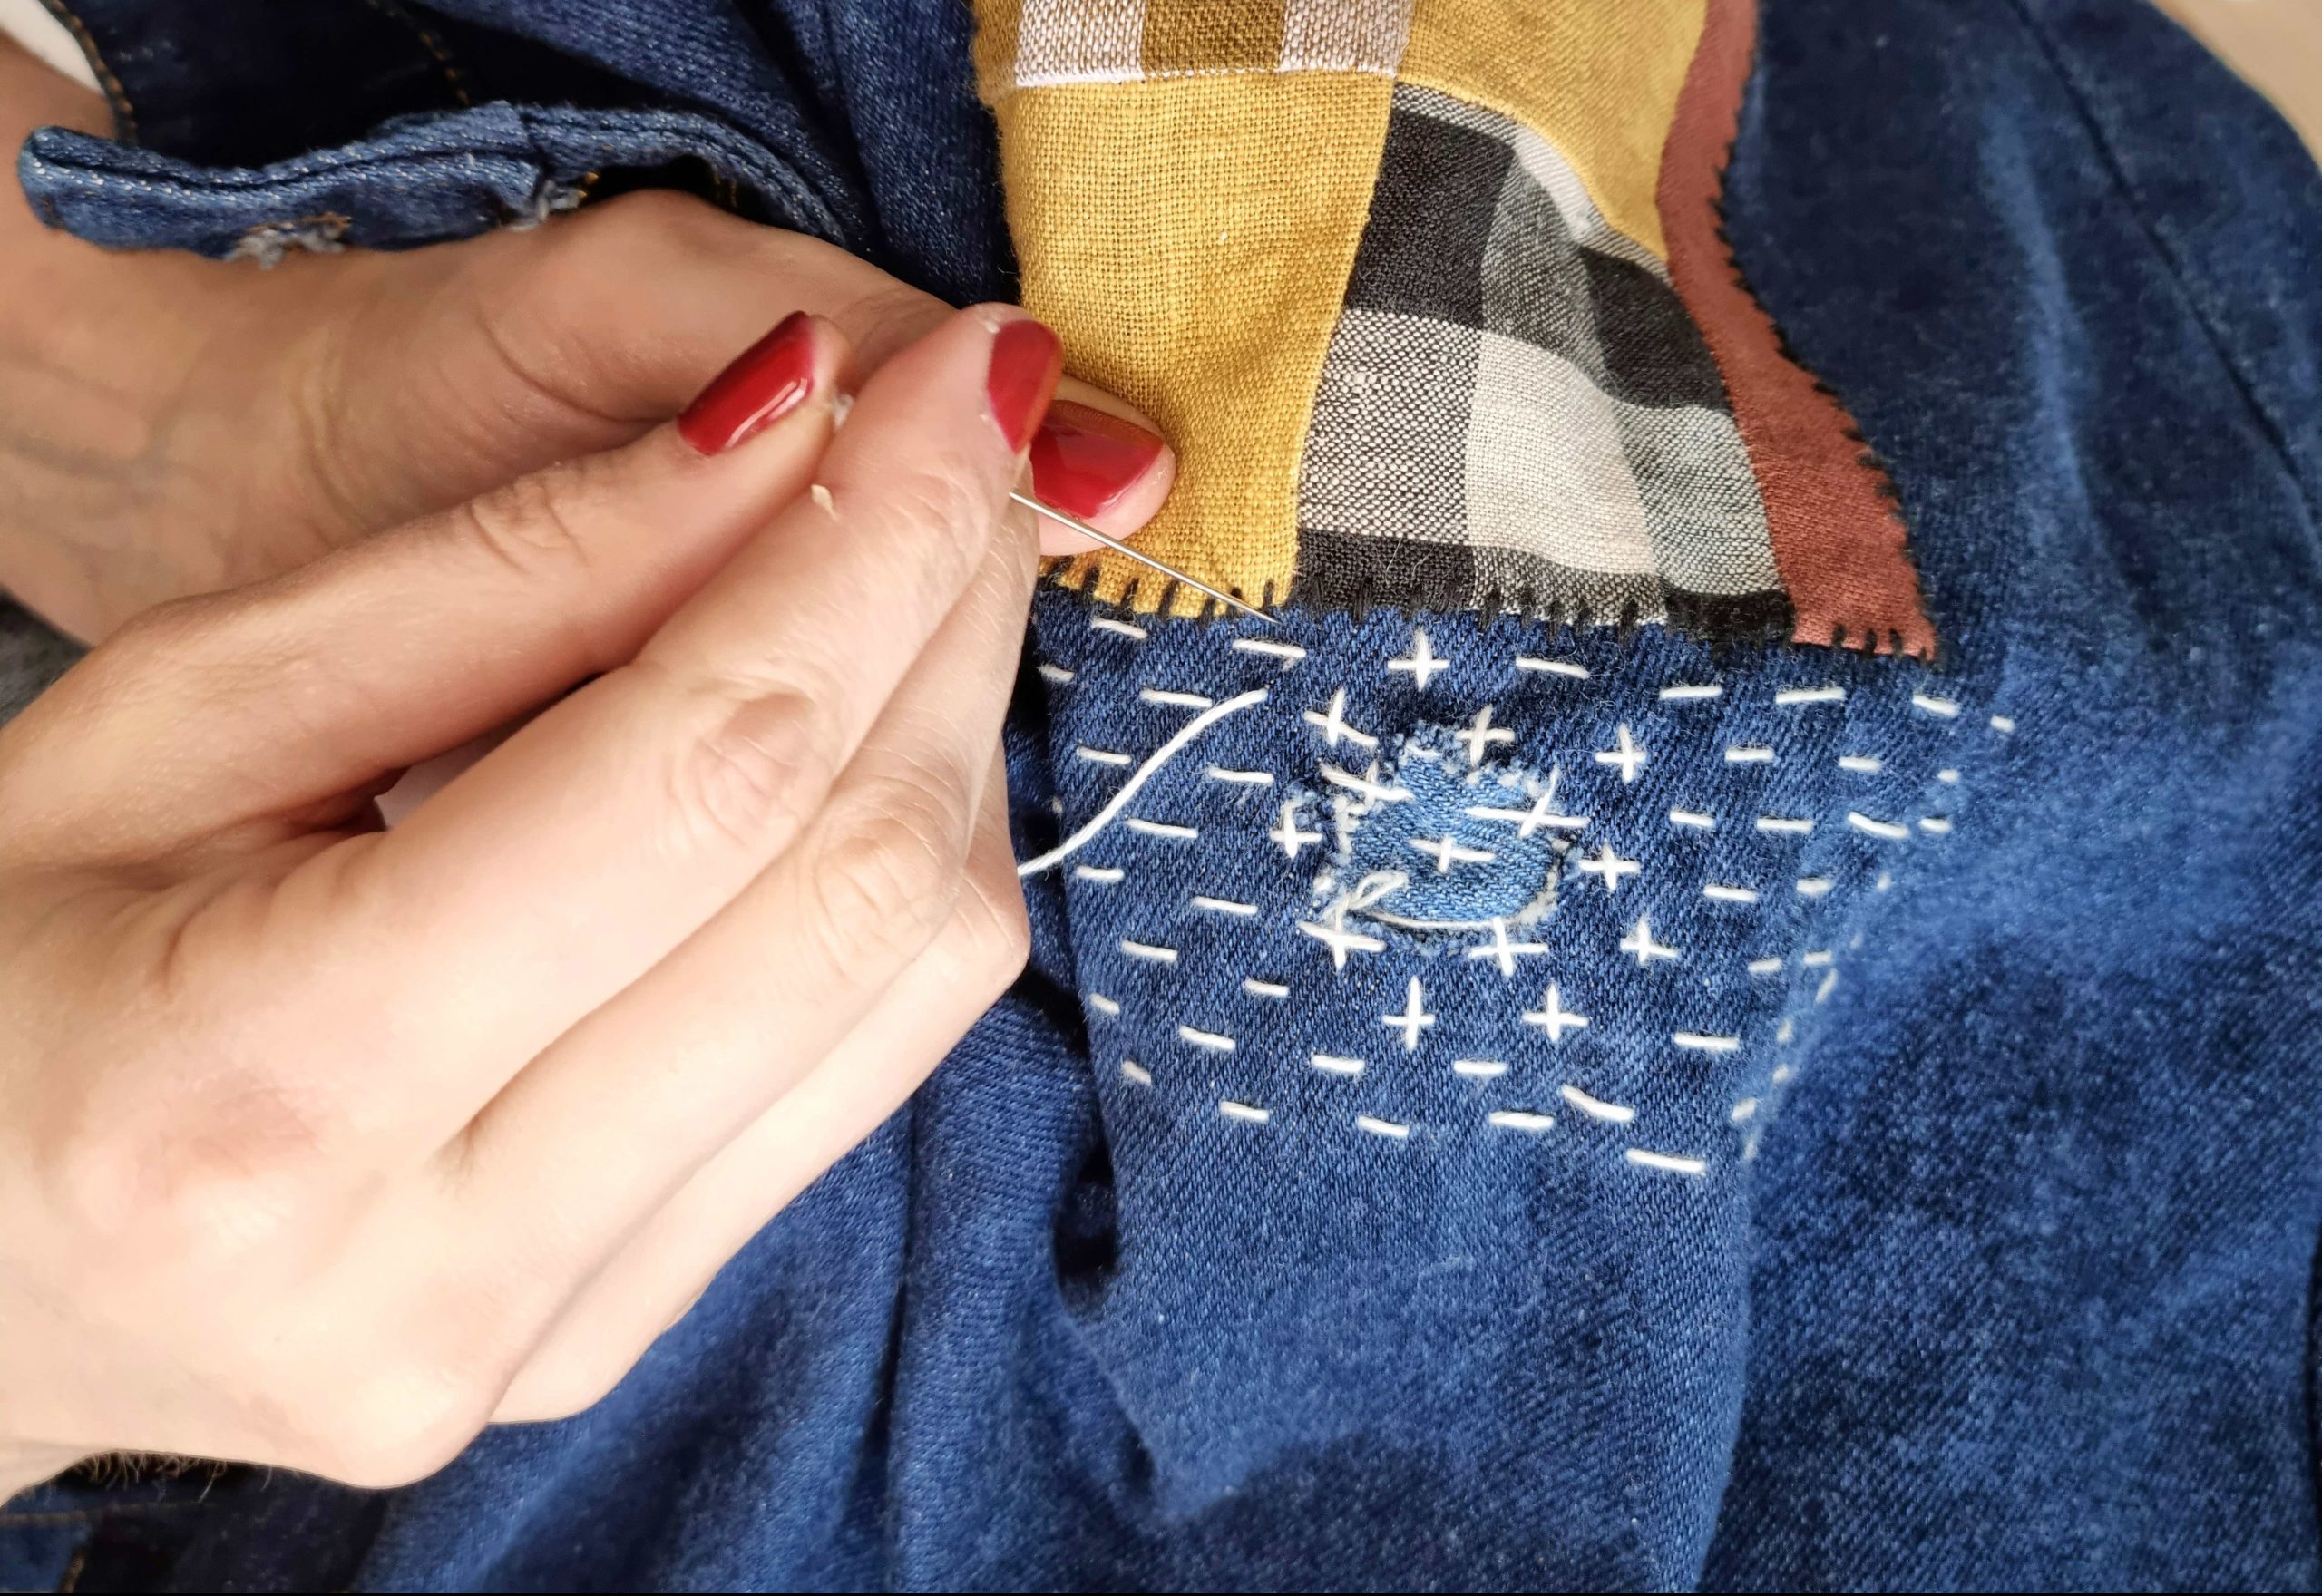
To make sure my patch was secure around the hole, I started with cross stitches, then added a few extra edge stitches in too.
That’s it!
I think it’d be fun to layer different patches, and use different stitching patterns or colours. Taking care of our clothes by investing in them in this way is so important – not only does it mean we care for our belongings and reduce waste, it makes them completely unique and yours to treasure for years to come!
Lorna


 We’re thrilled to announce that we’ve partnered with Tree Nation, the platform to reforest the world & fight climate change! Home to over 90 planting projects in 33 countries, Tree Nation is a non-profit organisation that helps people & companies offset their CO2 emissions.