Welcome back to our mini-series on learning how to quilt. Quilting is becoming more popular again, and I’m so pleased about it. It’s a wonderful hobby, and a great way to use up scrap fabrics.
We all need a bit of extra cosiness, and it can help you build your confidence with sewing. You can also start small and work your way up to more complicated projects.
This post is about how to attached the wadding and the backing fabric to your quilt top. Check out our last post on making an Ohio Star quilt block for some inspiration on quilt tops.
Once you’ve got your quilt top sorted, you’ll need to attach the squishy middle bit (the wadding or ‘batting’), then a backing fabric. This is what makes the quilt a quilt! You sandwich the wadding or batting in the middle between your two layers of fabric and finish it with stitching.
This step can be a bit daunting for beginners: sometimes quilts are a couple of metres wide, and it’s hard to know where to start. Follow our tips below for a small project to get used to the techniques:
Practice on a mini-quilt!
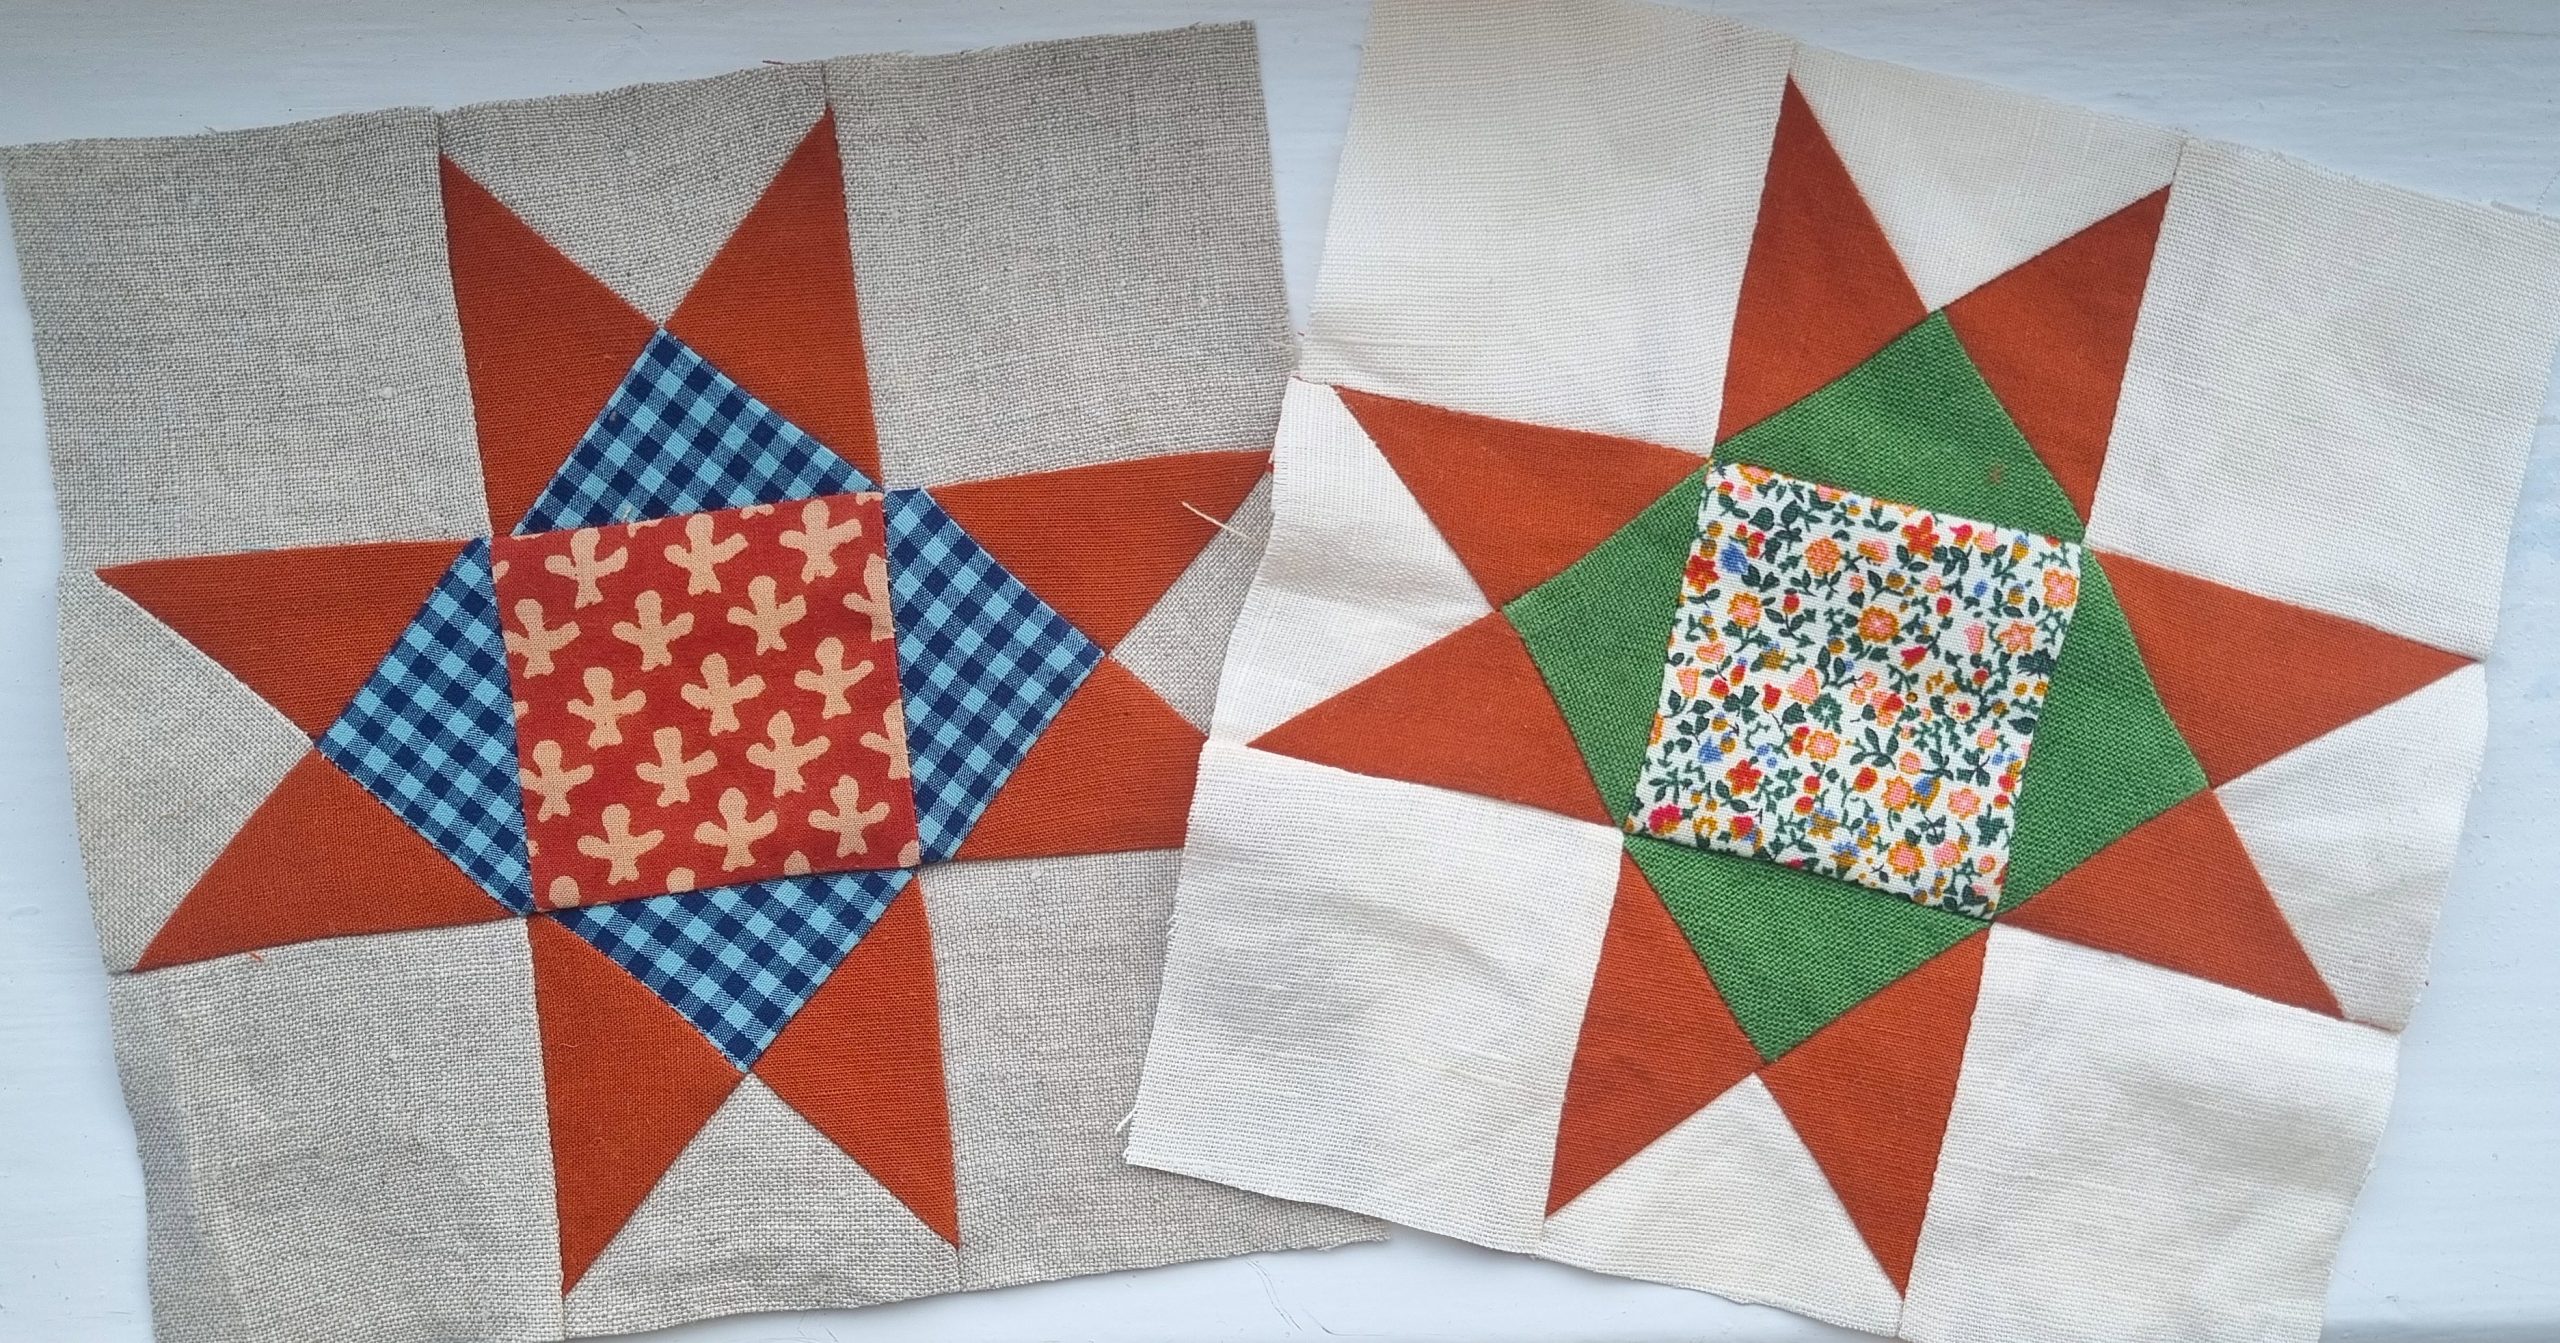
A good way to practice these techniques is to make a smaller version and get used to what works for you. I love using scrap fabric to make little quilted pot-rests, or wall-hangings. They’re easier to handle and you can get some practice in before moving onto a bigger project.
Have a look at William Gee’s wadding – there’s a range so you can choose your thickness and fibre.
Step 1: prepare your quilt top
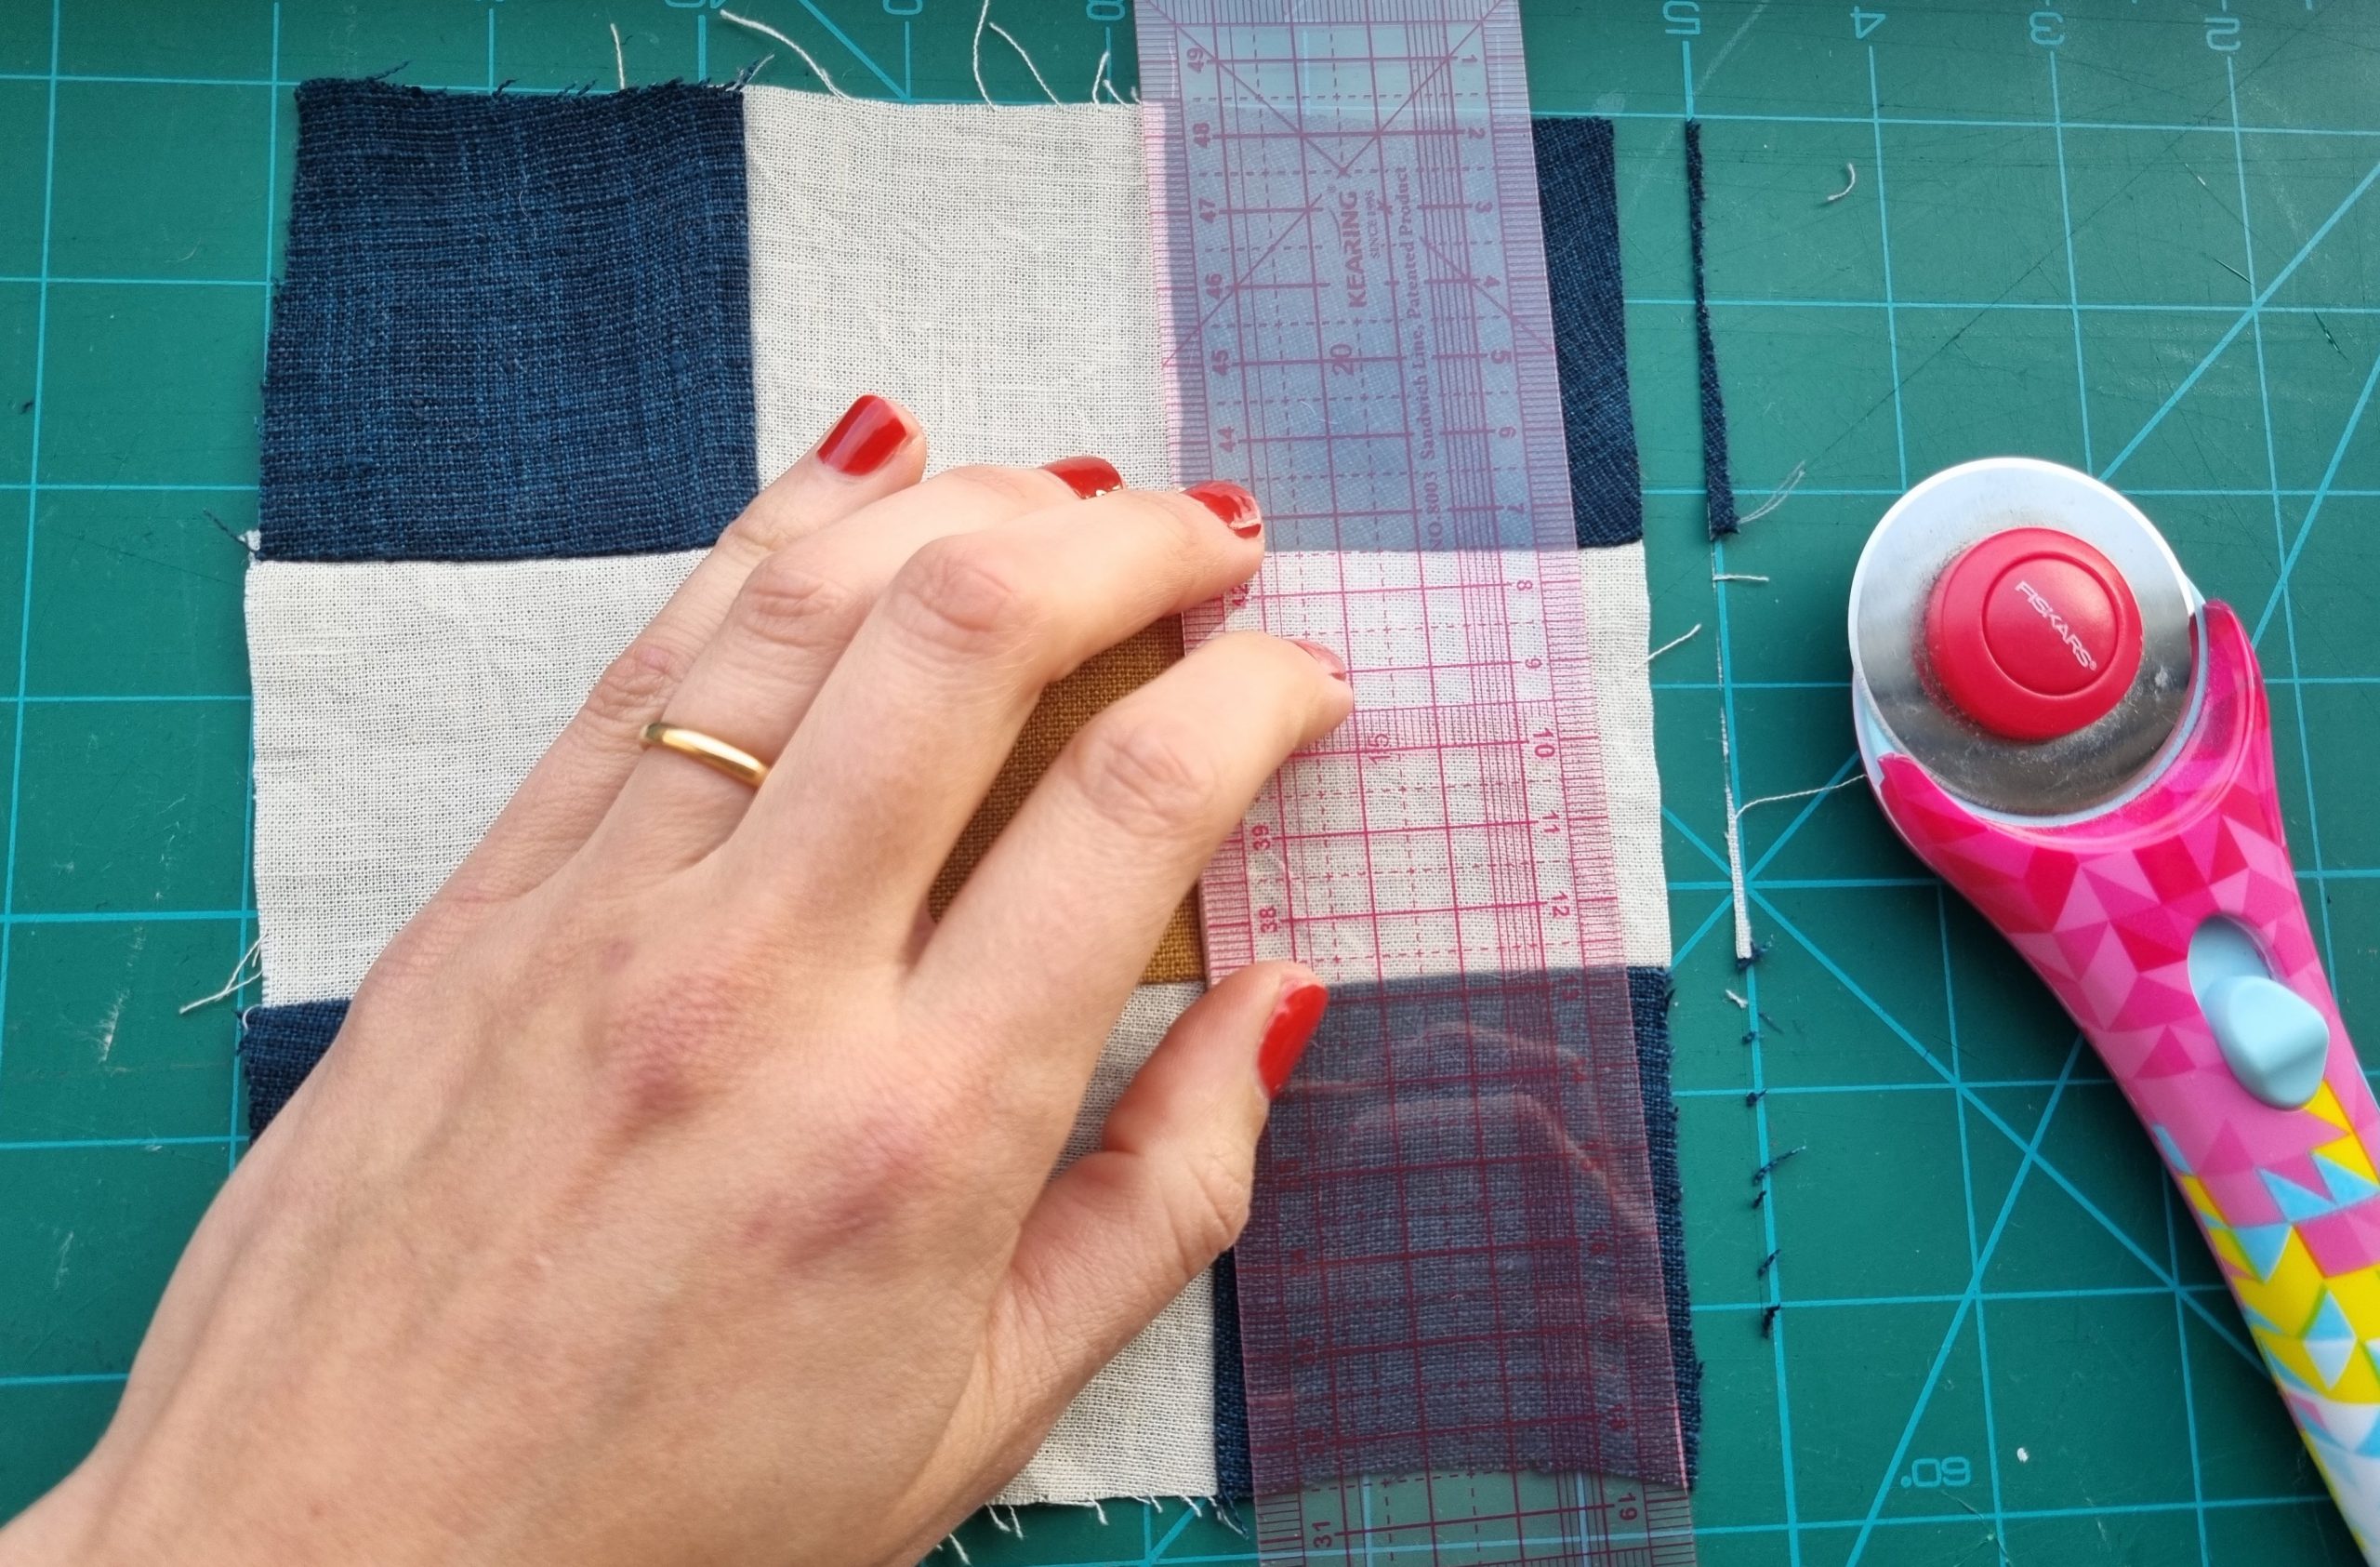
Prepare the top of your quilt by pressing it flat, and making sure all the corners are square. You can use a cutting mat and quilting ruler to help you. I find it easiest to run a rotary cutter along the edge of quilting ruler, instead of using scissors. William Gee stocks all these essentials to help you get started.
Step 2: lay your quilt top over the wadding piece
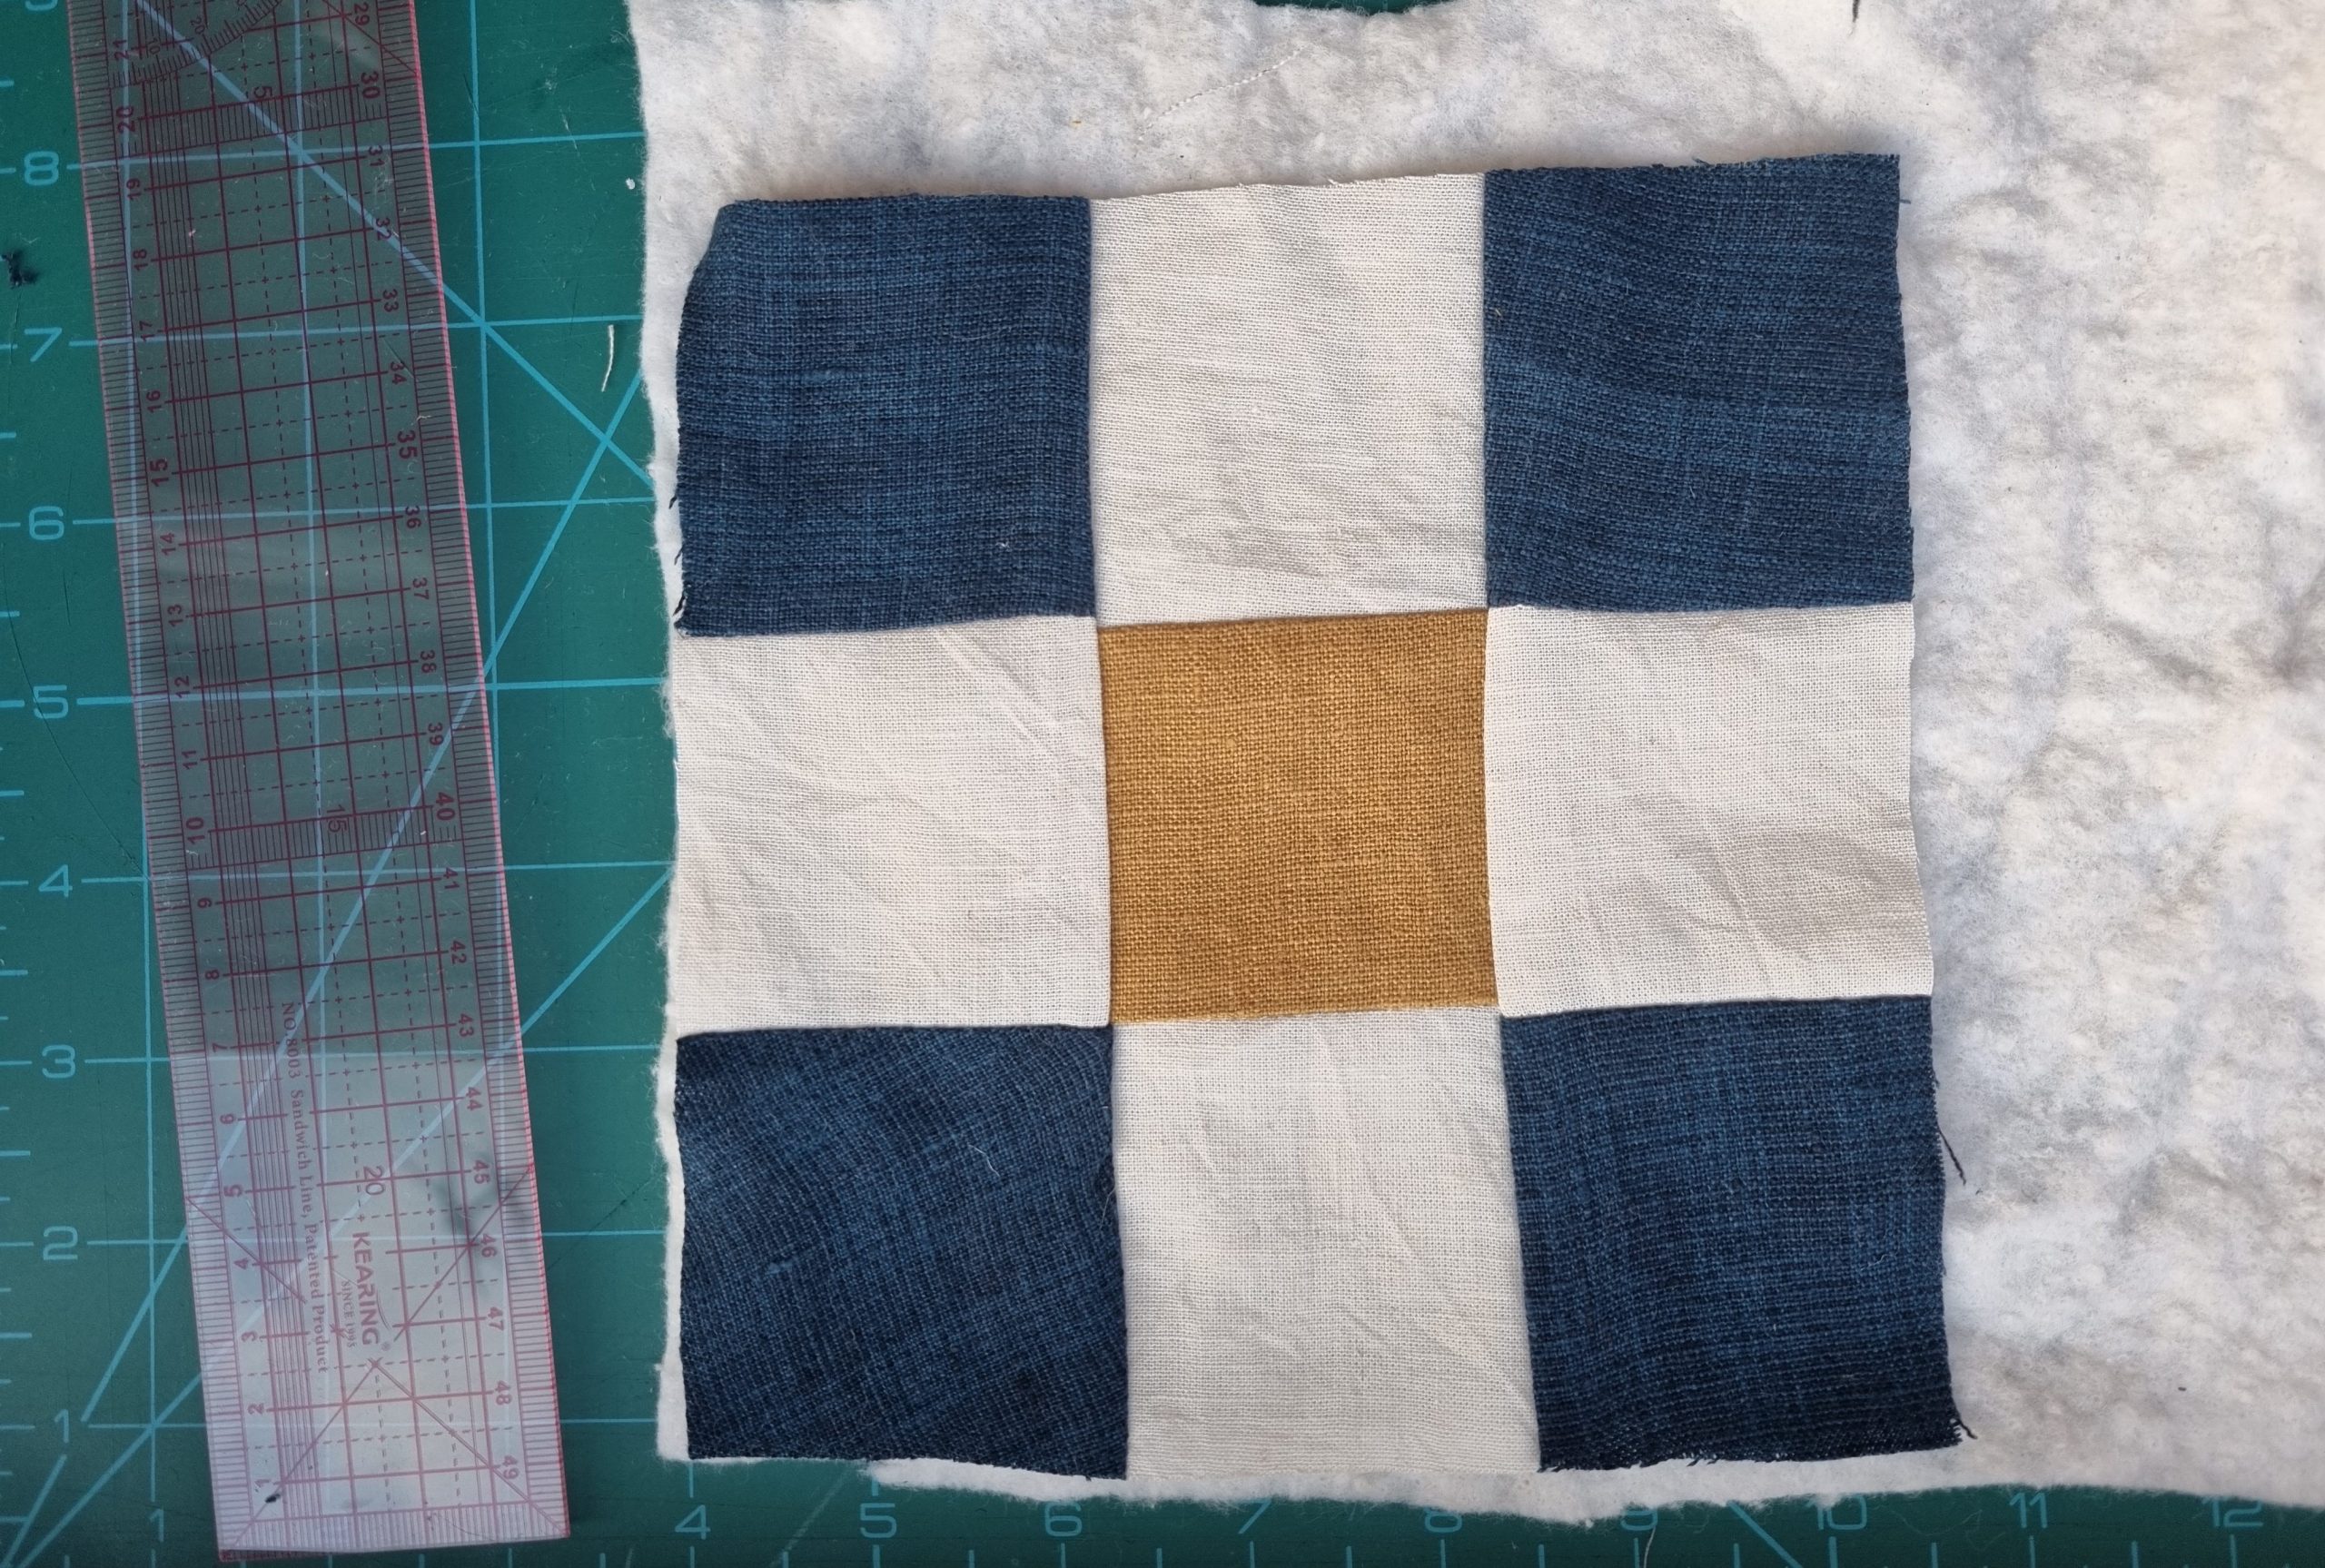
You can choose to measure your quilt top and cut out a piece of wadding, or lay it on top, and use the ruler and rotary cutter. I always cut a little extra than the size of my quilt top in case my top stretches slightly. You don’t want to end up with too little wadding.
Step 3: cut your backing fabric to size

Repeat the above for the backing fabric. You can choose any fabric to use as the backing! I’ve seen more patchwork, plain cotton or even corduroy and jeans remnants used. It’s a chance to be creative and think about what textures you’d like.
Step 4: baste the layers together
Before you start any quilting or stitching, you’ll need to temporarily attach (or ‘baste’) all the layers together. There are a few ways to do this. You can use a spray adhesive to lightly bond the fabric to the wadding before stitching, or you could use quilting safety pins.
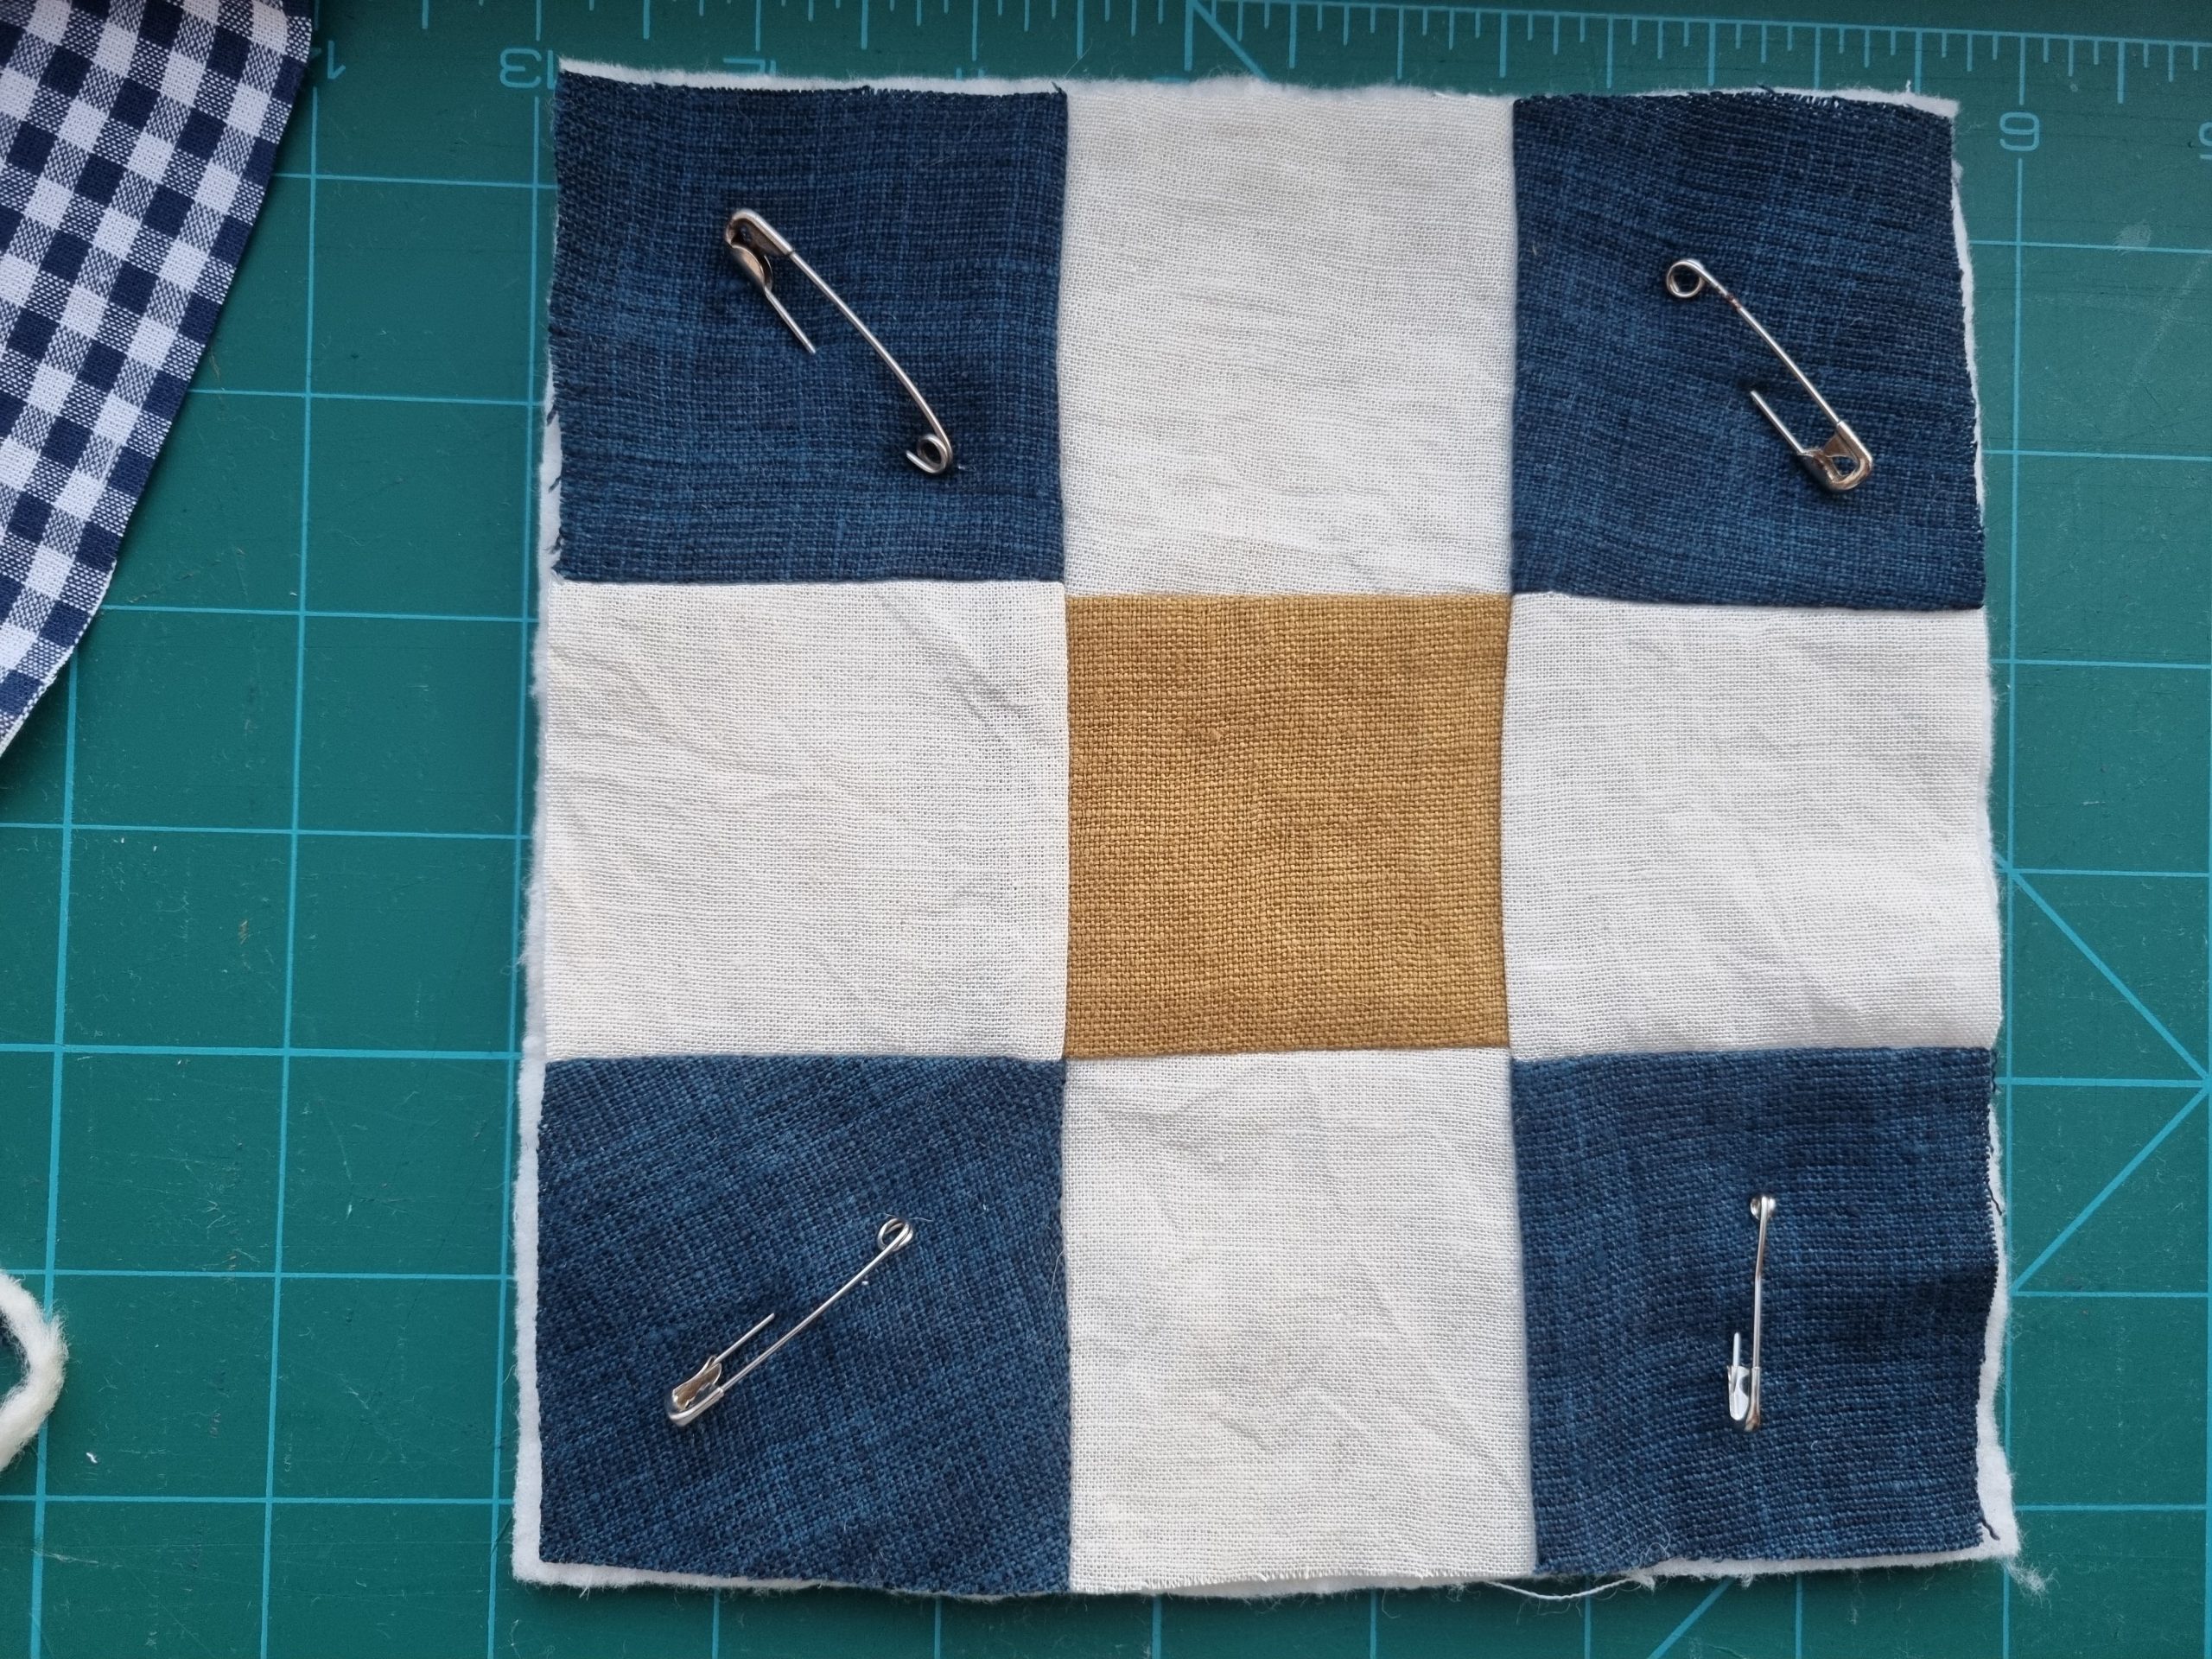
It’s important to start attaching the layers, and then smoothing out towards the edges. This helps to avoid any bumps or drags on the fabric. If you use safety pins, try to space them out evenly.
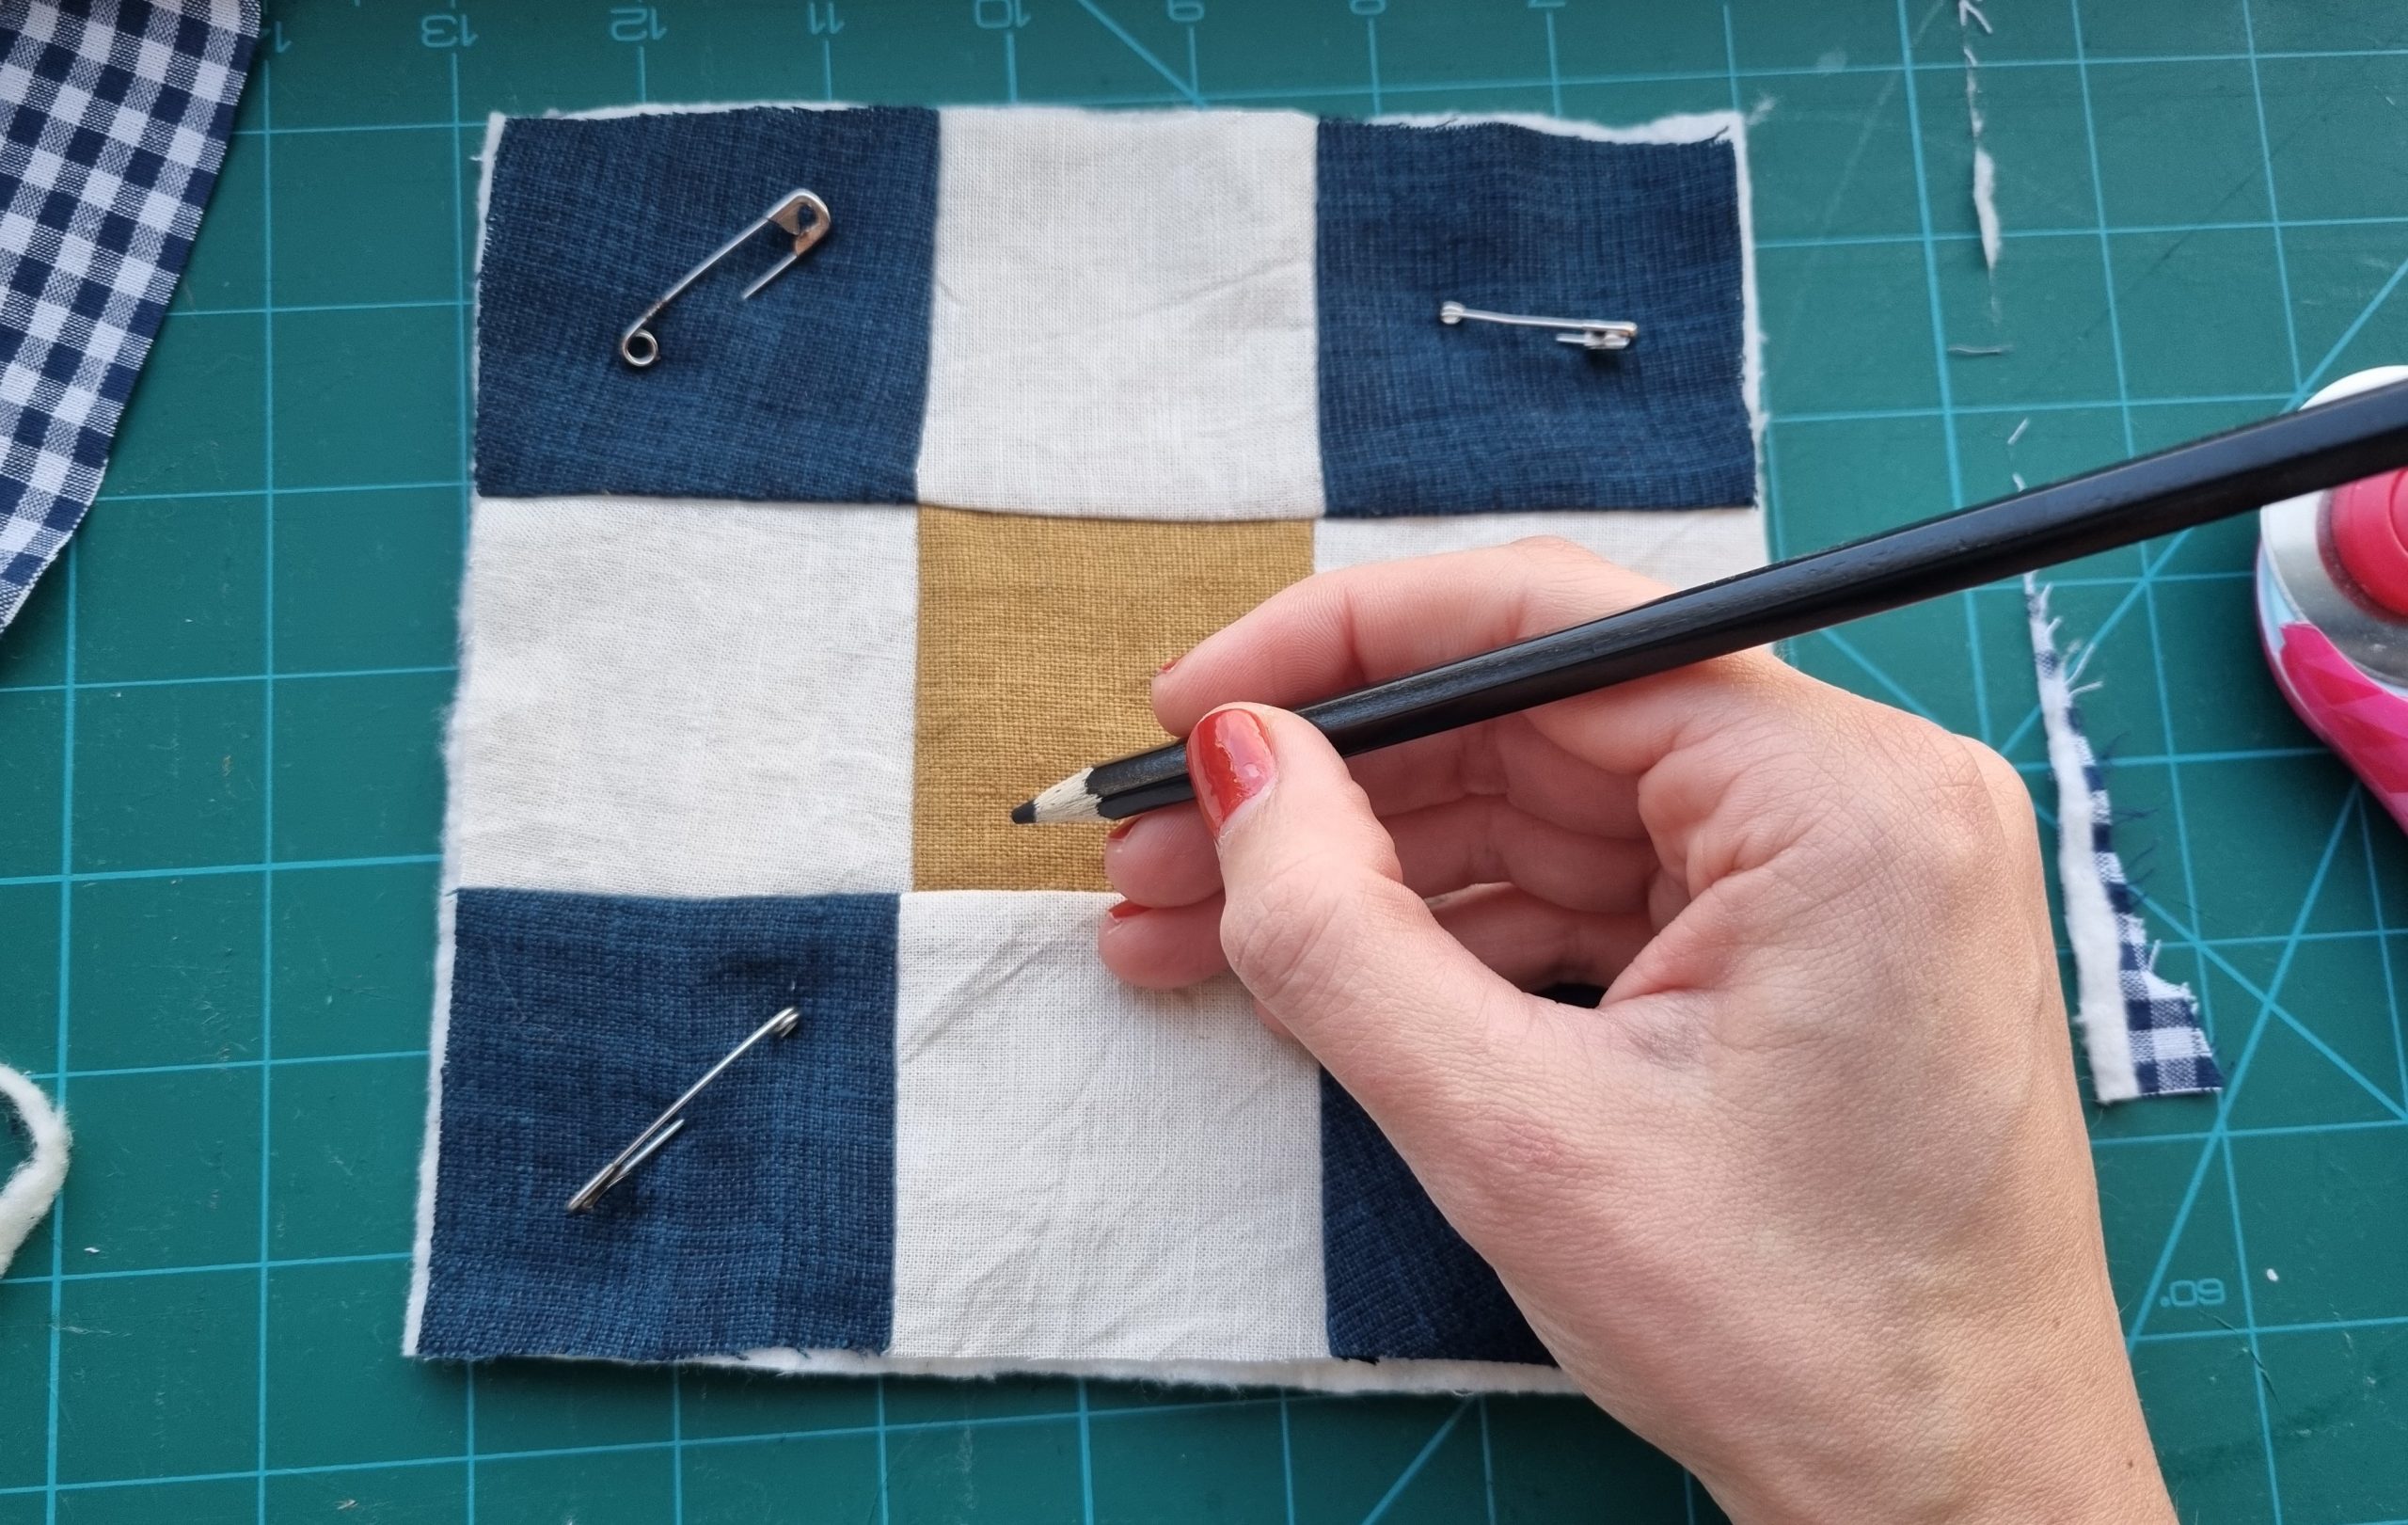
Step 5: mark your quilting pattern
I like to plan out where I’m going to quilt with chalk, or an erasable marker, and use a ruler as a guide. You can follow the patchwork seam lines, or get even more creative!

Step 6: time to quilt!
Now you’ve got your layers basted and quilting lines marked, you can start quilting all the layers together. You can experiment with machine or hand-quilting. I like both, depending on the project. If you machine-quilt, you might find these quilting needles useful. It can also help to lengthen you stitch to 3 or 3.5mm.
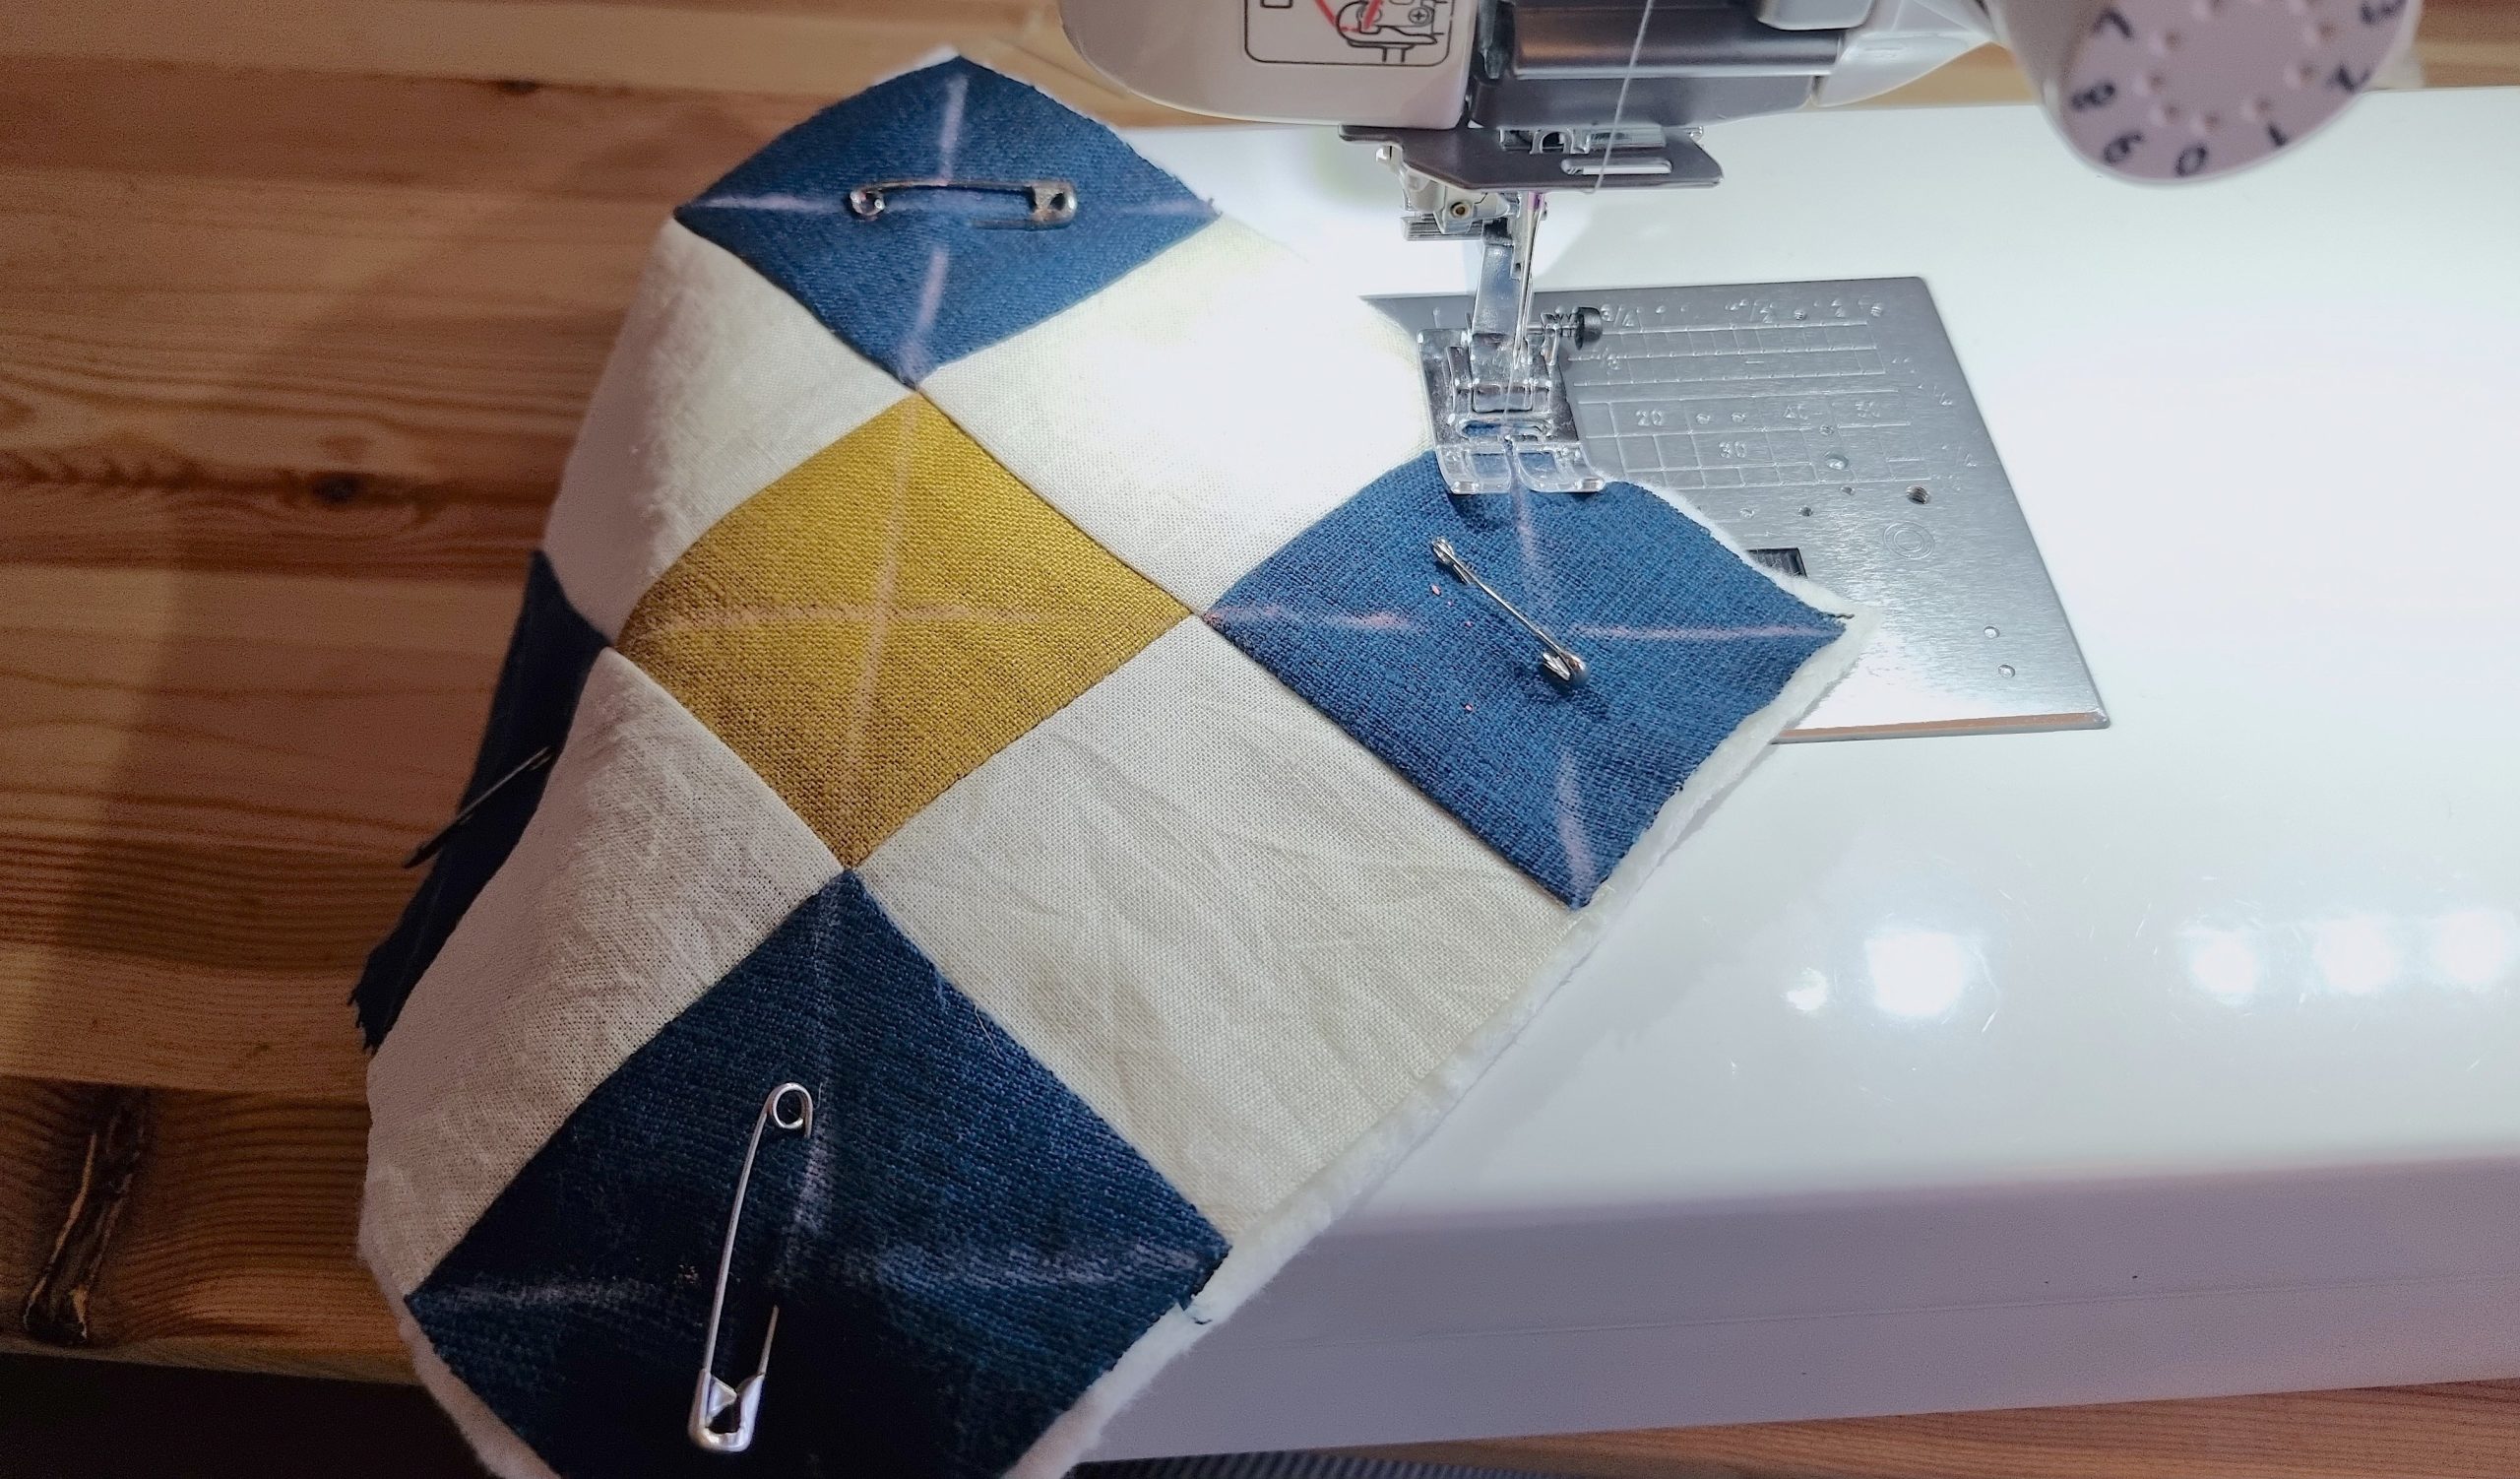
You need to stitch through all three layers, so you’ll also see your stitching on the back (think about this when you choose your bobbin thread colour!)
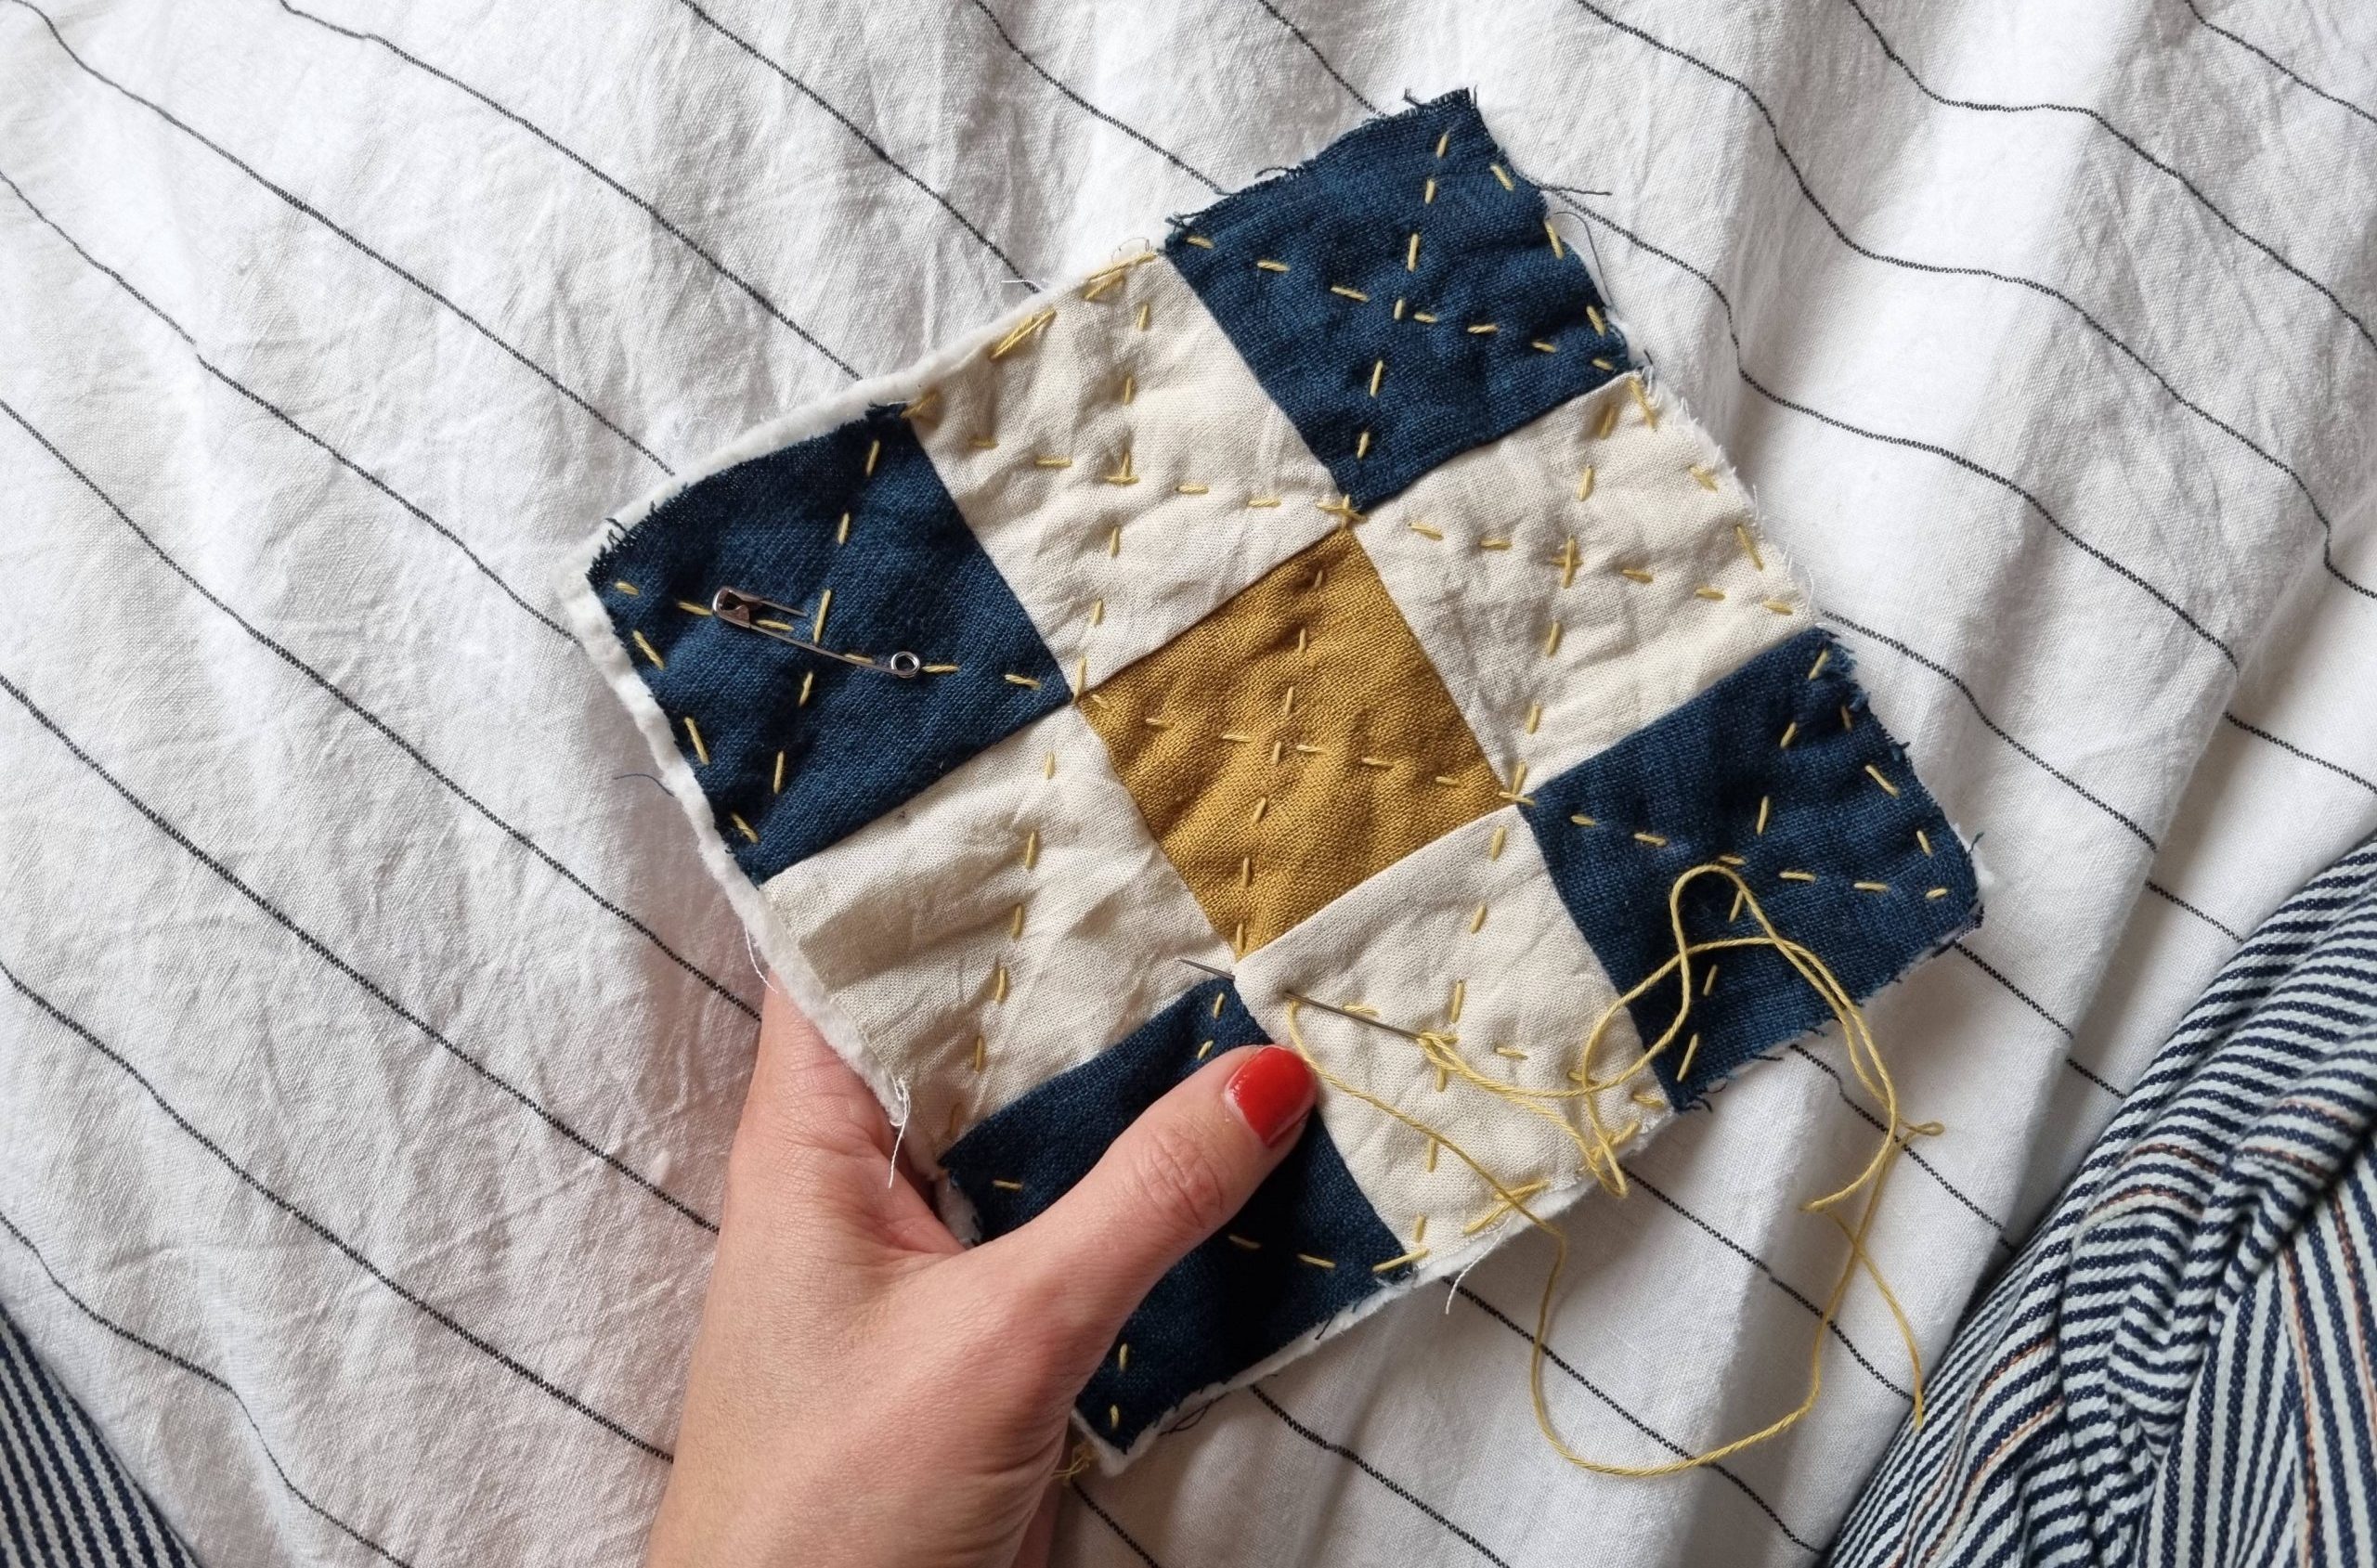
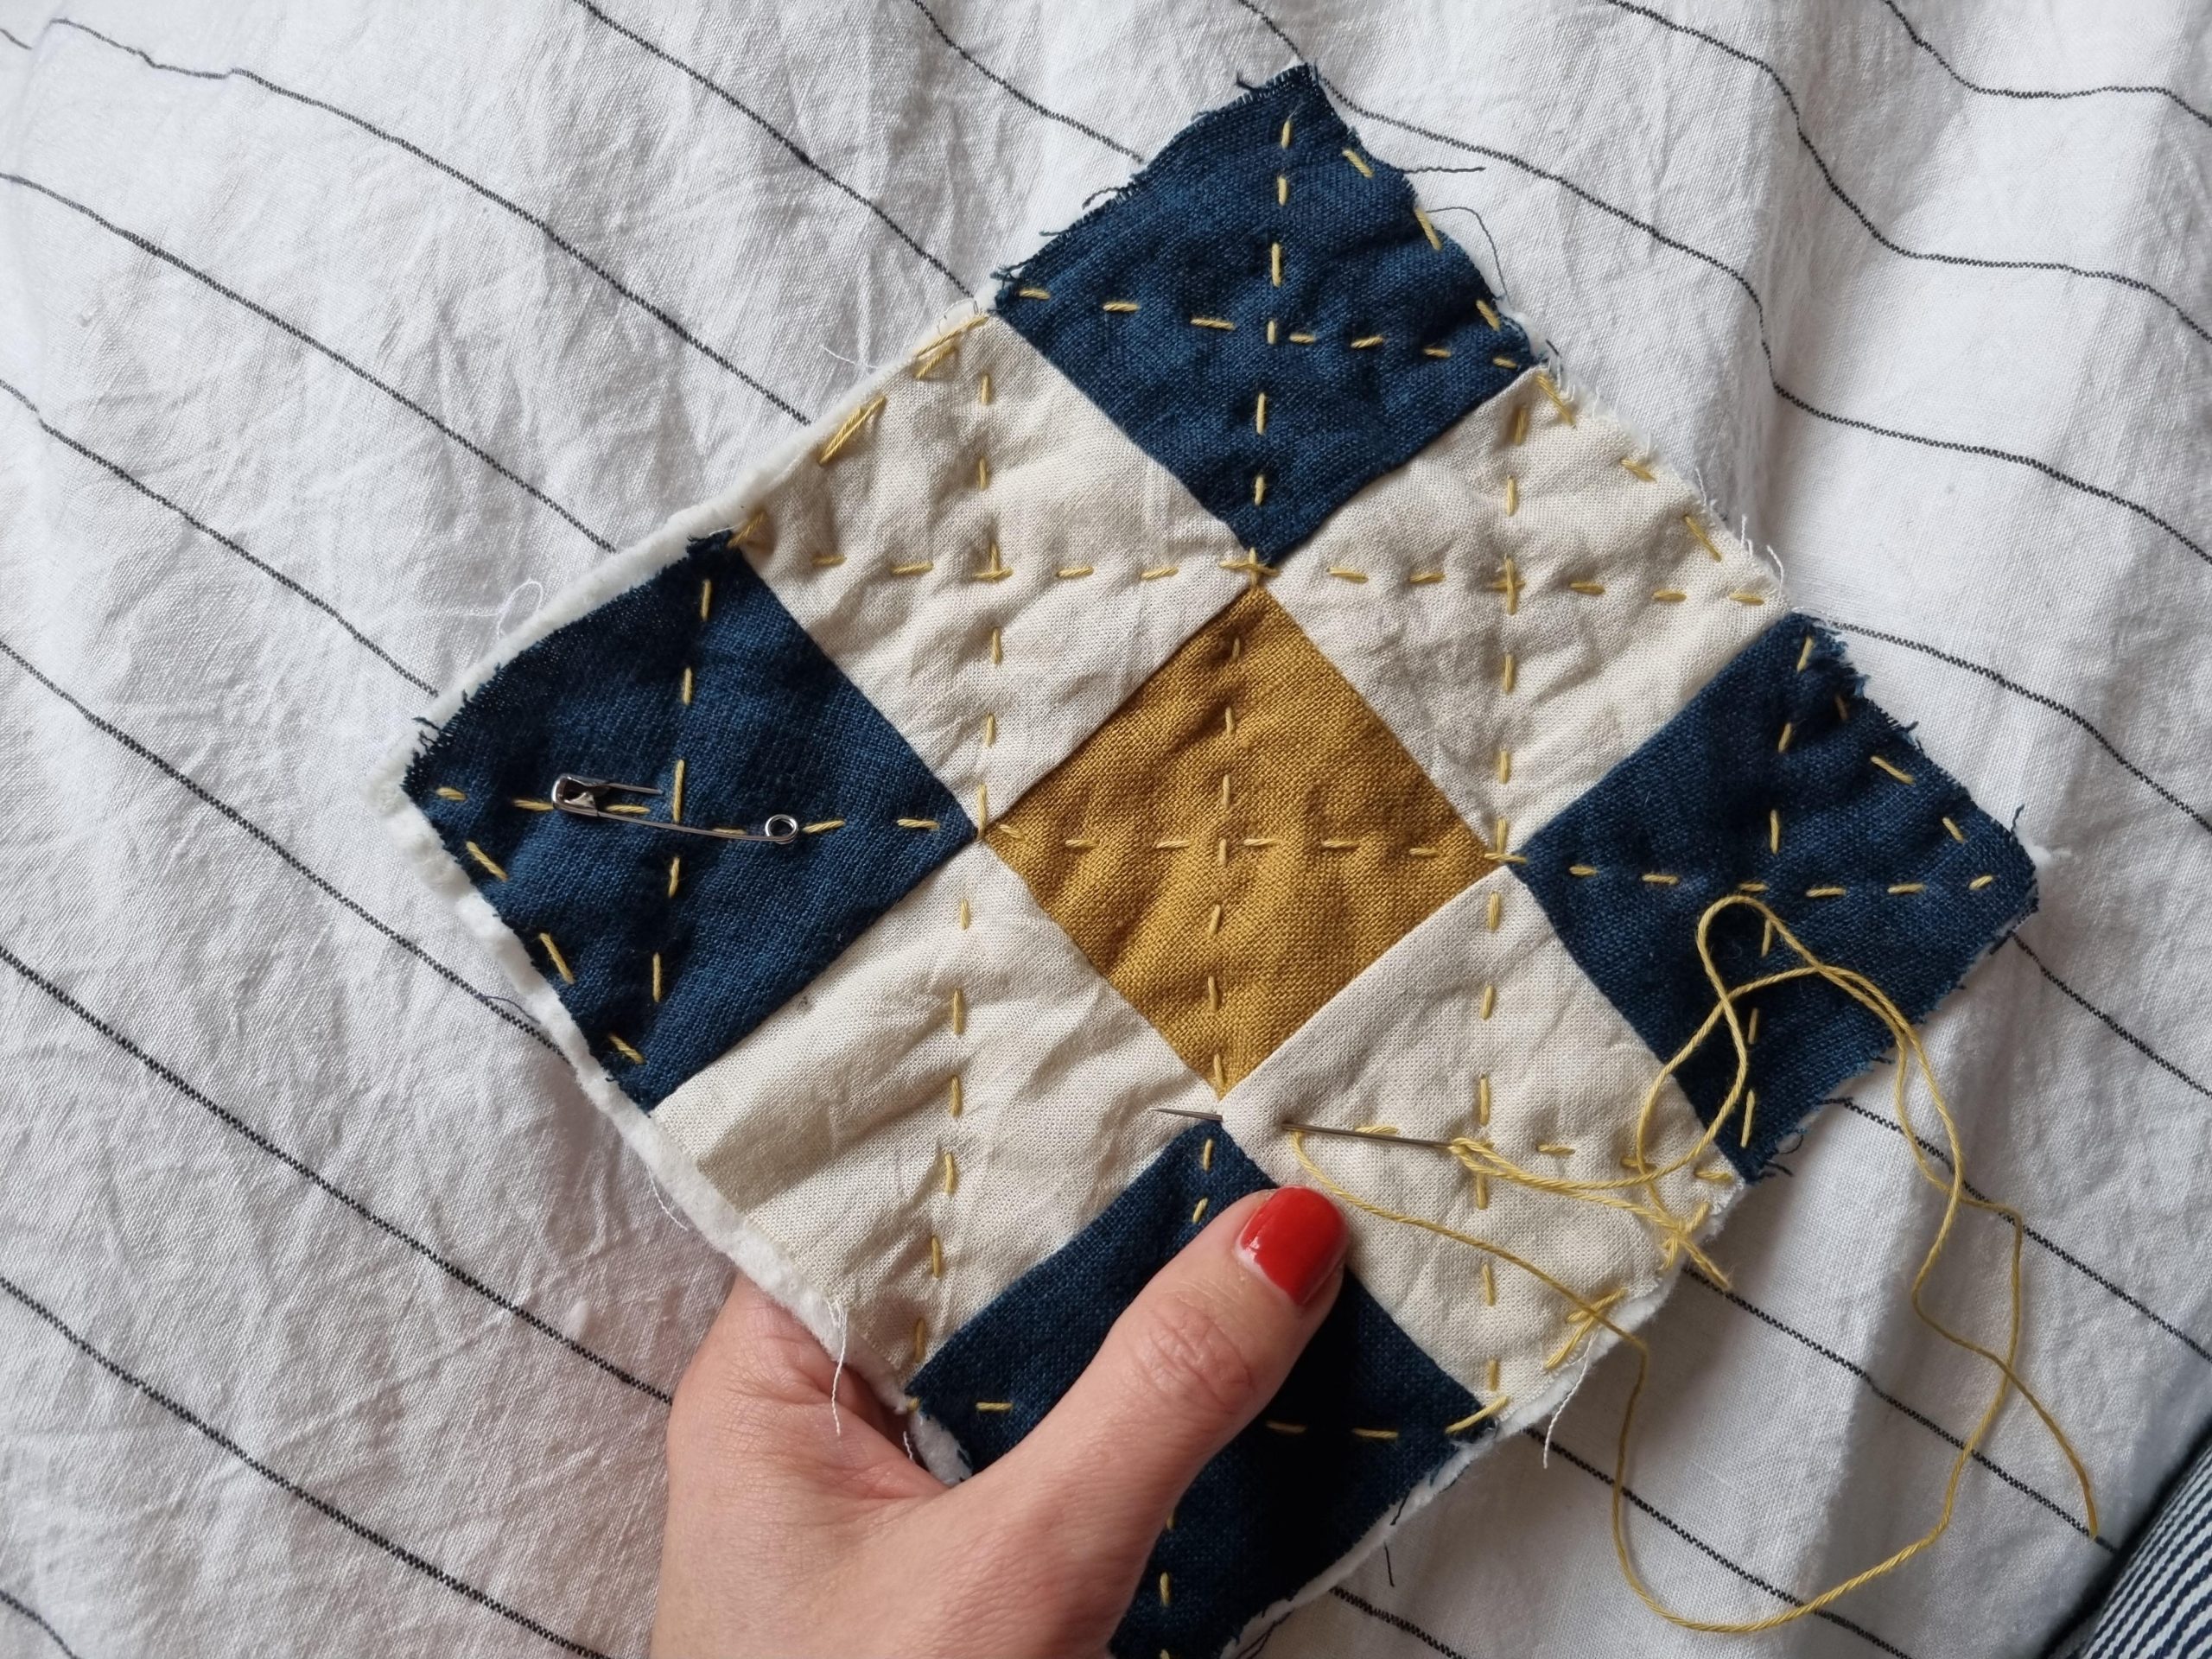
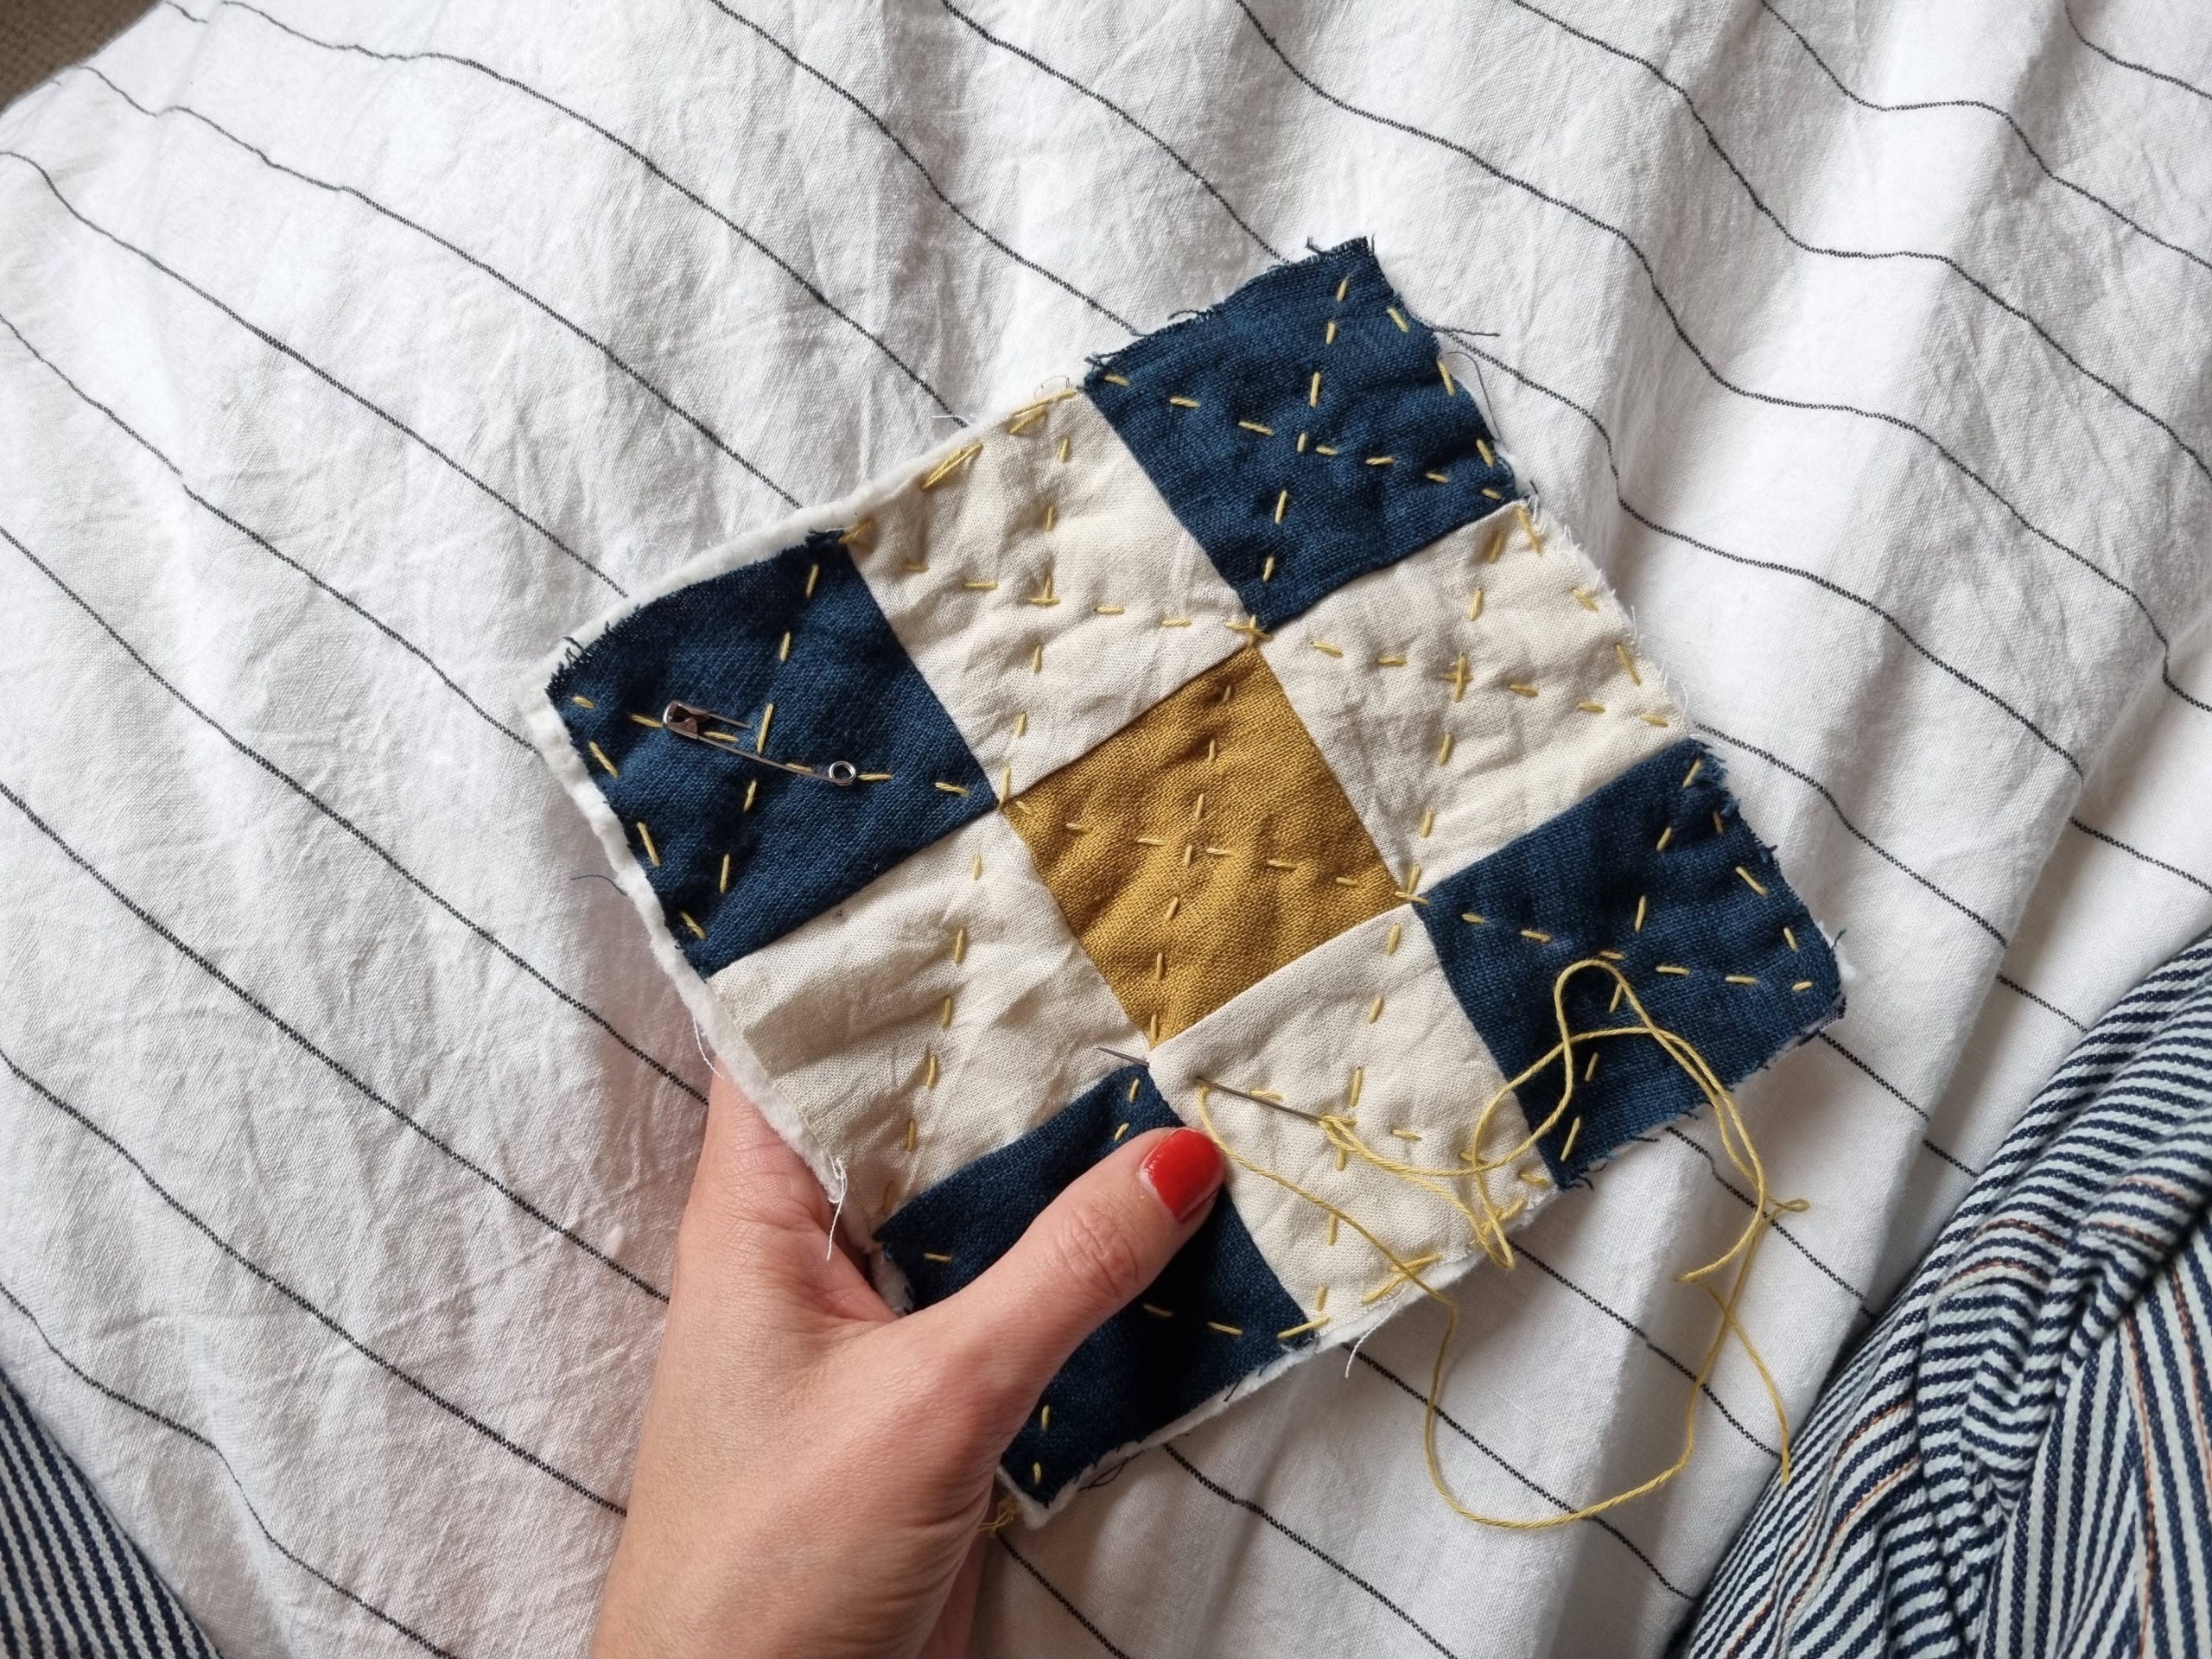
I think machine-stitching looks very neat, but hand-stitching adds a beautiful texture and softness to your quilts. I’ve opted for this for my little sample.
On bigger quilts, it’s a good idea to start the stitching nearer the middle, and work your way out again – to avoid any bunching of the fabric. Go slow, and stop regularly to check it’s all lying flat.
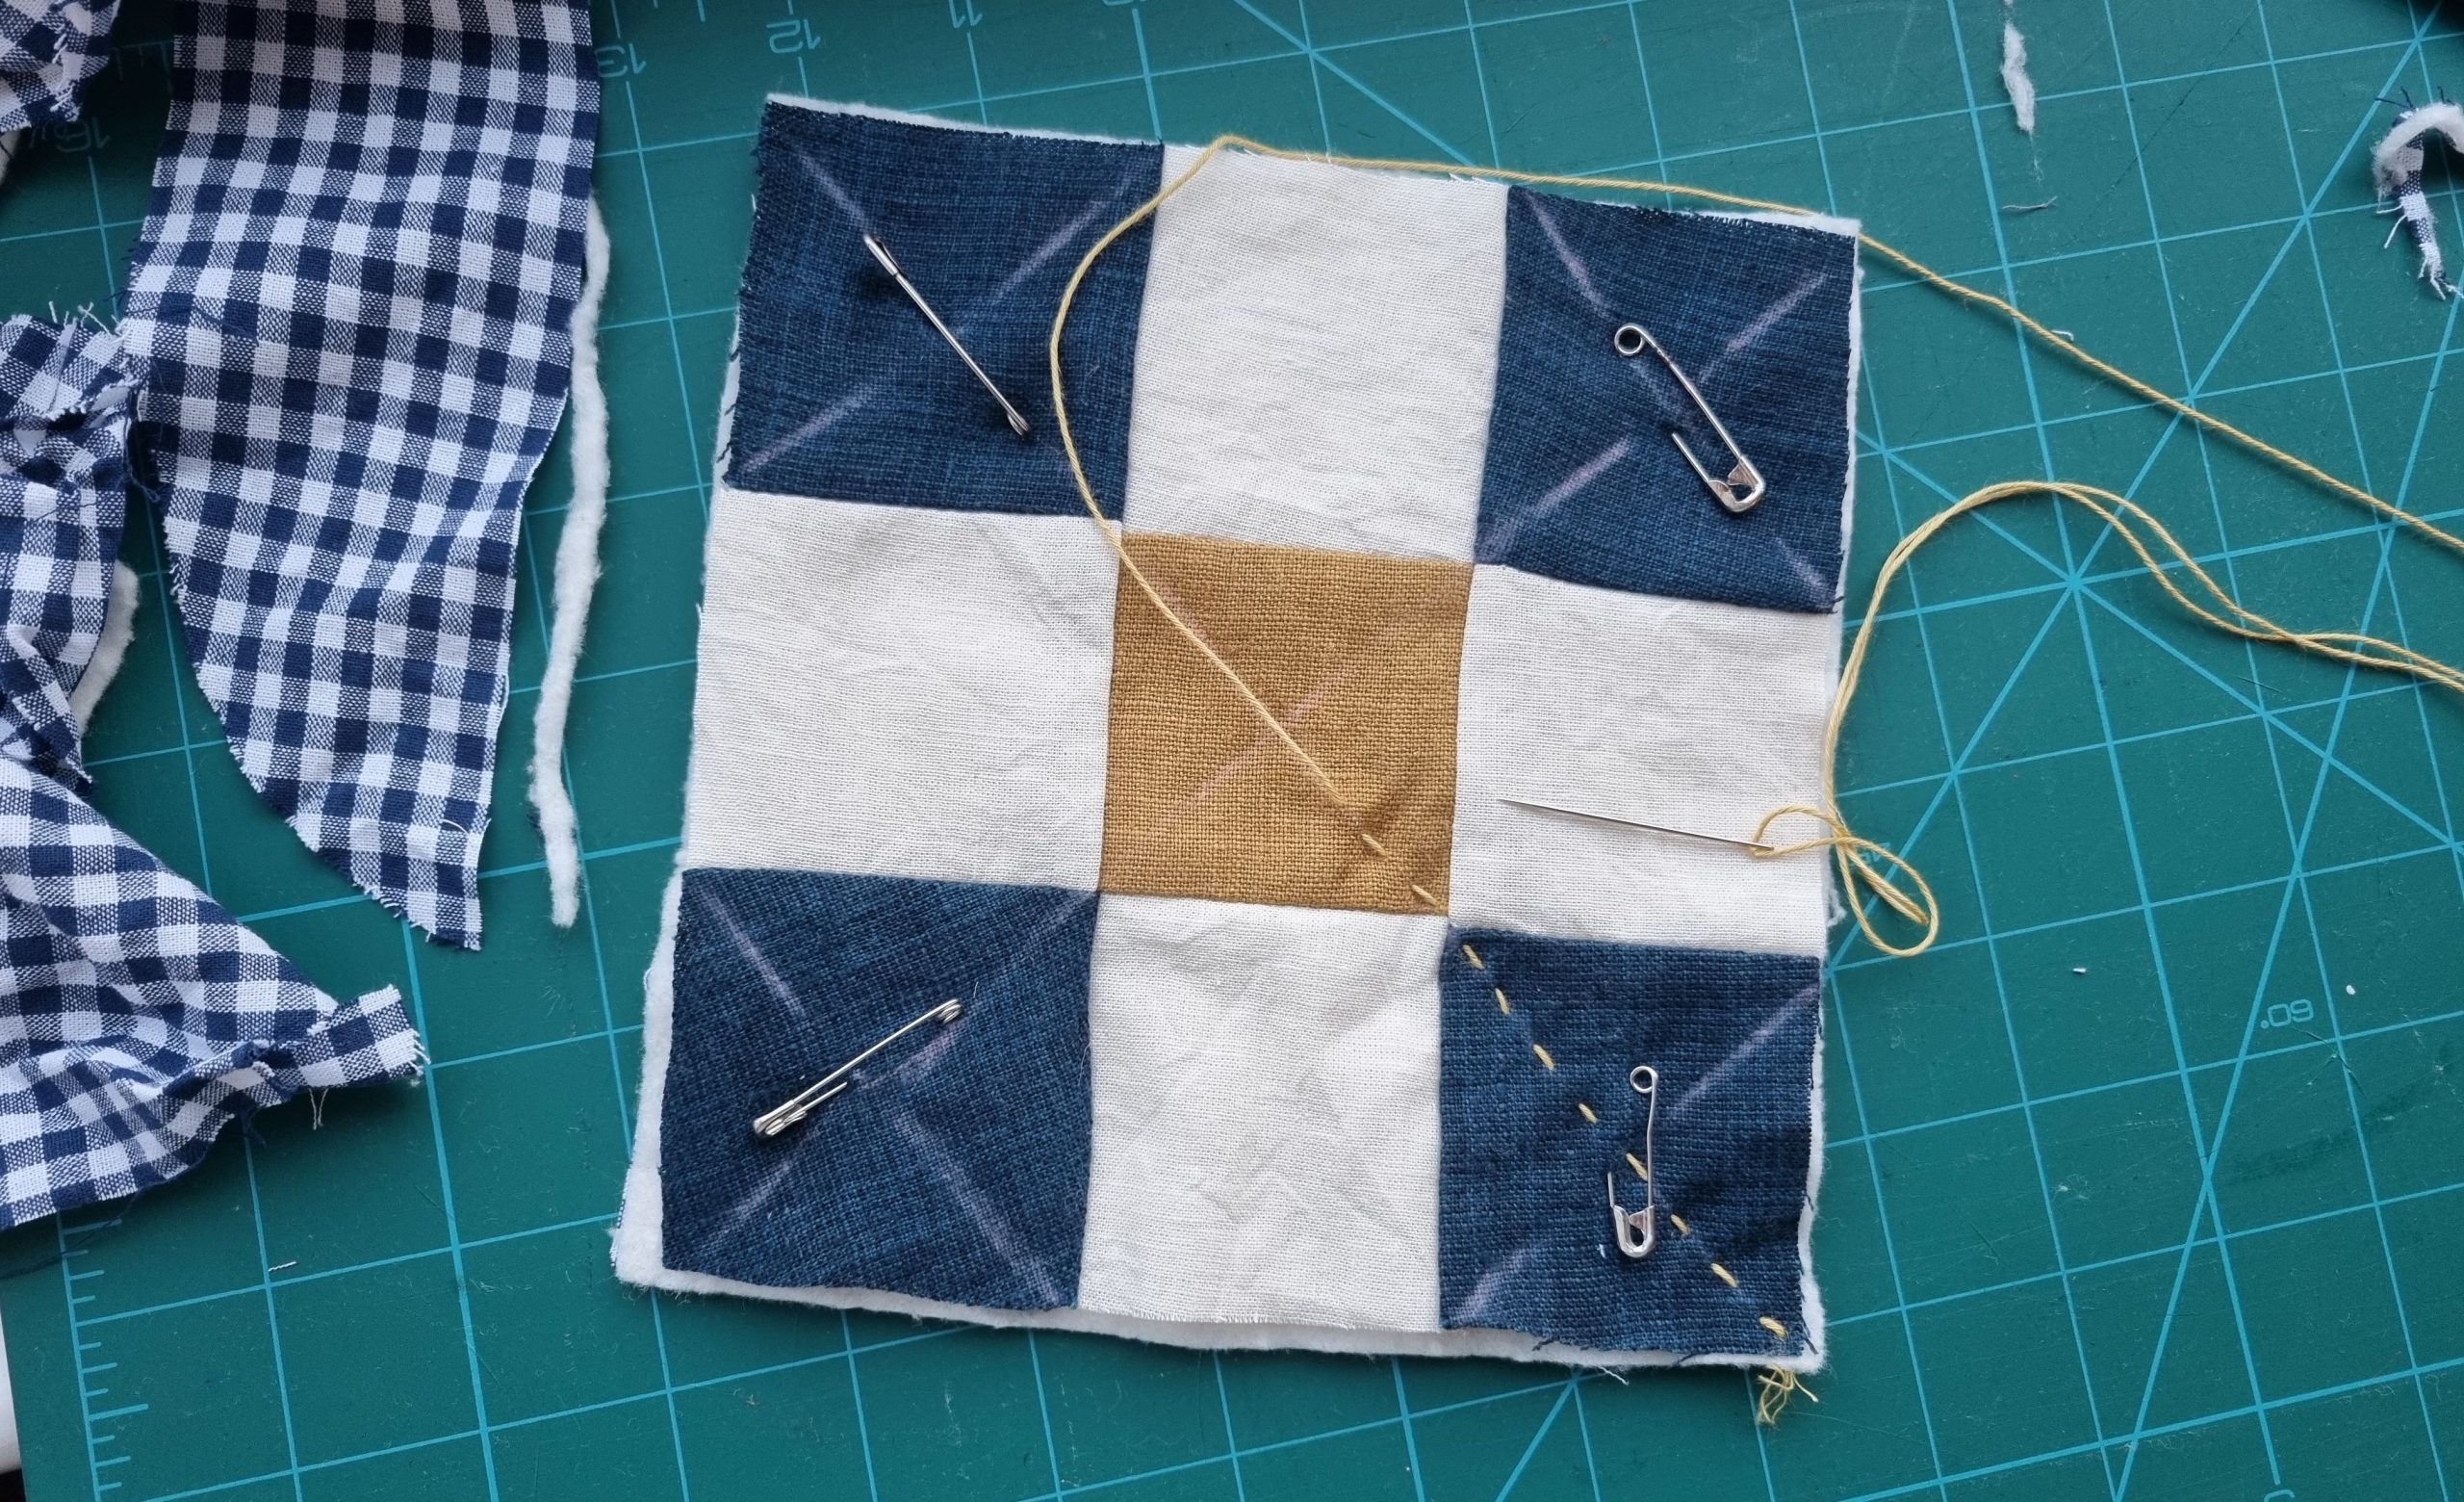
Embroidery thread works well for hand-stitching, with one of these hand-quilting needles. Keep going, working your way to the outsides of the quilt. You can feed the sewing needle through for several stitches before pulling it all the way through – these speeds up the quilting and helps the stitches look in line:
You’re done!
The next step will be neatening and binding edges to finish the quilt. We’ll have a look at this in our next post – including how to do neat mitred corners.
Happy quilting!


 We’re thrilled to announce that we’ve partnered with Tree Nation, the platform to reforest the world & fight climate change! Home to over 90 planting projects in 33 countries, Tree Nation is a non-profit organisation that helps people & companies offset their CO2 emissions.