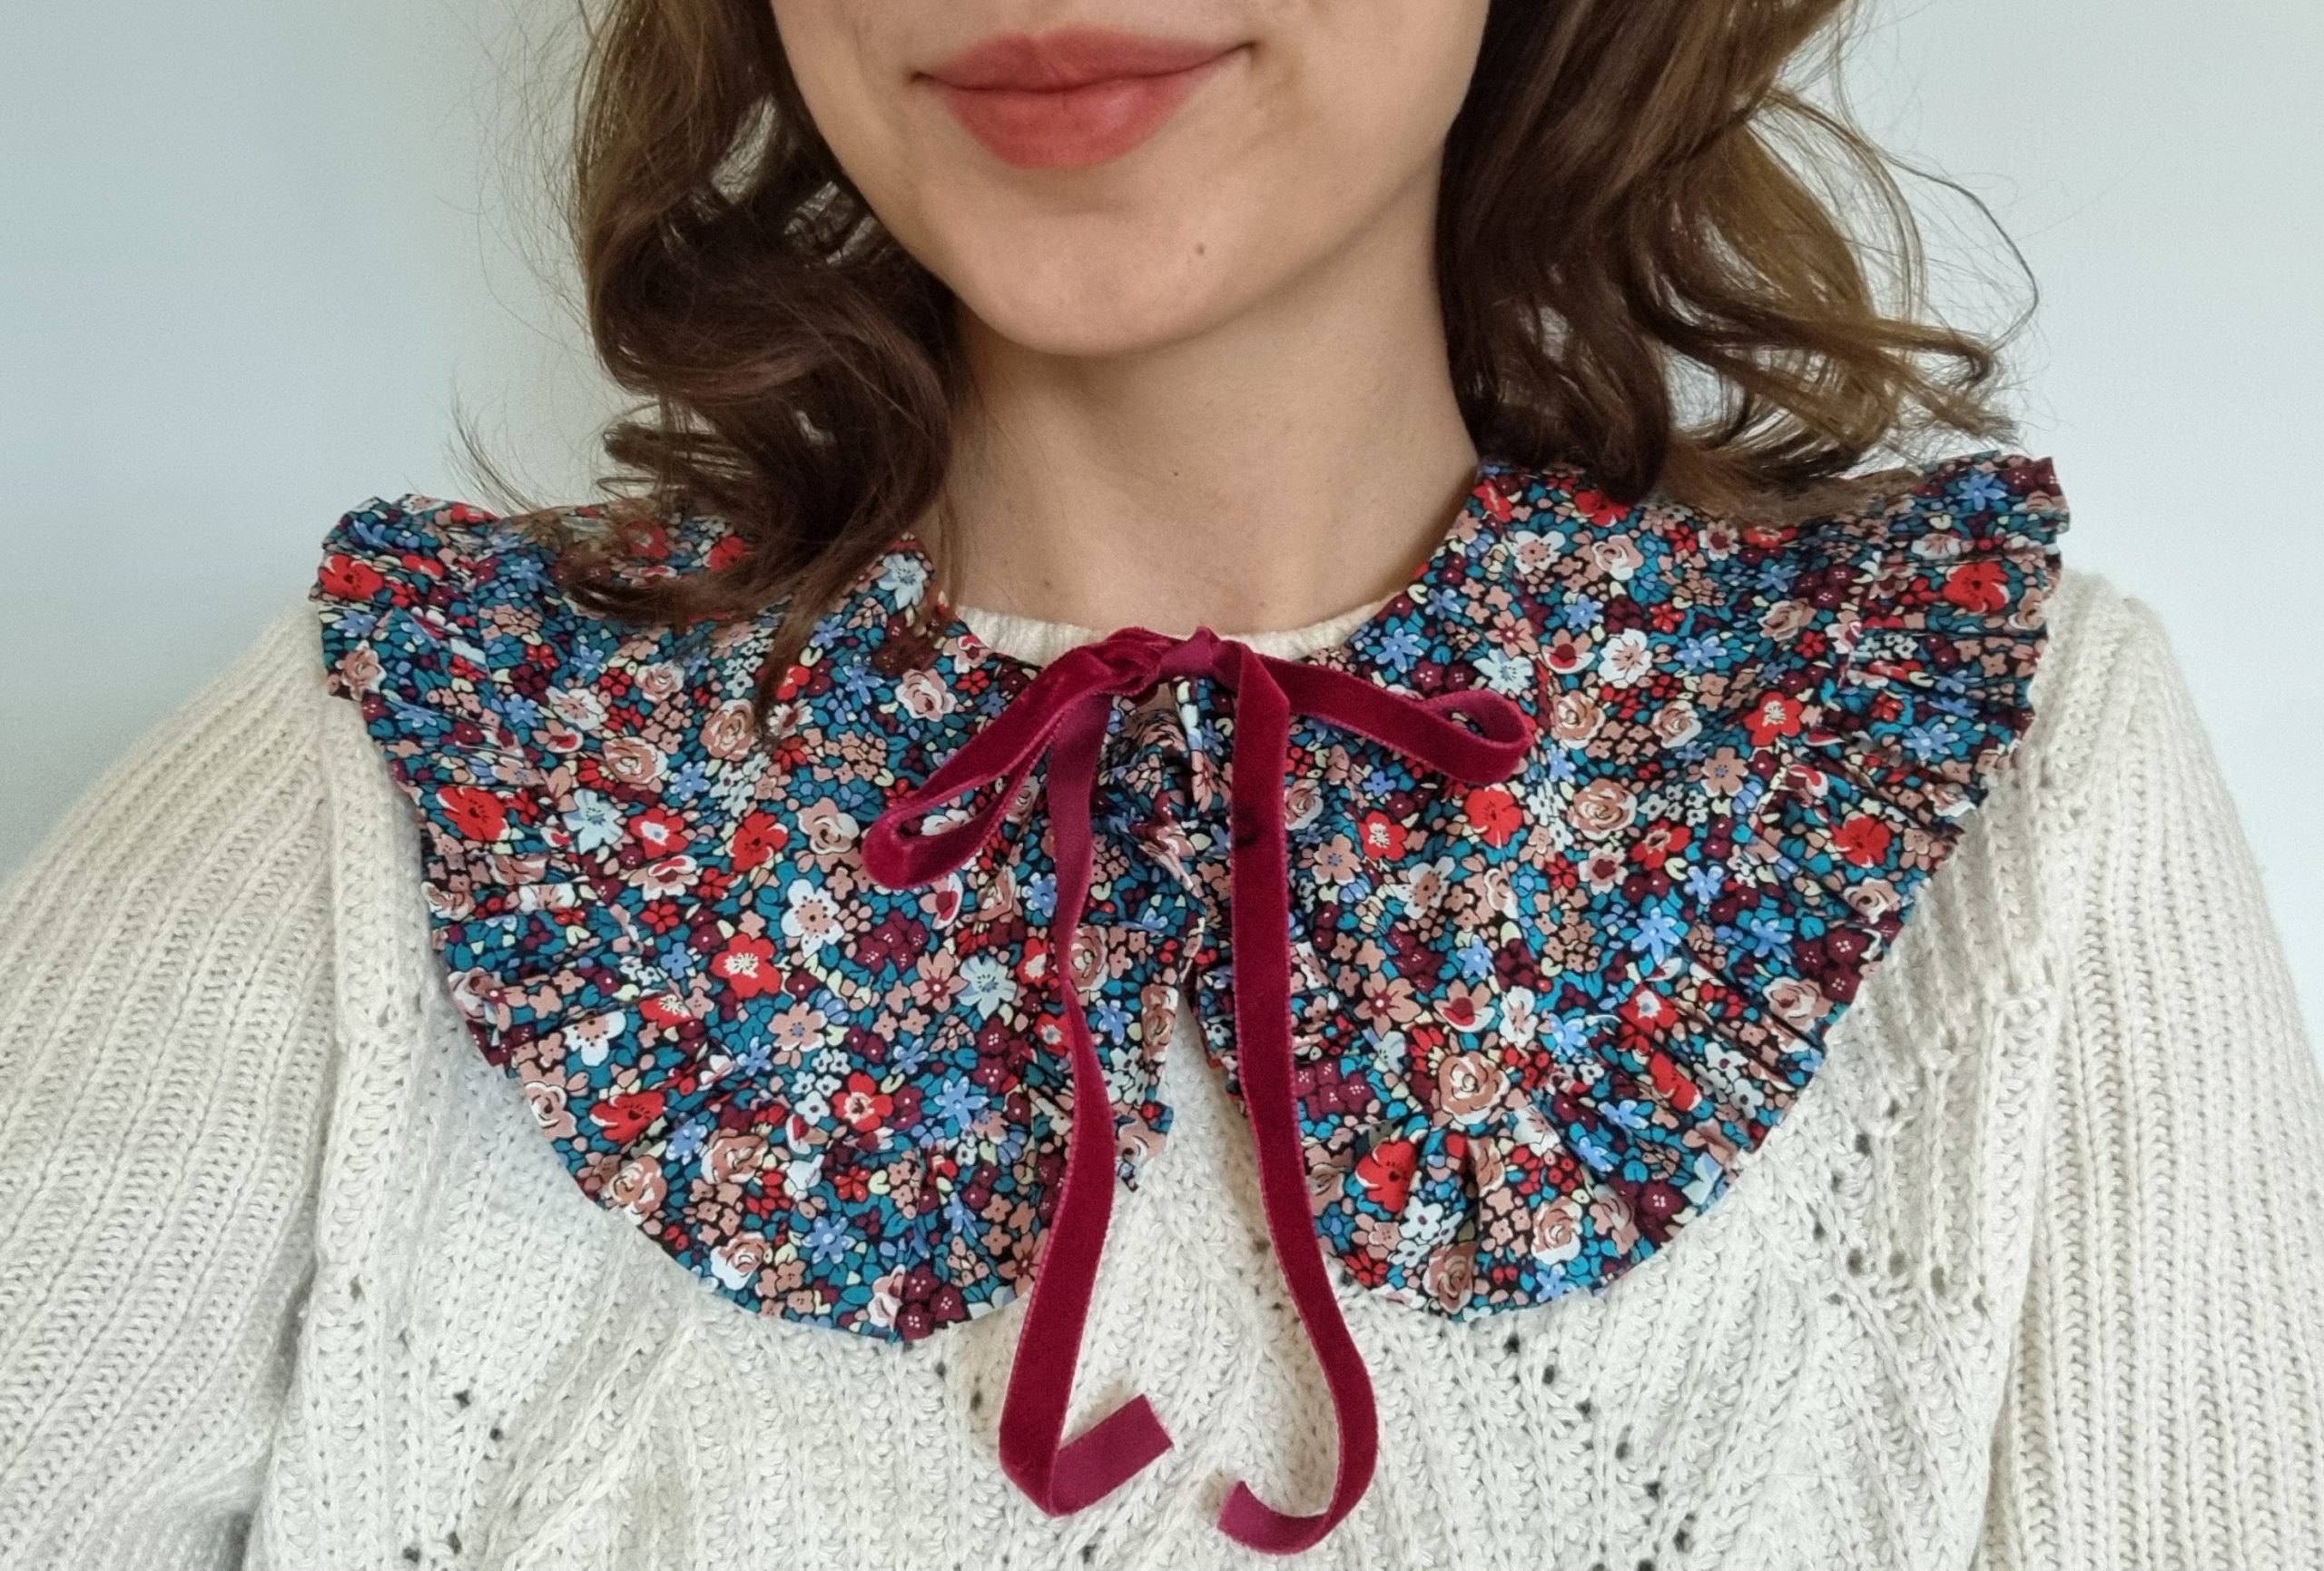
Oversized, ruffled collars are all the rage at the moment, and look beautiful in a range of fabrics. If you like the look of them but aren’t sure if you’d like to invest in a big-collared shirt or dress, this tutorial is for you!
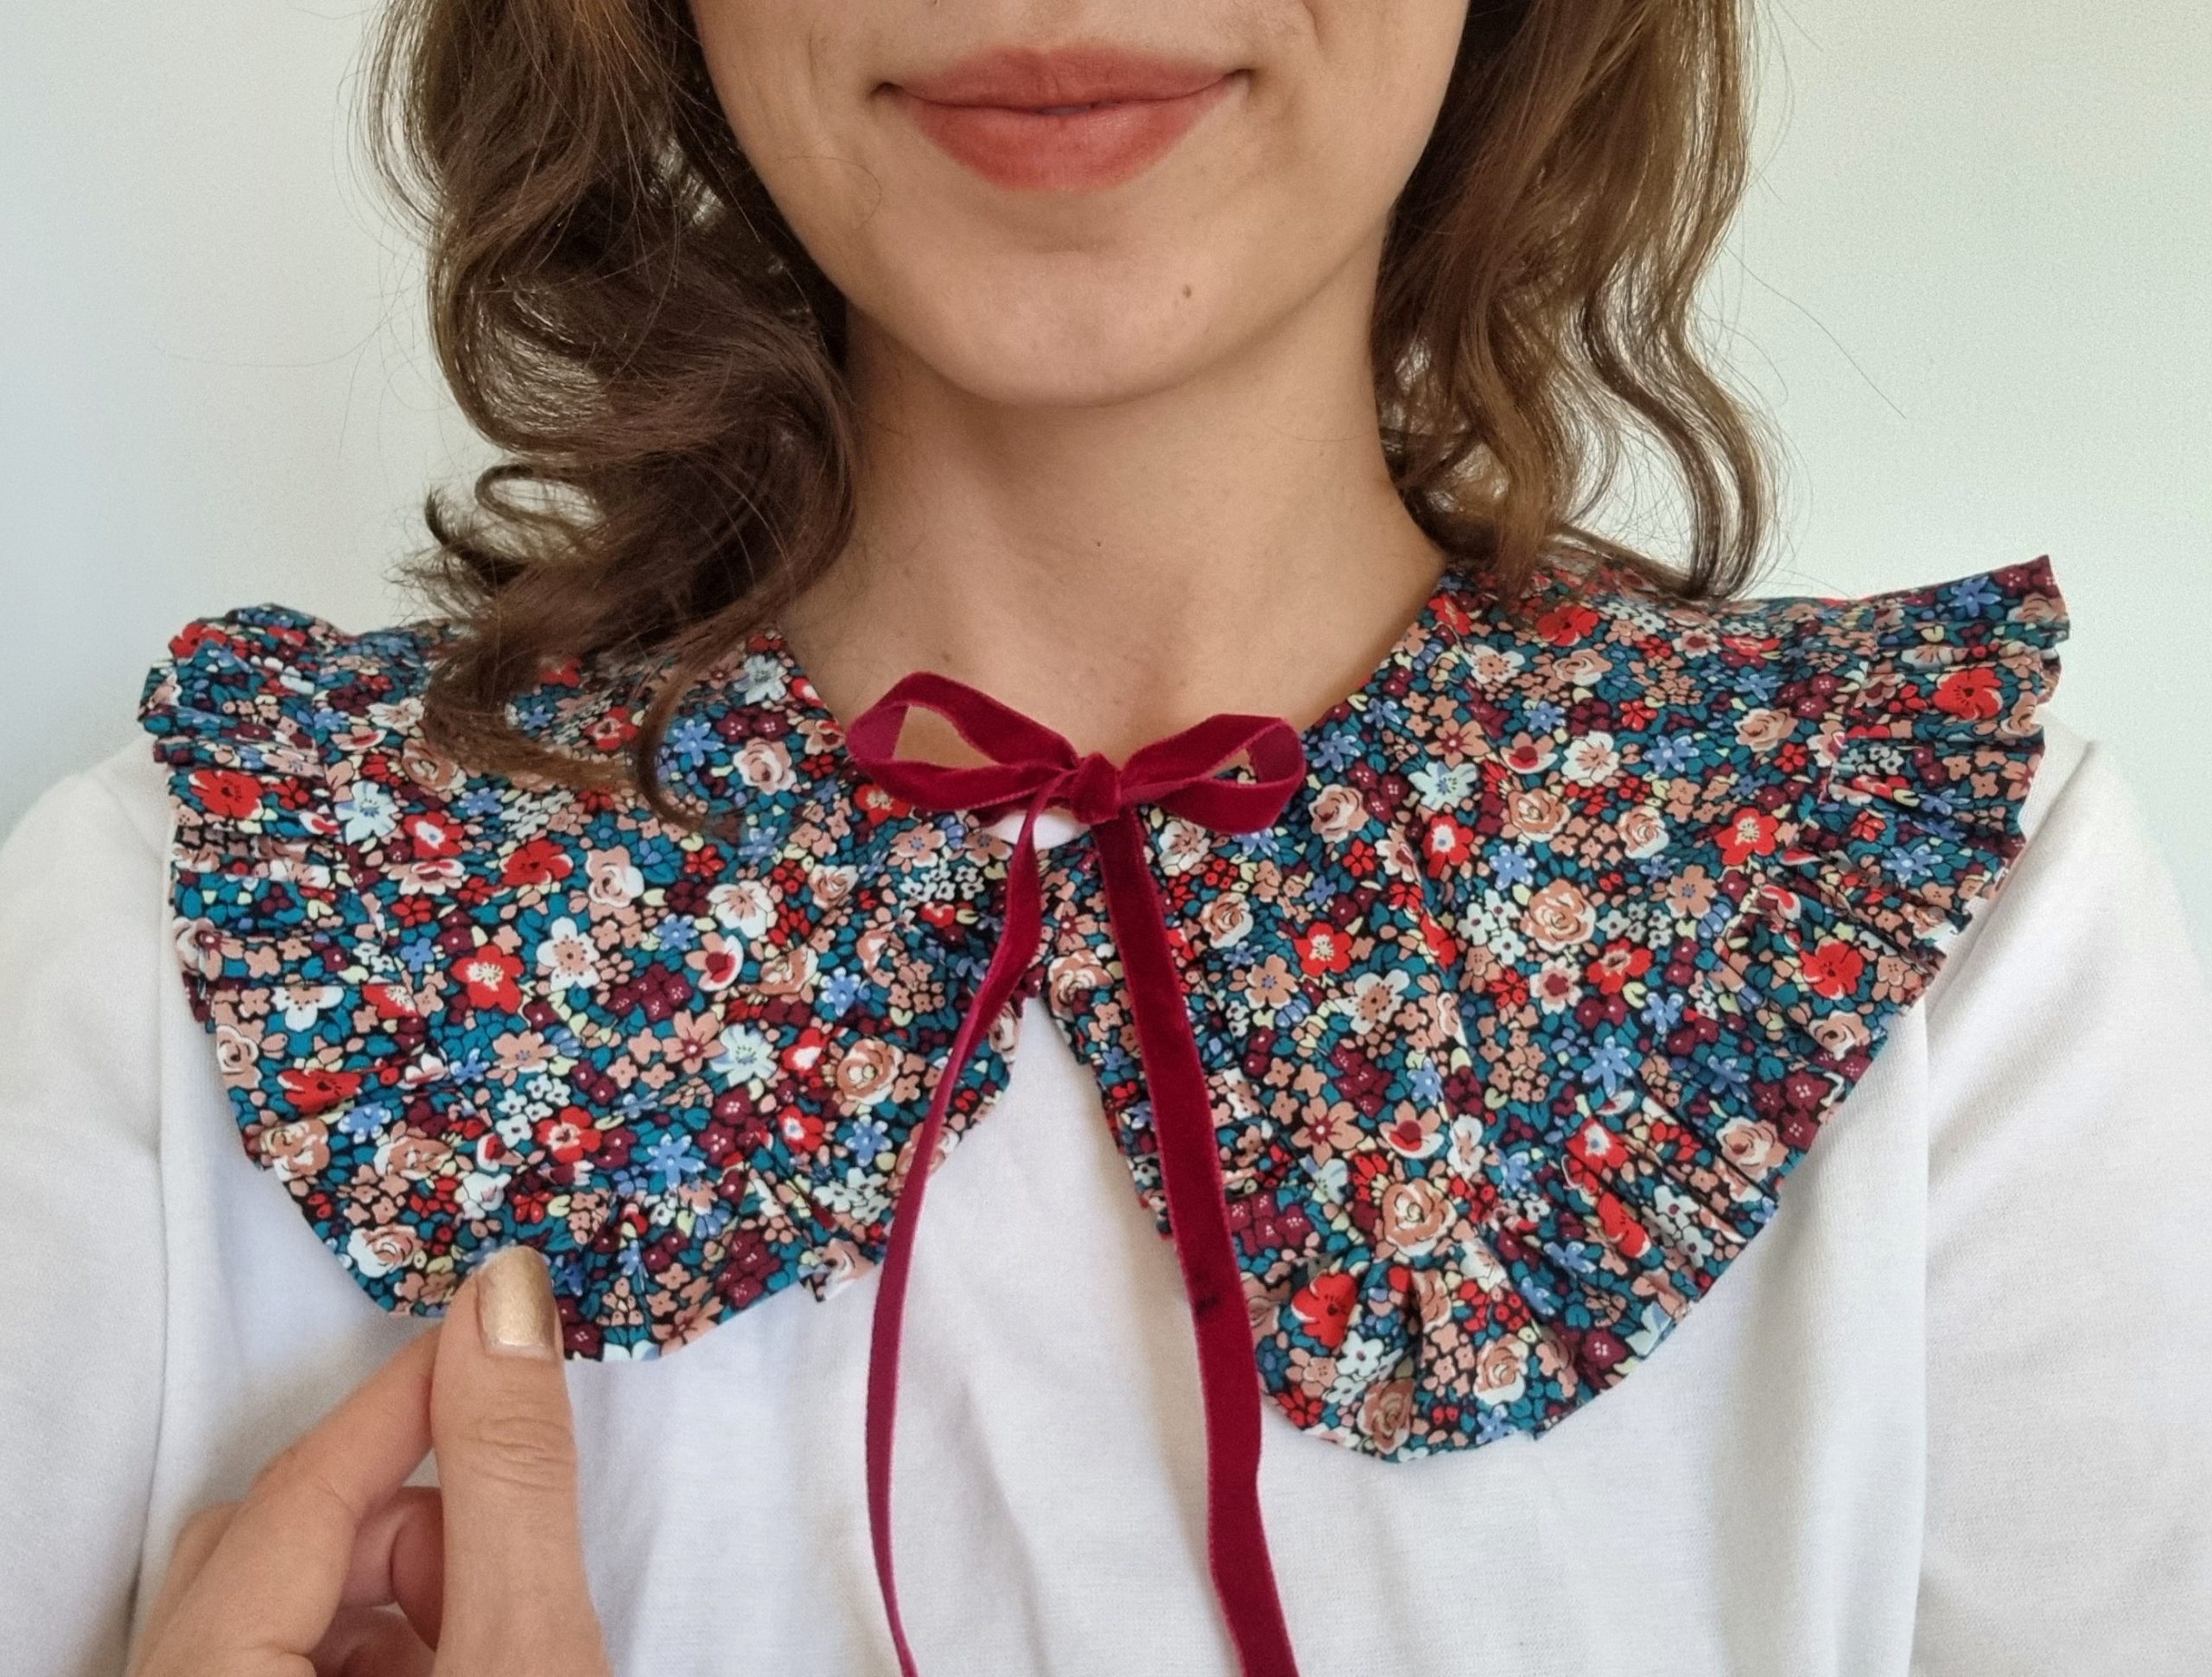
A detachable collar is such a fun way to add interest to your outfit – I’ve been wearing mine over jumpers and T-shirts, and I’m planning to layer it over a collar-less dress for New Year’s Eve. They also make lovely little gifts all year around.
Designing your collar
I drafted my own collar for this, but there are free guides online if you’d like to use a predesigned pattern.
For my collar ties, I decided to use some of William Gee’s beautiful velvet ribbon – you could also use bias binding or make your own from fabric. My collar ties at the front, but a friend pointed out you could have a velvet tie at the back instead, which I think would be very pretty.
I’ve used the same fabric for the ruffles as the main body of the collar but you could also try lace, or a complementary or contrasting colour. White collars with cotton lace trim look beautiful and delicate, and gingham check looks great against a plain T-shirt.
Making your collar
Once you’ve decided on your collar shape and size, cut out an identical top and bottom piece.

You’ll also need some fabric or trim for ruffles. The longer the length, the more gathered the ruffles. I cut a long length of 8cm wide by 2.5m long. If you’re using fabric, I’d make sure it was no less than 6cm wide, as you’ll need to double it over to hide the raw edge. If you’re using a finished trim, 3-4cm wide is fine.

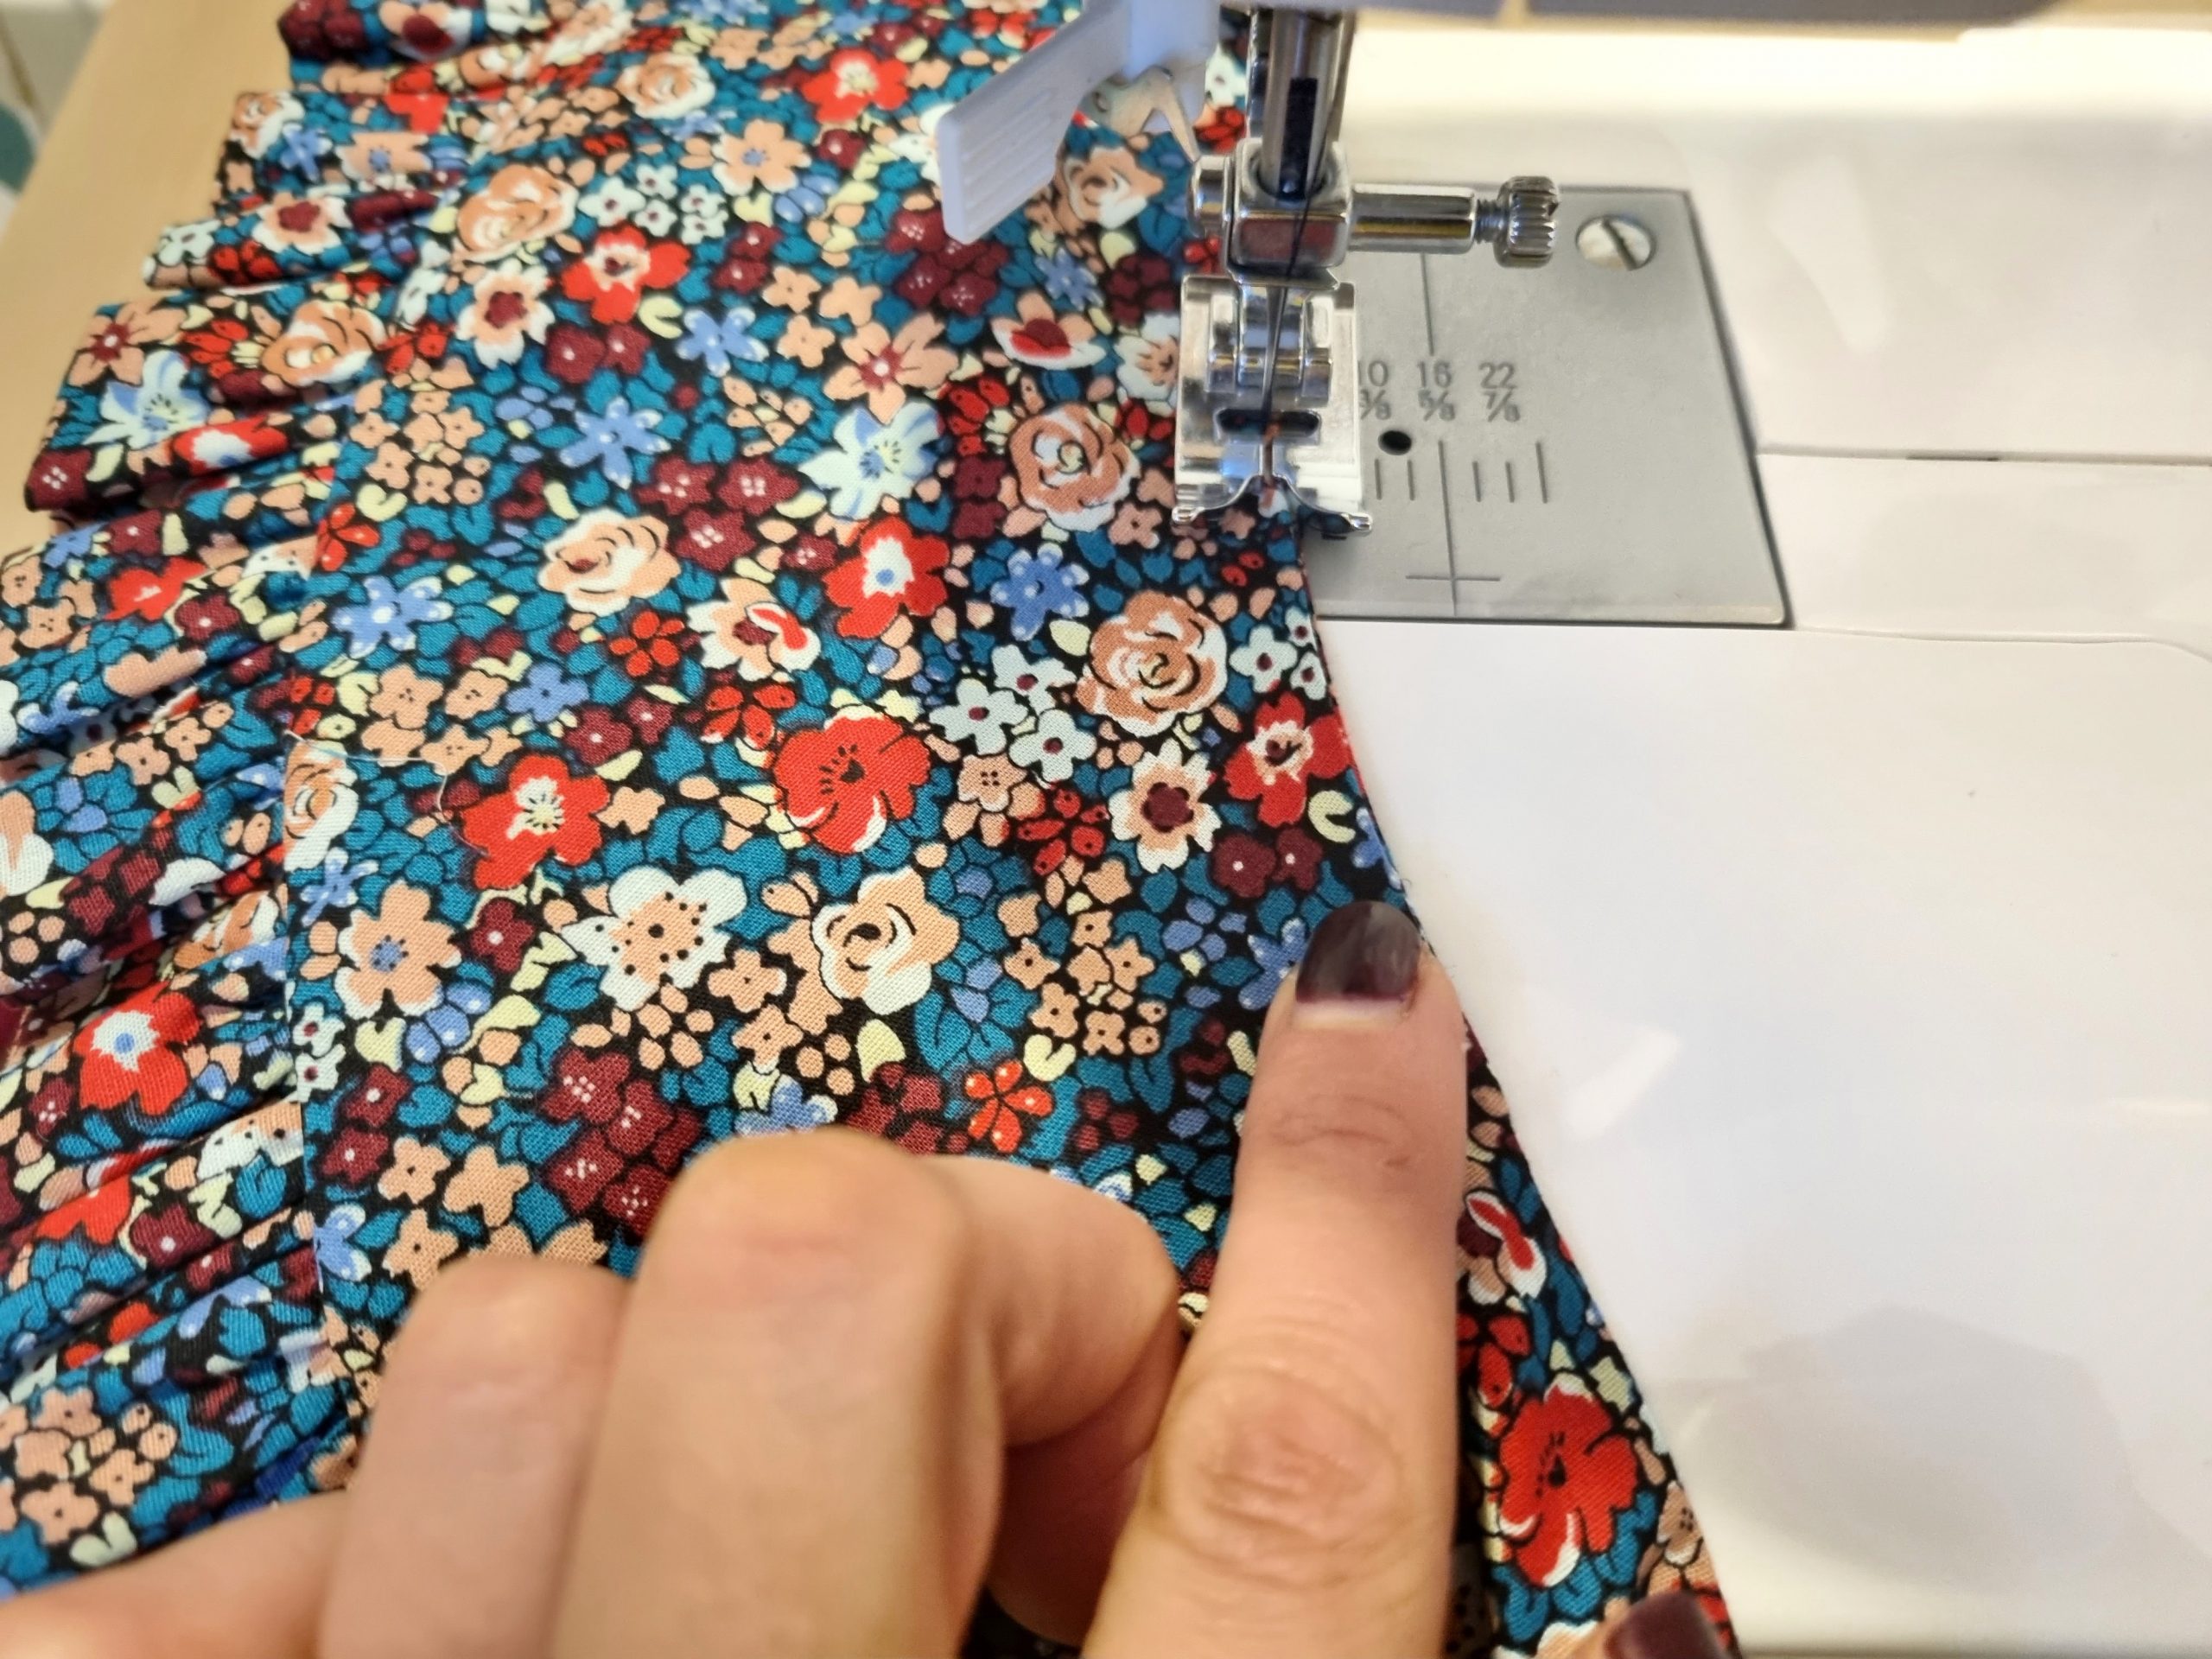
Fold your ruffle strip in half lengthways, right sides together, and sew a 1cm seam down each short edge, to close of the ends of the ruffle. Turn it so it’s right sides out, folding in half lengthways again wrong sides together this time. Now sew two lines of large basting stitches, both less than 5/8″ / 1.5cm away from the raw edge. You’ll use these to gather the ruffle.
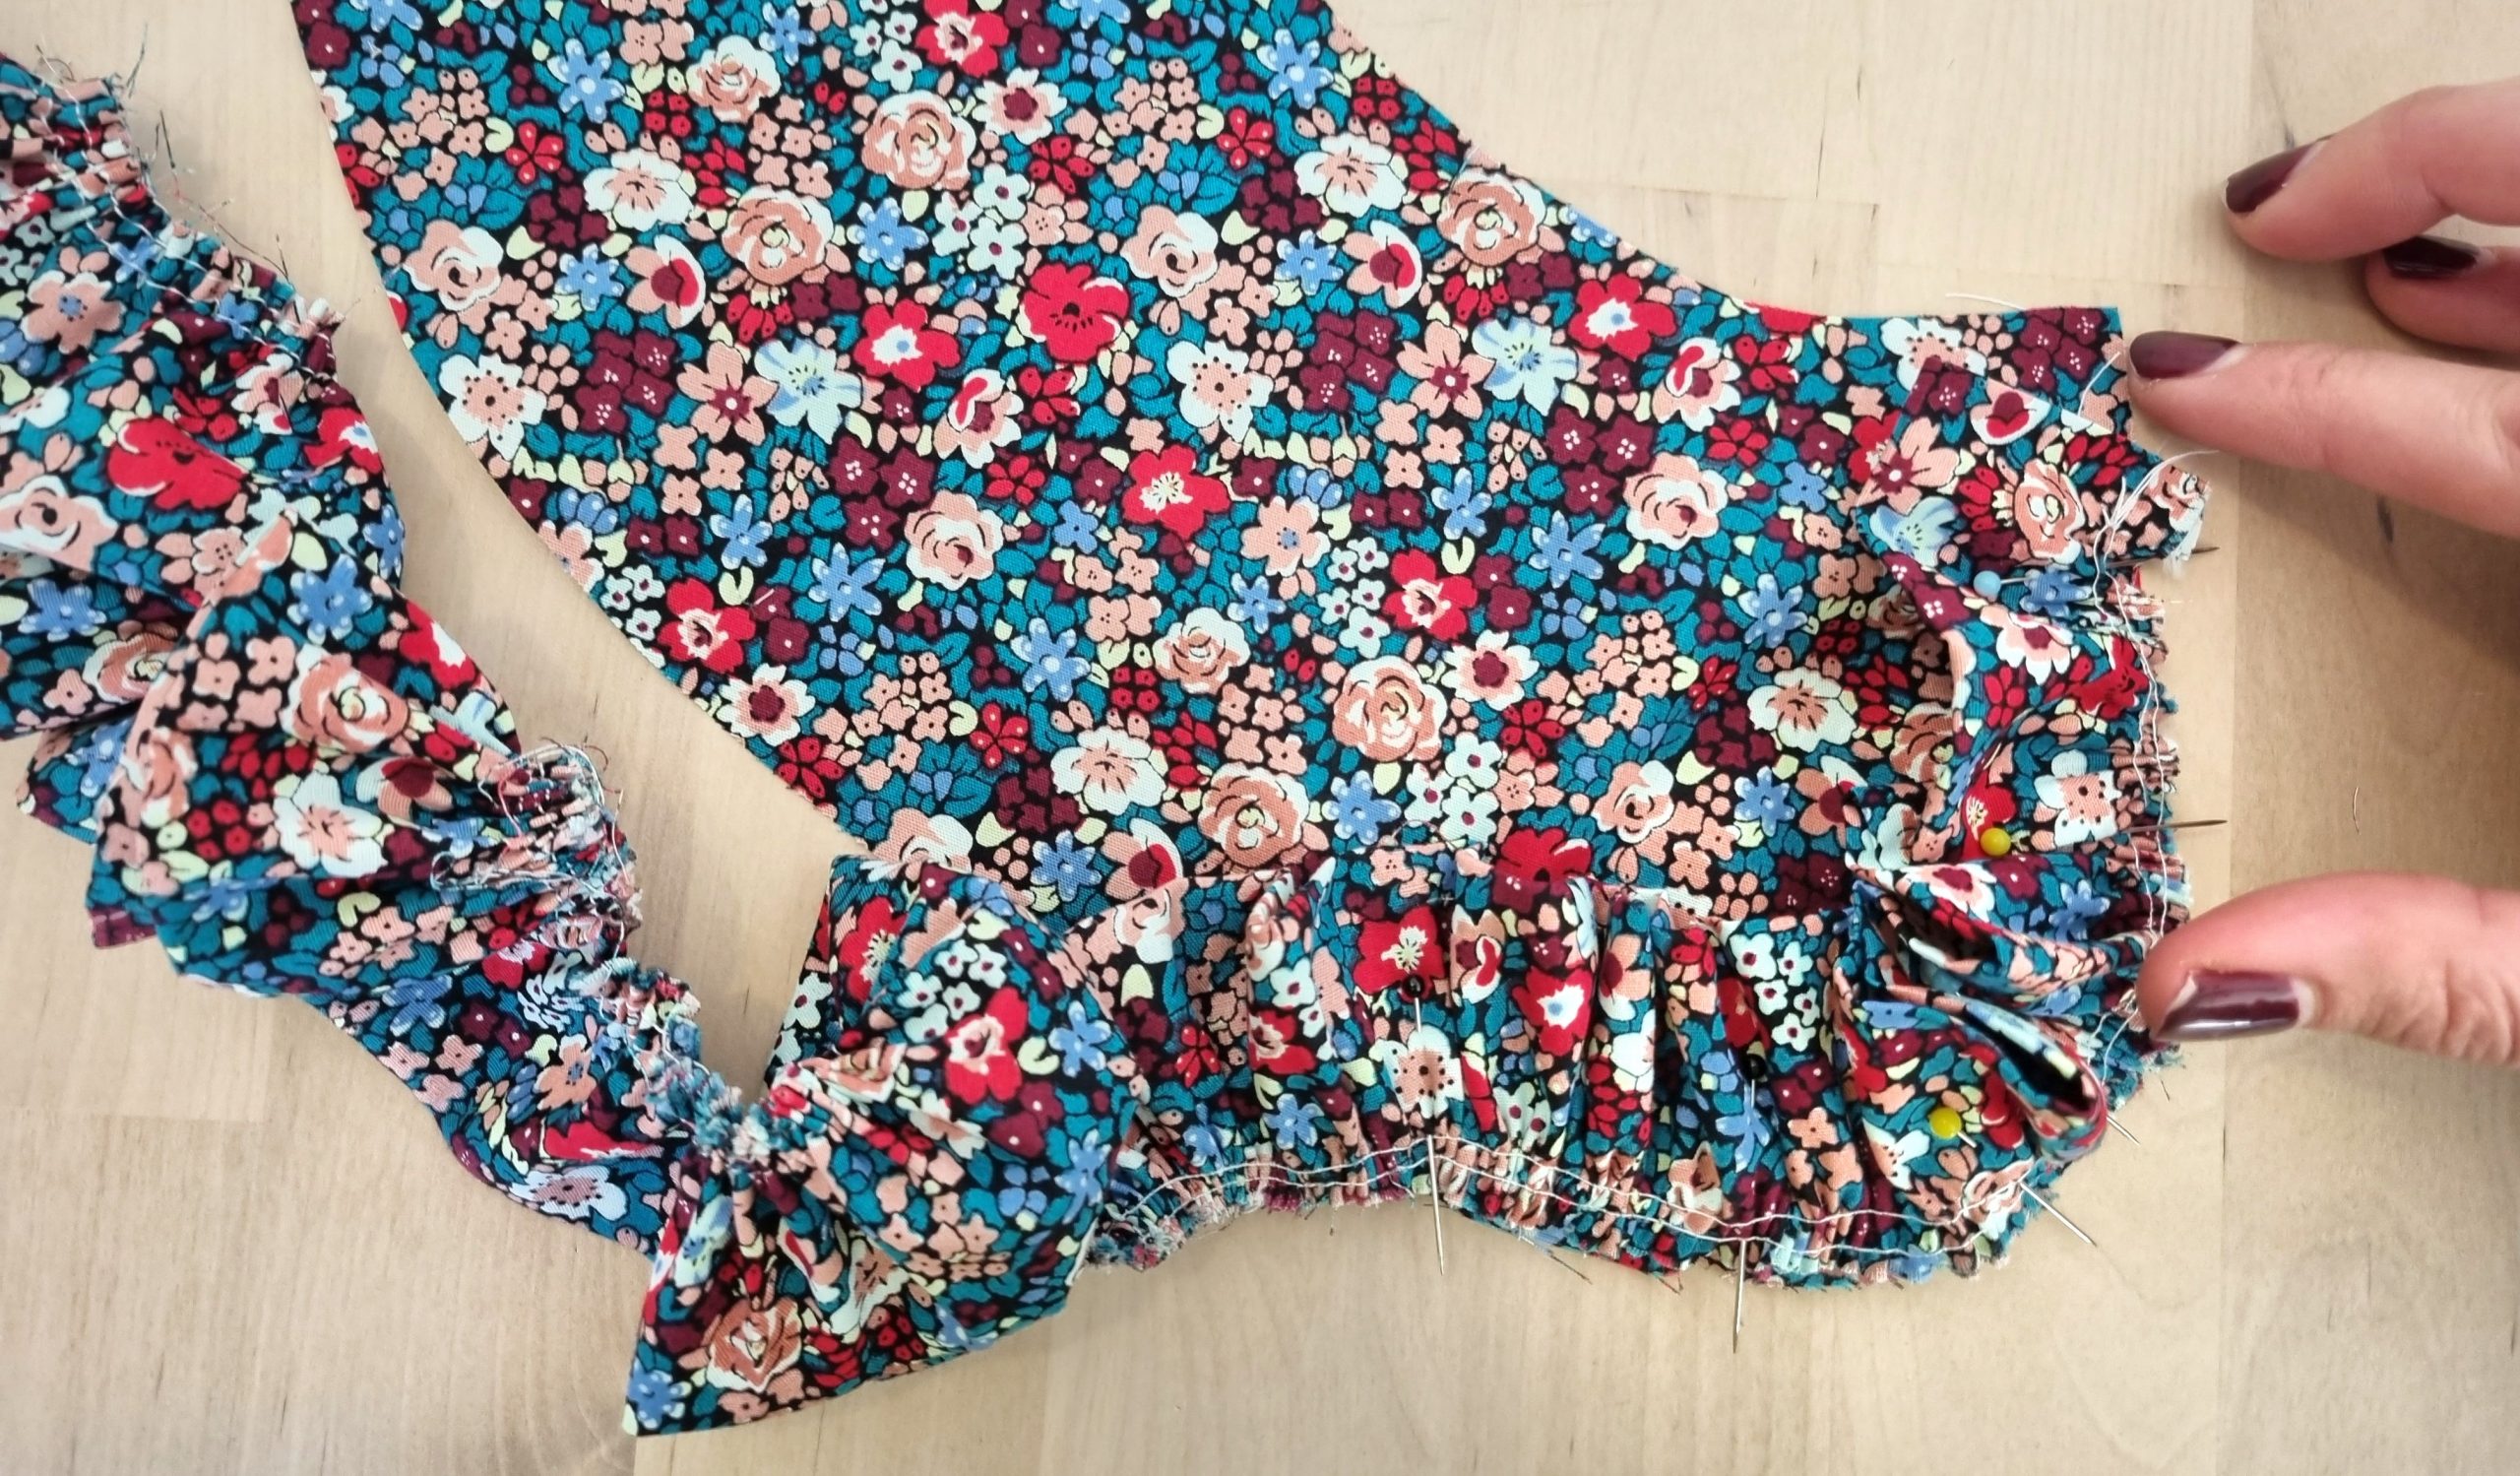
Now gather your ruffle to the length of the outside of the collar.
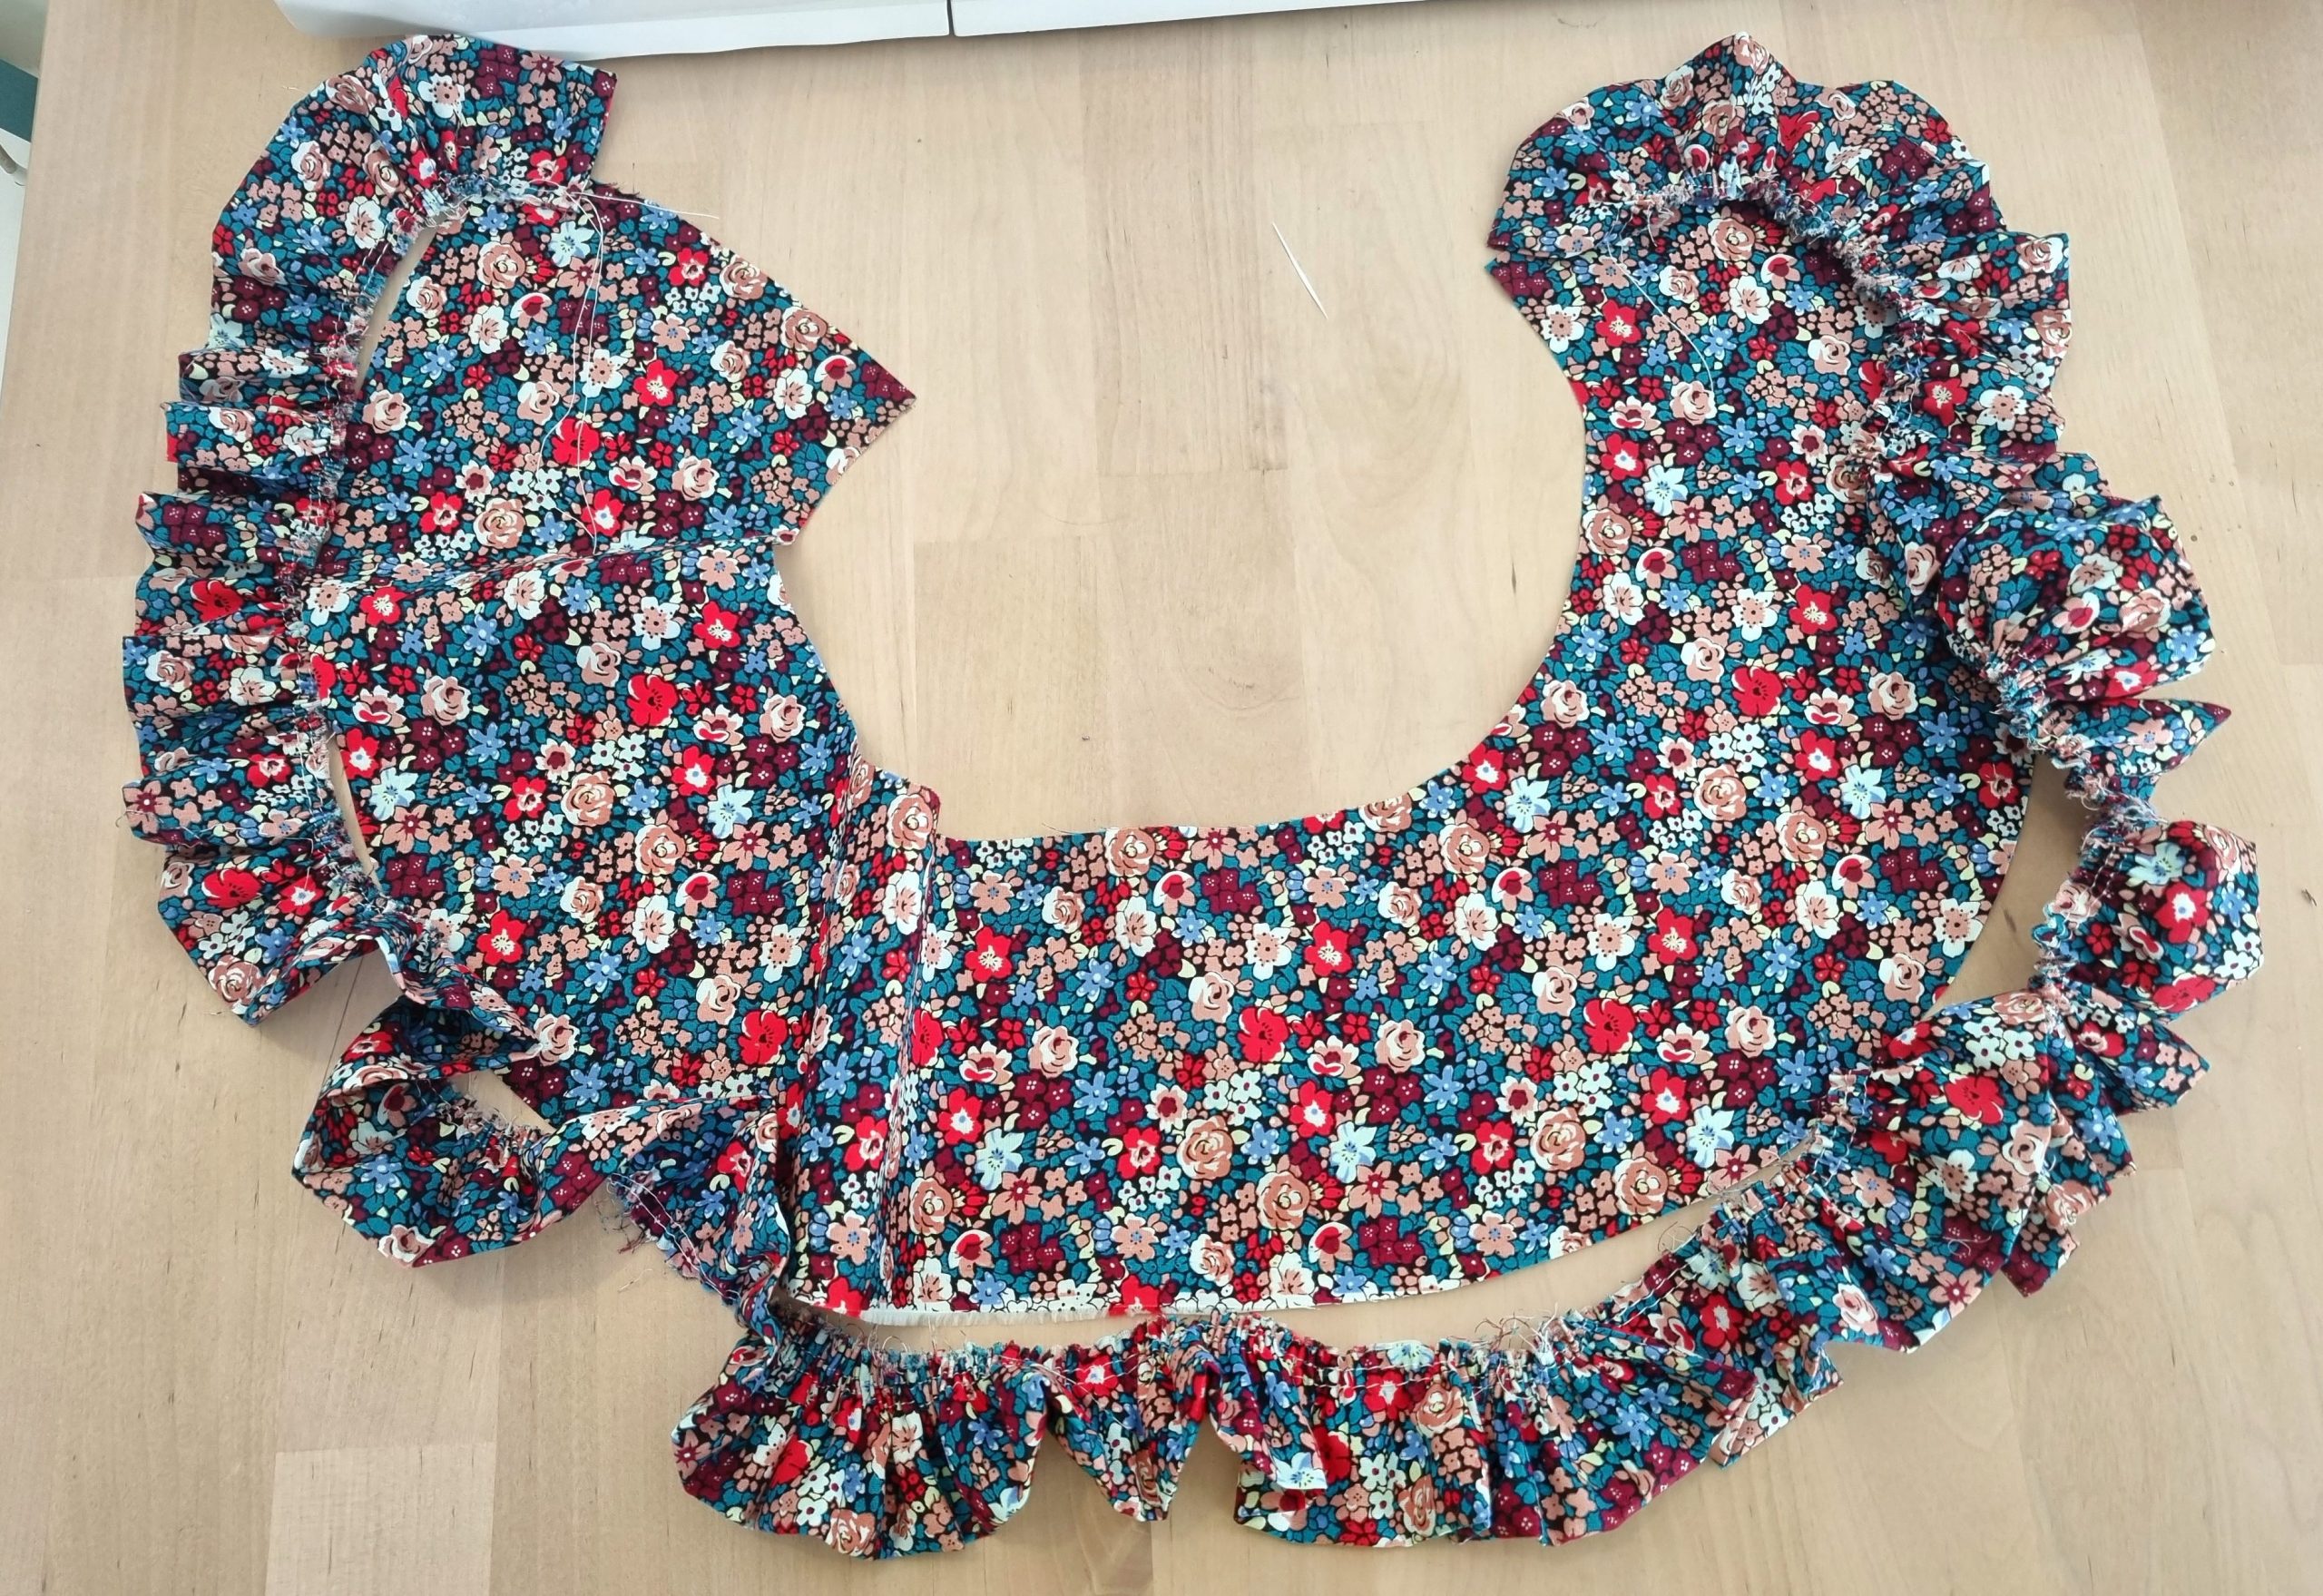
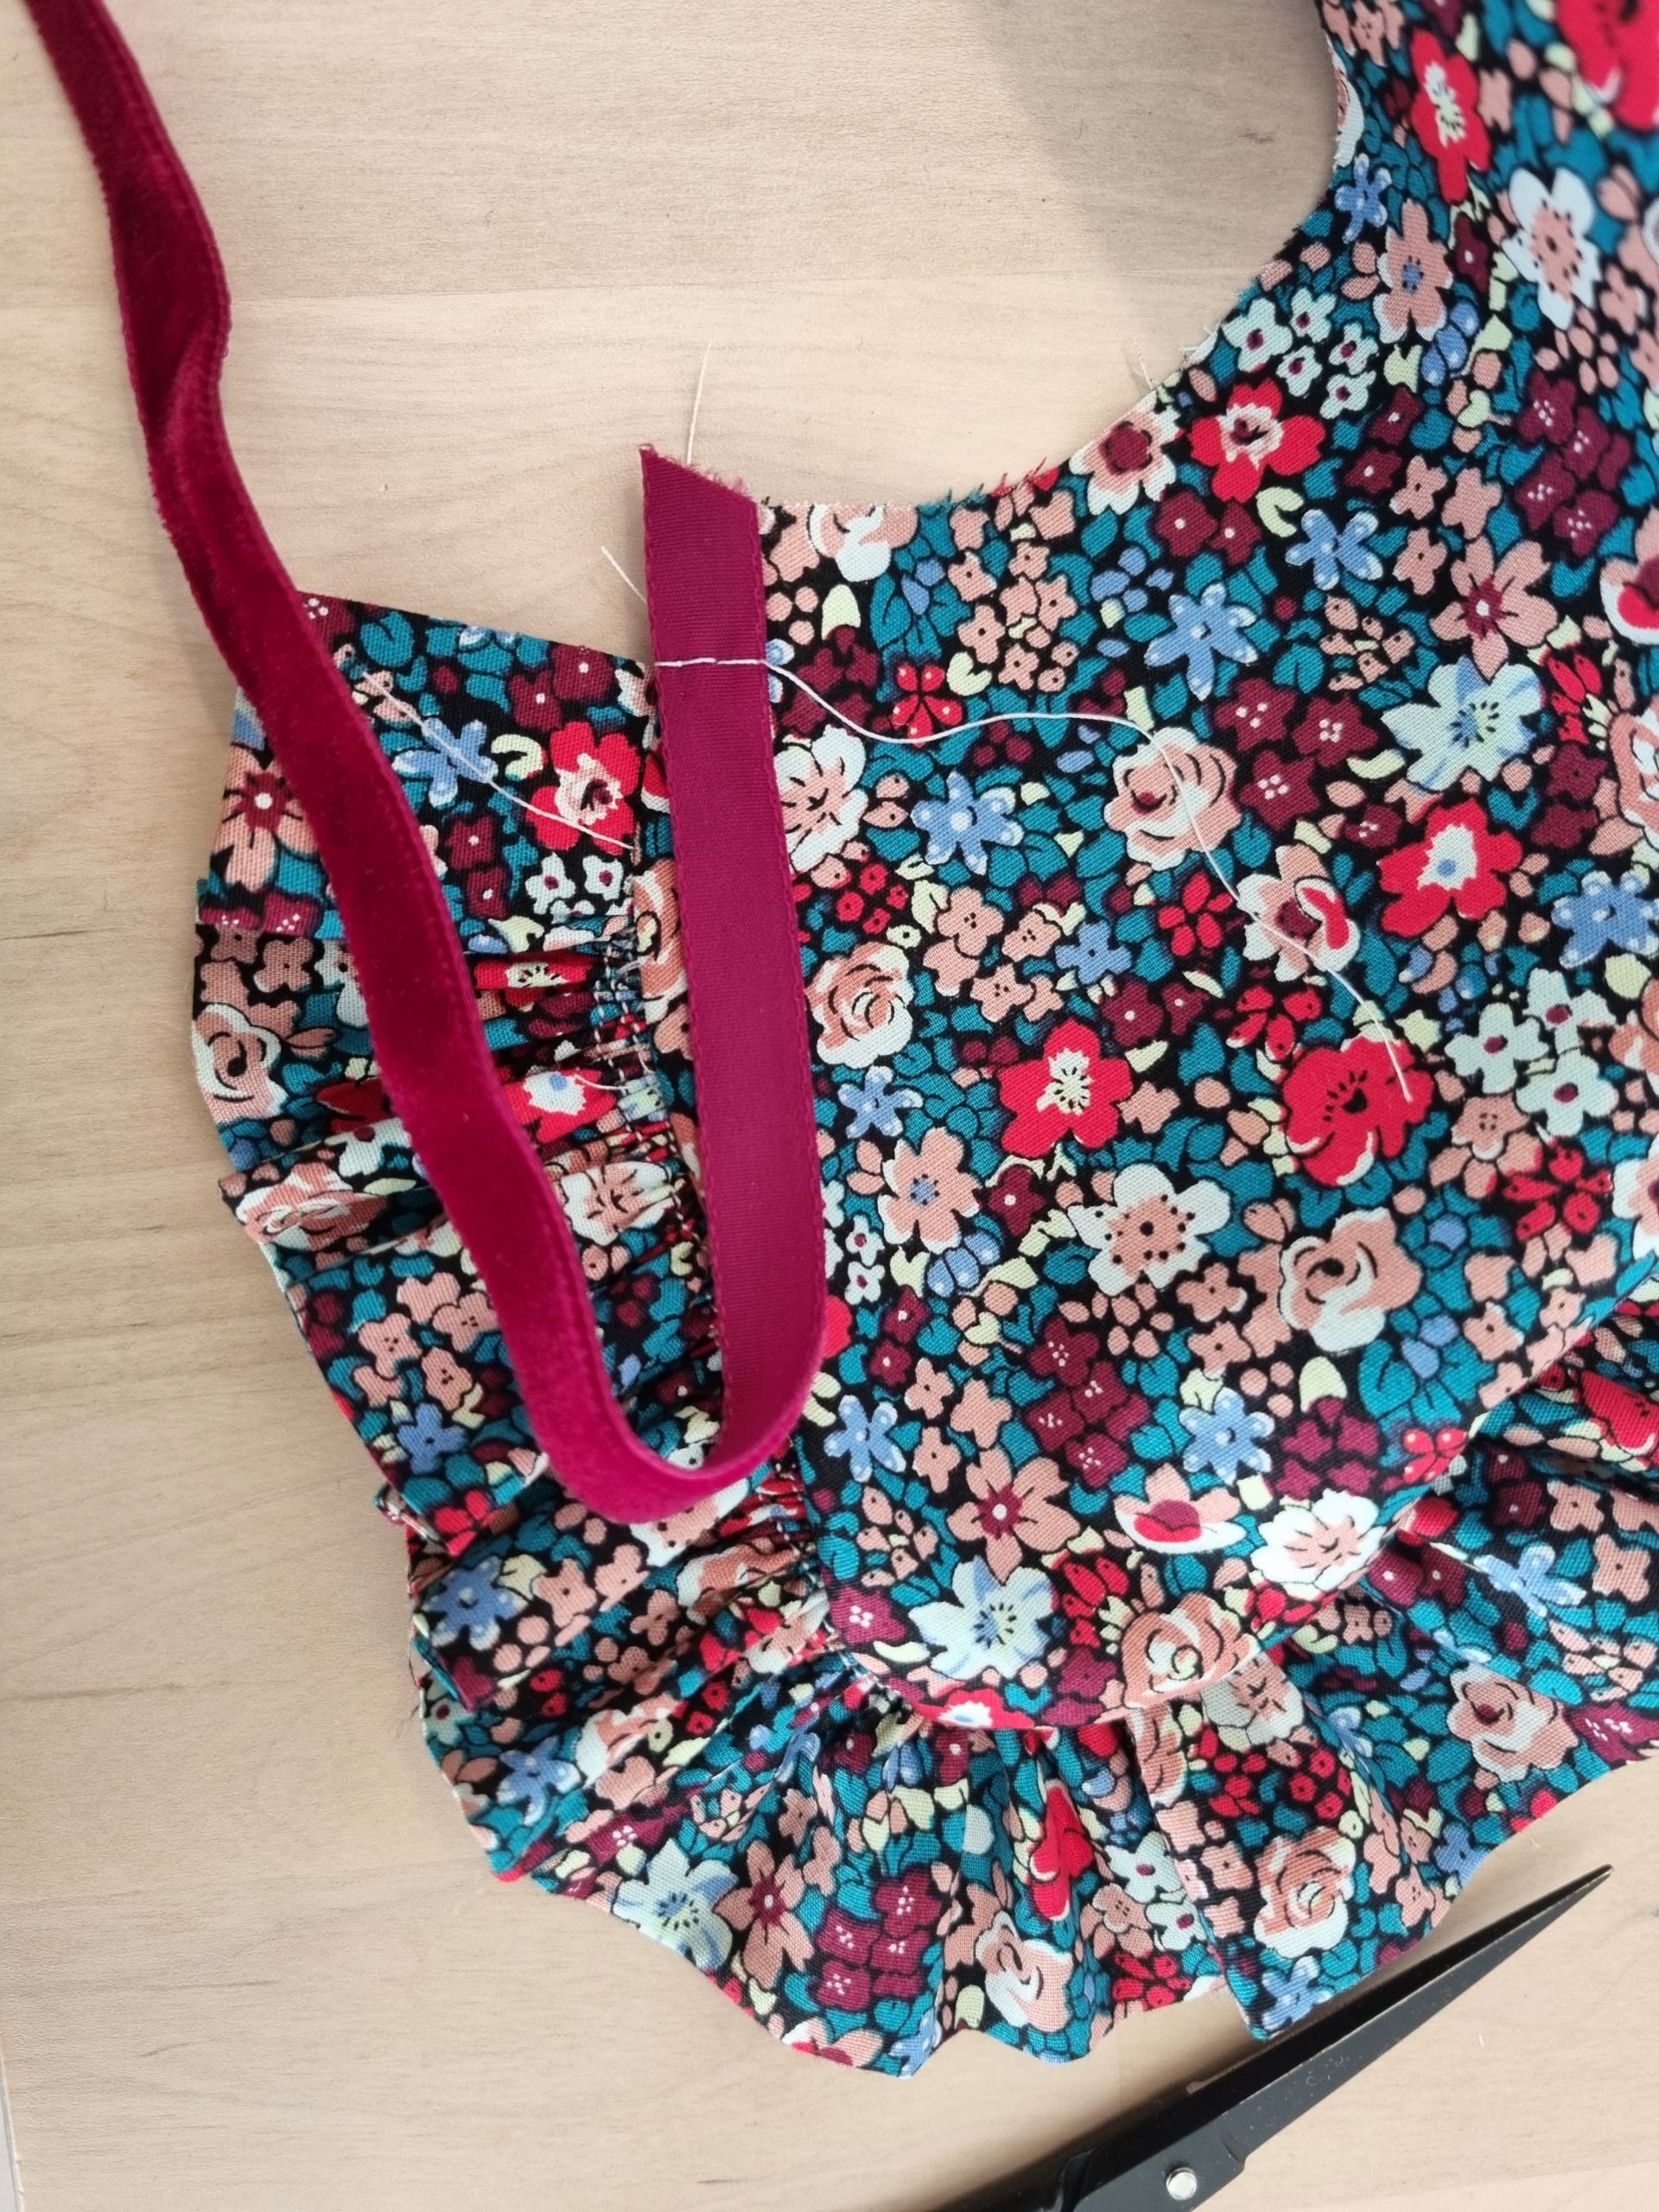
Pin it in place to the right side of one of the collar pieces, so the raw edges are together. Baste them together with a 5/8″ / 1.5cm seam all around the edge of the collar.
Position and secure your ties or velvet ribbon so the long ends sit inside the collar. Be careful to tuck these in and not catch them when you sew around your collar in the next step! (Not like I have in my photo!)
Now layer your other collar piece on top of this, right sides to right sides. Sew all around the collar with a normal stitch length and a 5/8″ / 1.5cm seam. Leave a couple of inches in the middle of the non-ruffled side, which will let you turn your collar out.
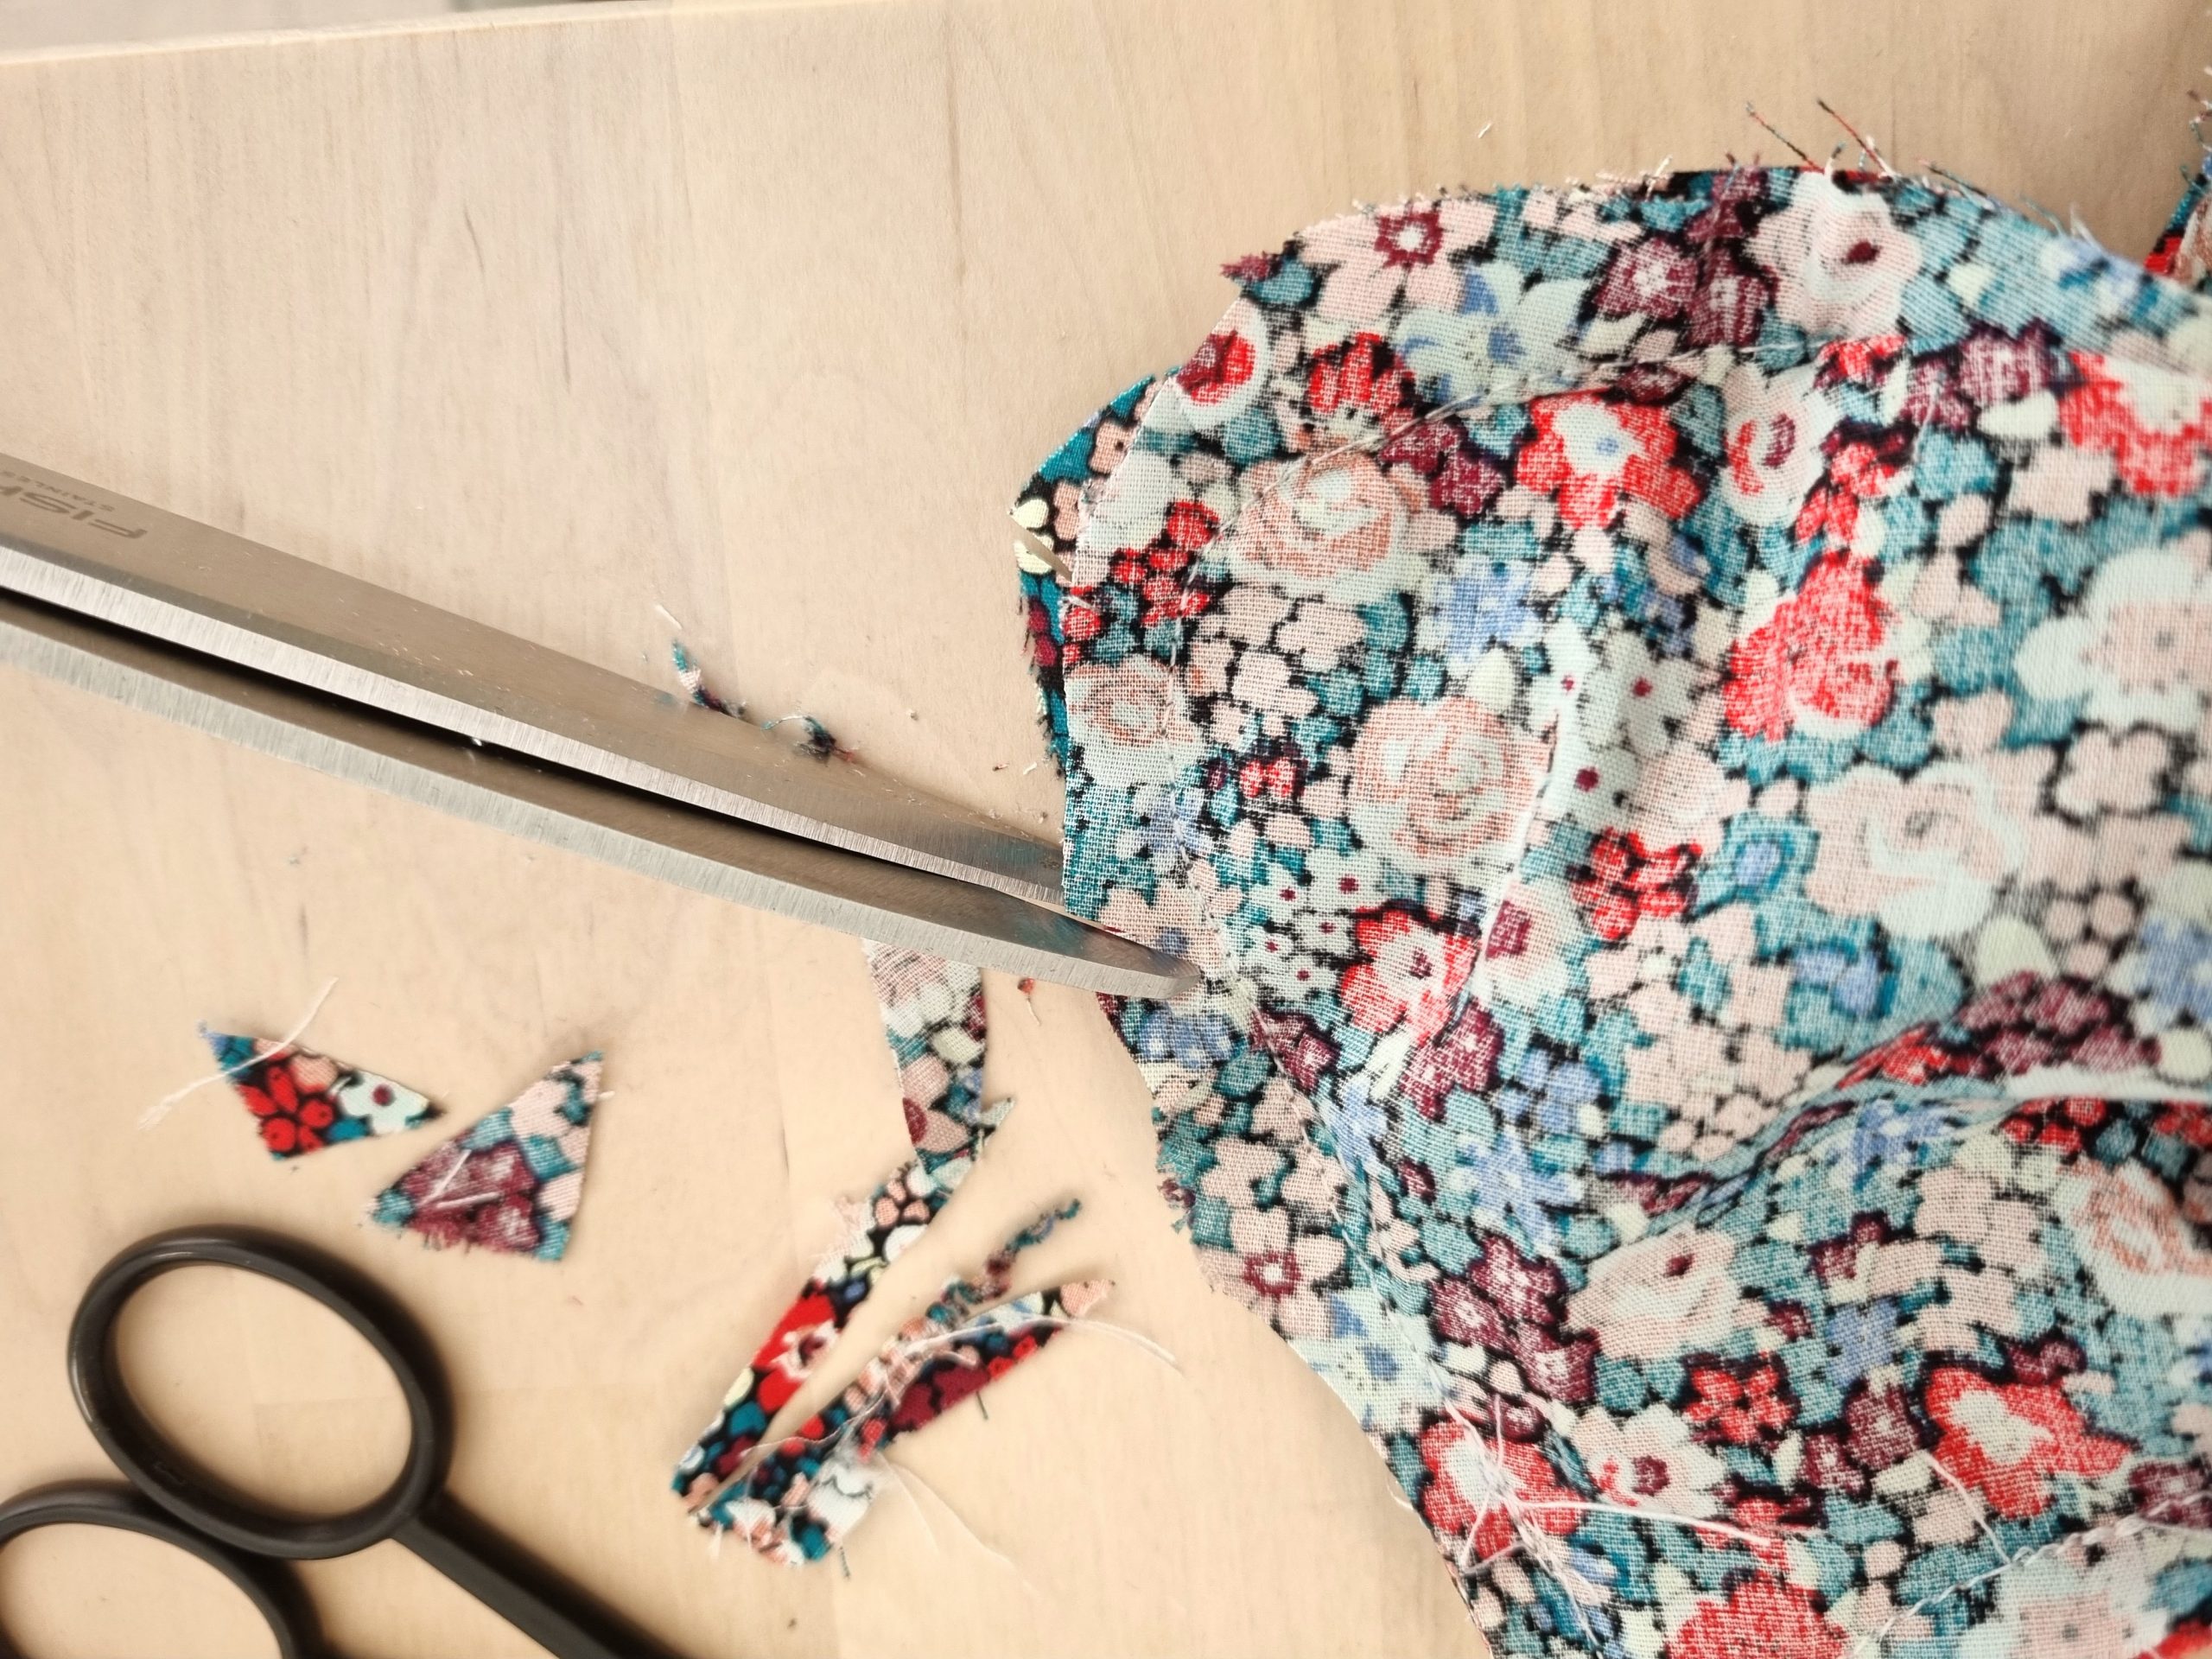
Trim the seam allowance and clip the corners, being careful not to cut into the stitching line.
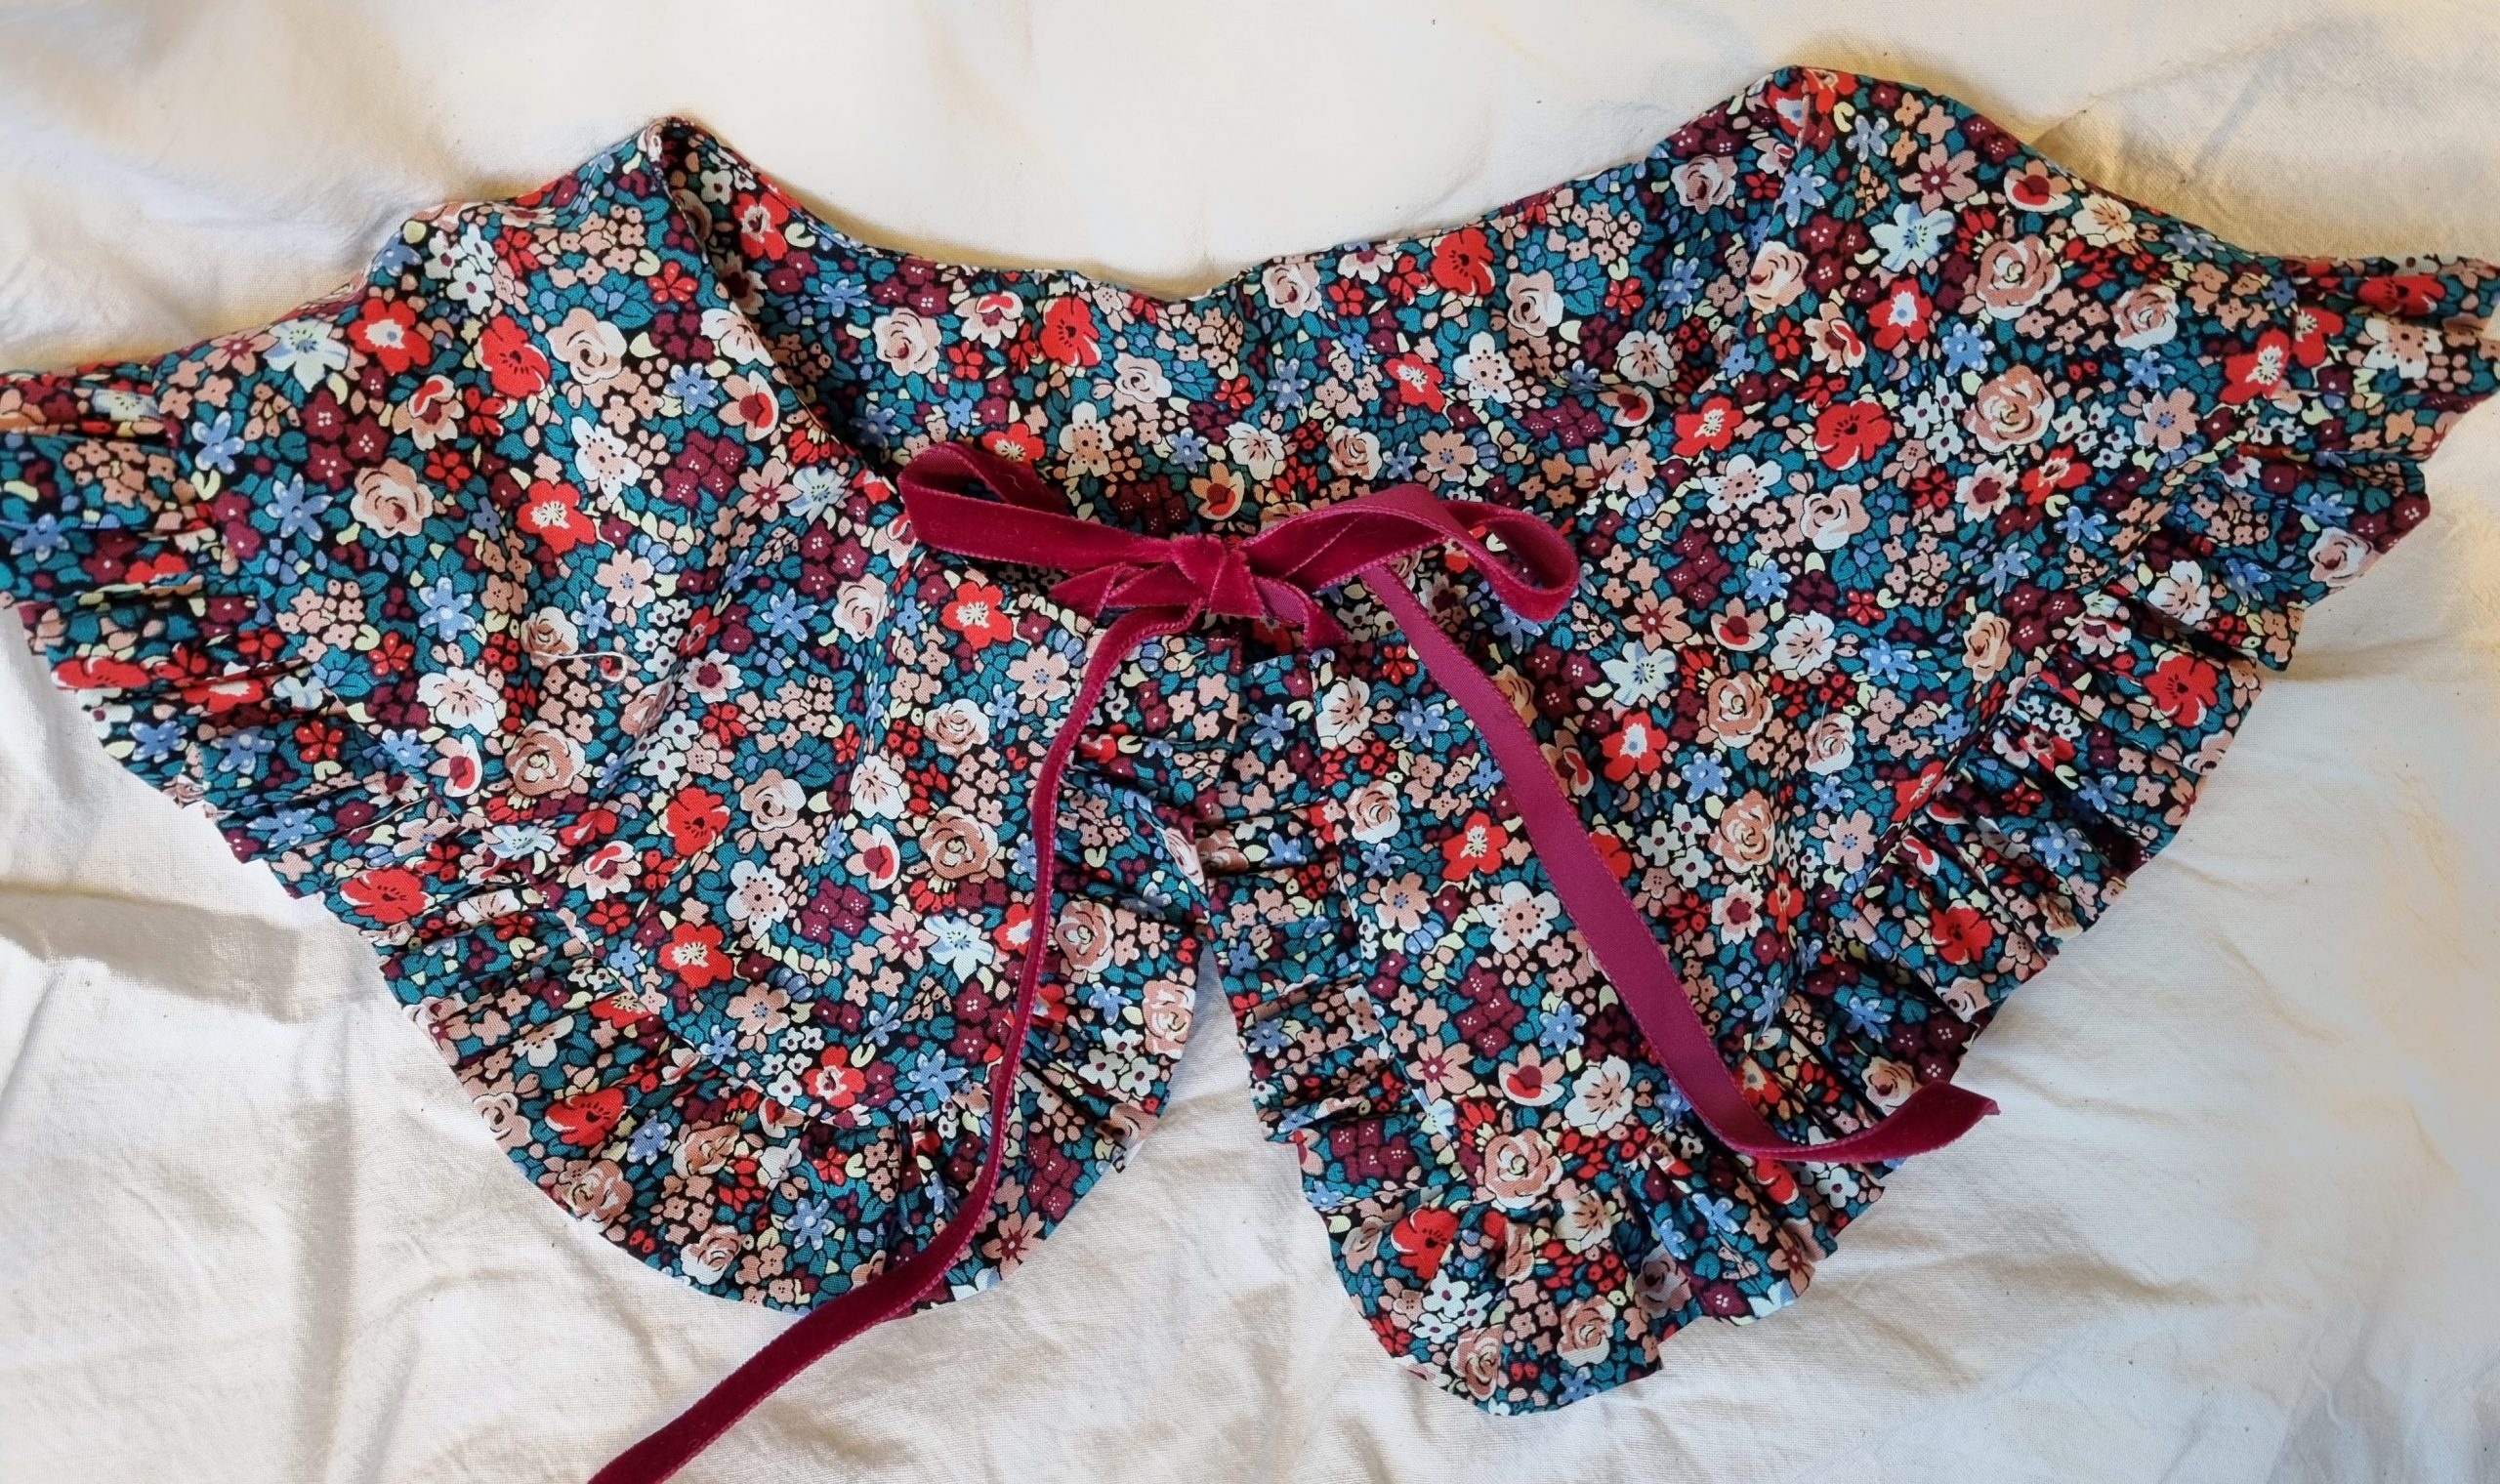
Turn your collar out, and close fold the open edges in. You can hand sew this gap up, or use your machine.
You’re all done!
I hope you enjoy wearing your collar, or giving them as gifts. I’d love to see what you create – please tag me @thread.and.yarn and William Gee @williamgeeUK to show us what you’ve made and how you’ve styled them!
Lorna


 We’re thrilled to announce that we’ve partnered with Tree Nation, the platform to reforest the world & fight climate change! Home to over 90 planting projects in 33 countries, Tree Nation is a non-profit organisation that helps people & companies offset their CO2 emissions.