A pattern is a tool to enable you to create something, whether it is a bag or a blouse, and contains all the information you need for a successful sewing project. Other tools include your scissor, pins, needles, thread, sewing machines and marking tools.
The key to successful sewing is accurately transferring all the marks from your pattern pieces to your fabric. Construction marks provide the link between what you are sewing and your pattern instructions.
A few basics will help ensure pattern sewing success:
 Iron your pattern pieces before you place them on the fabric.
Either pin the pieces to your fabric to secure them before cutting or use pattern weights. Both have their advantages and disadvantages.
Follow the guide in your pattern envelope to make sure you lay out all the pieces correctly on your purchased fabric
Now to the nitty gritty, transferring pattern marks – there are no exact rules on what tool to use to mark what, but this is how I do it:
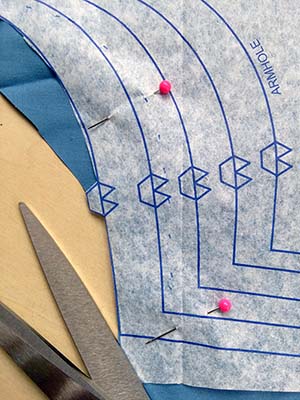 Notches are used to match pieces, for example at the side seams, and can be single, double or sometimes triple! While starting out, cut the notches outwards, not into the seam allowances so as not to cut too far or in case you need to let the garment out. How many times have I cut too far into the seam? Too many to remember…..
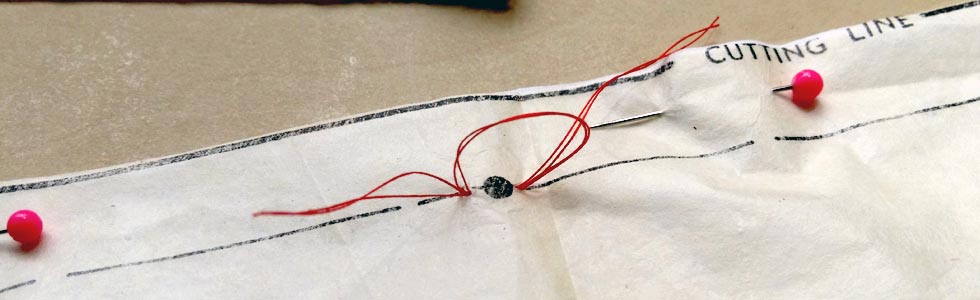
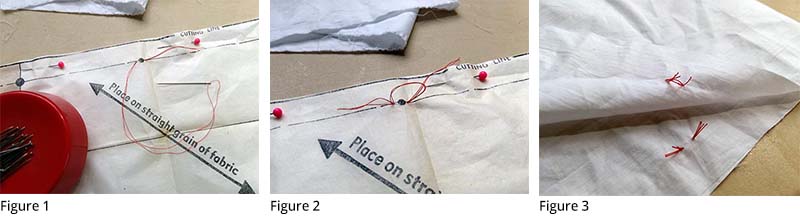
Dots are also used to match up pieces and are often on the seamlines and to mark darts. It is easiest to mark these using tailor tacks. Don’t be scared – all you need is a needle & thread. Through the pattern piece, with double thread, sew a single stitch (fig 1) leaving long threads at the start of the stitch. Leaving a loop, sew a single stitch again in the same place (fig 2). Cut the thread, leaving a long tail and cut the loop in the middle. Gently lift the pattern piece off then slowly separate the 2 layers of fabric and snip the threads in between (fig 3).
Darts are marked on the pattern pieces by lines and dots but you only need to put the tailor tacks onto the dots.

Buttonholes and button placement must be marked before removing the pattern pieces, even if the exact positioning needs to change later in the construction. The button and buttonholes are always a set distance from the edge of the garment, giving you a good indication that your garment front is straight. These are best marked with tailor tacks – this does make it a time-consuming part of the cutting out, but you will be pleased you did it as finishing touches like well-placed buttons make your garment look professionally made.
Other methods for transferring pattern markings onto your fabric include a tracing wheel with carbon paper, using pins and even marking dots with an awl. The more you sew the more you find what you prefer – just make sure you transfer the markings somehow!
I always have tailors chalk and marking pencils handy too – sometimes a quick line on cotton fabric is all that is needed.
My next blog post will show you some of the mistakes I have made because I didn’t transfer markings properly…
Alison runs Scissor Sistas – check it out!


 We’re thrilled to announce that we’ve partnered with Tree Nation, the platform to reforest the world & fight climate change! Home to over 90 planting projects in 33 countries, Tree Nation is a non-profit organisation that helps people & companies offset their CO2 emissions.