


 6 inspiring sewing podcasts to listen to in 2024 (and...
1 Mar 2024I love having something on in the background while I'm... read more Beginner Quilting: Bind a quilt with mitred corners
22 Jan 2024Welcome back to our beginner series on quilting. We've covered... read more Great British Sewing Bee: Christmas Special 2023!
19 Dec 2023The Great British Sewing Bee is back for a Christmas... read more A Festive Note & Christmas Opening Hours
5 Dec 2023Dear customers, suppliers and friends, As we come to the... read more Beginner Quilting: attaching quilt wadding and backing
22 Nov 2023Welcome back to our mini-series on learning how to quilt.... read more Beginner Quilting Series: how to sew an ohio star quilt...
26 Oct 2023I'm not sure there's anything cosier than a handmade quilt.... read more Sewing Your Own Underwear: Is It Worth It?!
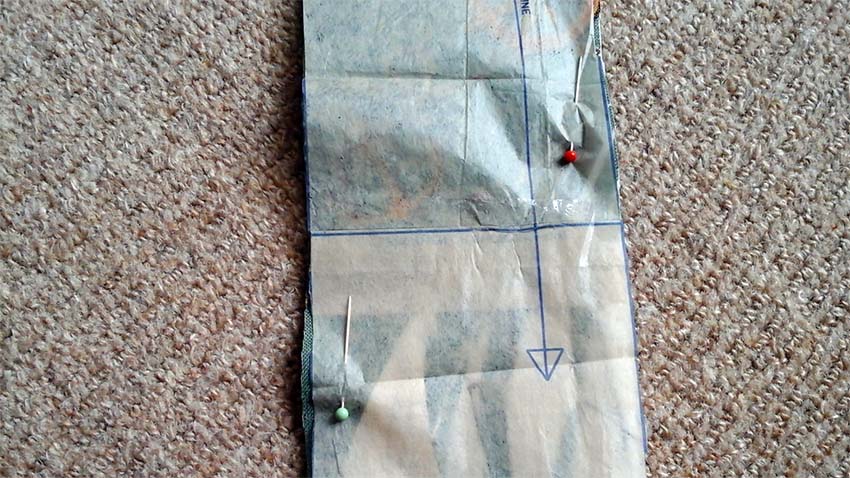
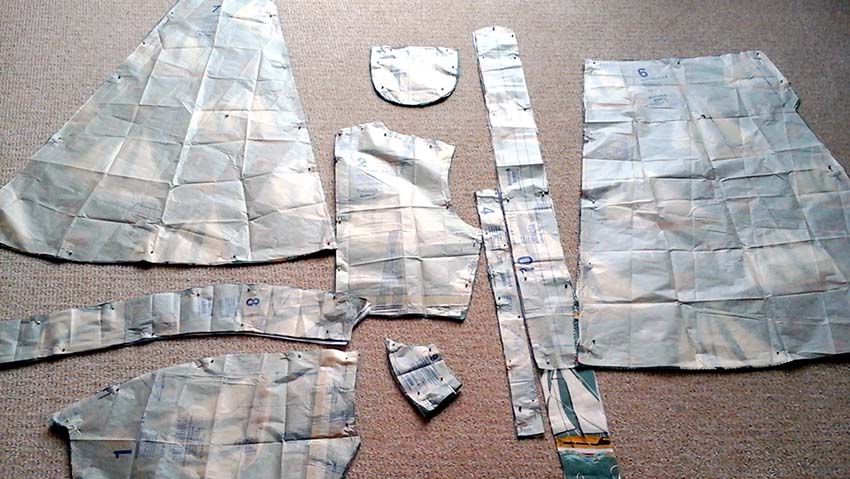
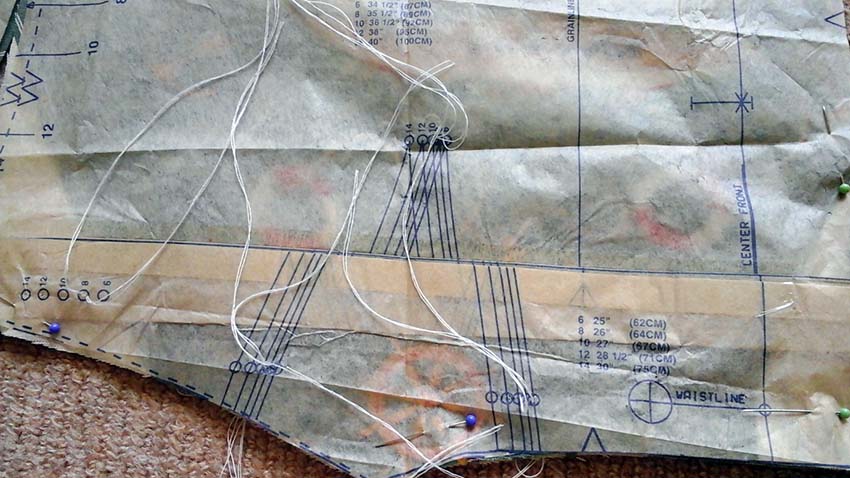
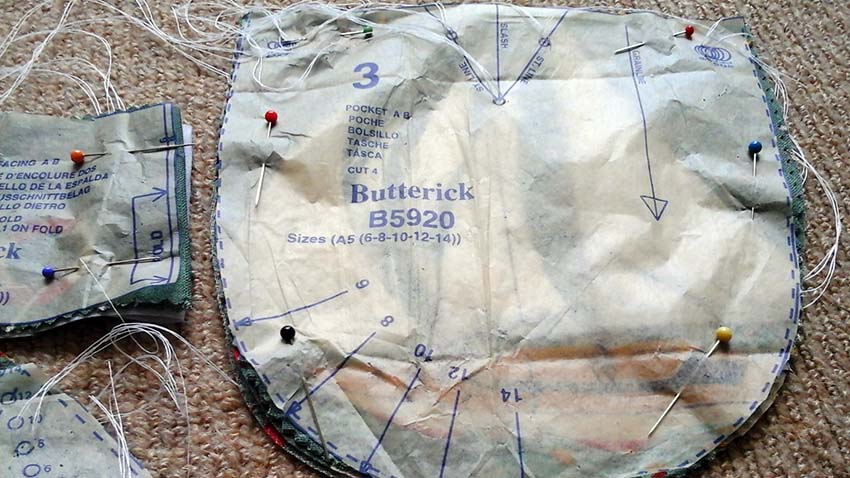
20 Sep 2023I love figuring out how to make things that I... read more Great British Sewing Bee 2023 Final! Episode recap and sewing...
29 Jul 2023This week was the final of the 2023 Great British... read more The Sewing Bee: Episode 9 – Utilitarian Week (semi-final!)
24 Jul 2023This latest week is the Great British Sewing Bee's semi-final,... read more The Art of Interfacing Fabric: Elevating Your Sewing Projects
21 Jul 2023When it comes to creating beautiful and professional-looking sewing projects,... read more The Ultimate Guide to Sewing Machine Needles: Everything You Need...
21 Jul 2023If you're a sewing enthusiast, you understand the importance of... read more Sewing Bee: Episode 7 recap and 90’s sewing pattern ideas!
10 Jul 2023First off, sorry we missed Children's Week! We're back with... read more
 We’re thrilled to announce that we’ve partnered with Tree Nation, the platform to reforest the world & fight climate change! Home to over 90 planting projects in 33 countries, Tree Nation is a non-profit organisation that helps people & companies offset their CO2 emissions.