I have recently returned from a fab holiday in Florida, a wonderful place with wonderful memories. But something puzzled me – there is very little visible recycling and the thing that struck me most was how many plastic carrier bags we acquired each time we went to the supermarket. The person on the till packs your bags for you and there is no opportunity to take and use your own.
So, while drinking tea by the pool, I tried to think of ways that plastic bags could be re-used. A quick google search showed me that this is, in fact, an old idea and people make a type of fabric out of their old carrier bags. And it is a sewable, usable material believe it or not!
While my upcycle idea isn’t original, I thought I would share it with you – to try maybe.
What you will need:
Plastic carrier bags of varying designs, if possible
Greaseproof paper (don’t use freezer paper as it will melt onto the plastic bags)
Old iron, ironing board
A well-ventilated room
Cut the greaseproof paper so it will cover at least half of the ironing board – don’t skimp or you will need a new ironing board cover! Put it on the ironing board. Cut another piece the same size. This will be used to lay on top of the plastic bags when they are ironed.
Switch the iron on – no steam. I set mine to rayon (2 dots on my old iron). Check your iron for a similar setting.
Flatten out a plastic bag and cut the bottom off. This is the part where the seam usually is.
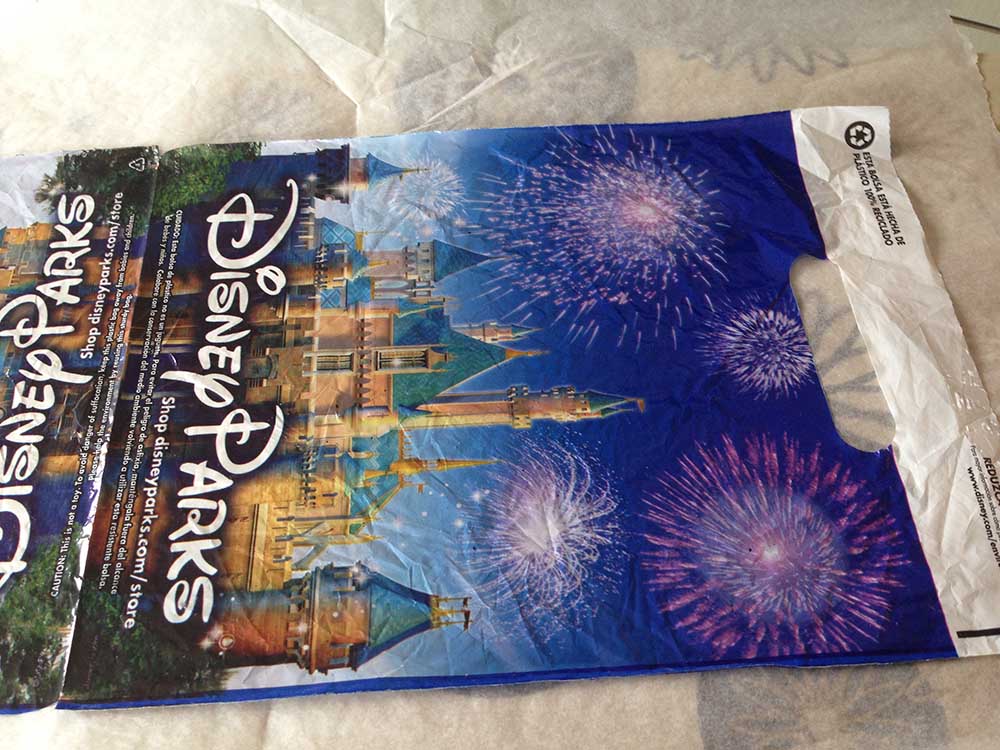
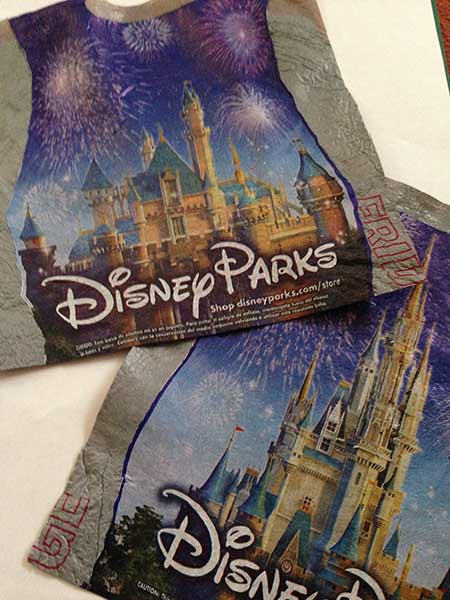
If it is a carrier bag with an interesting pattern on both sides, put it to one side as it may be better used on another piece of the final material. I kept my Disneyland carrier bags for such a purpose!
Place the bag onto the greaseproof paper and smooth it out with your hands, then place the second piece of greaseproof on top. Ready to go?
Make sure the doors & windows are open – the plastic can give off some fumes.
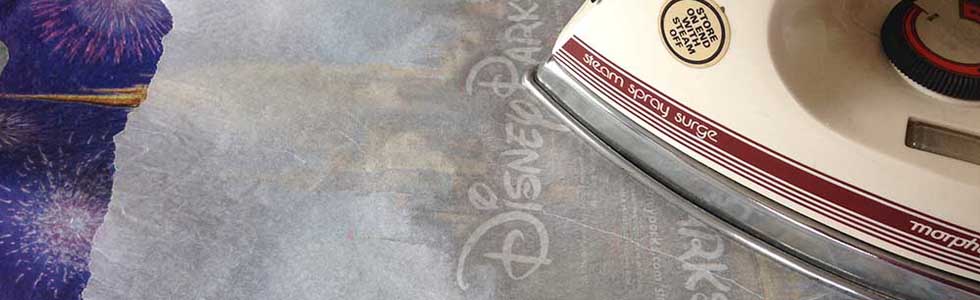
Gently press the iron onto the paper and move gently around to melt the plastic.
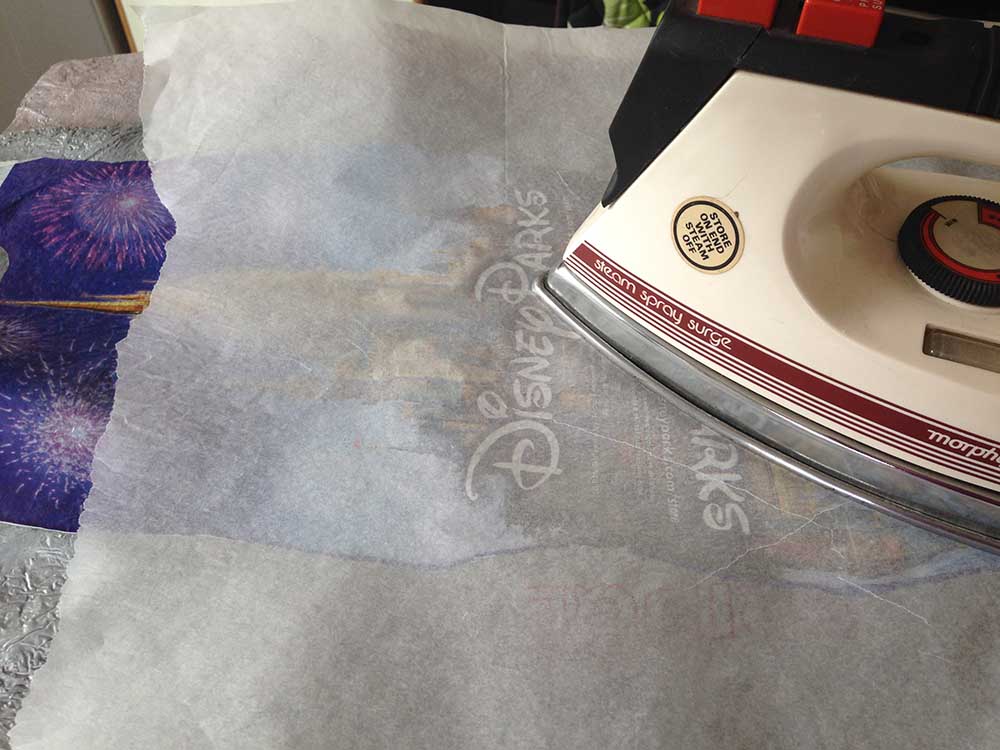
Sometimes it goes well, other times it shrinks unevenly. Once you have fused the section of plastic together, gently peel the greaseproof off making sure you don’t burn your fingers on the plastic. Repeat across the rest of the bag.
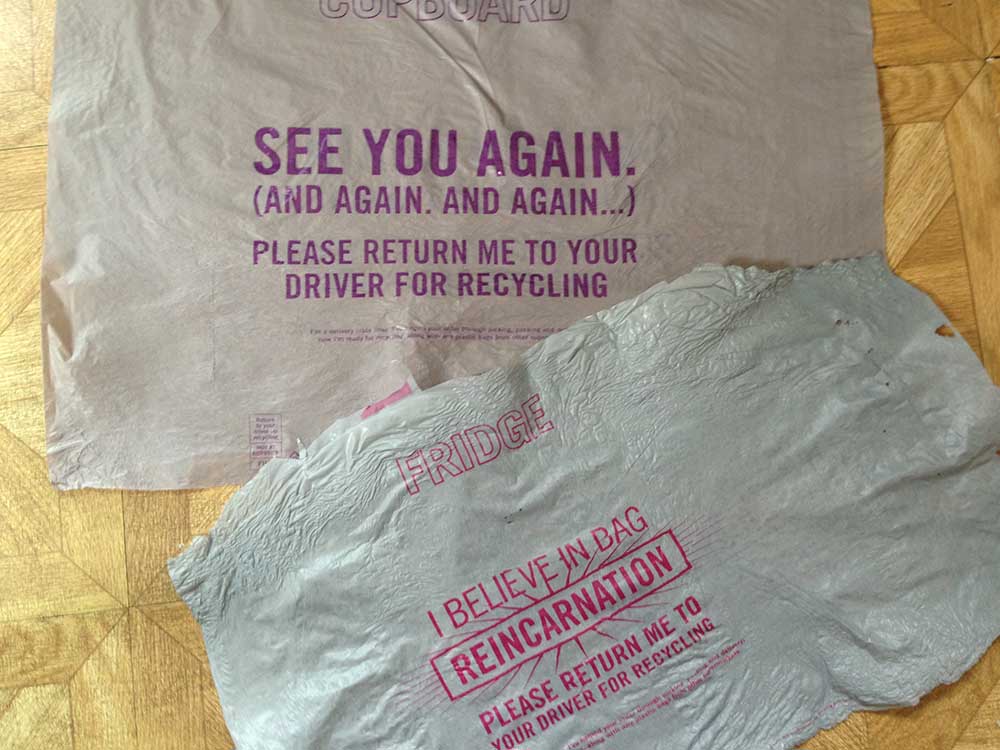
Here are a couple of layers I created
Once you have a few of these layers, it is time to melt them together. Only do 2 layers at a time as I have found they do not fuse together fully otherwise. It may be my iron but I was happy doing it 2 layers at a time.
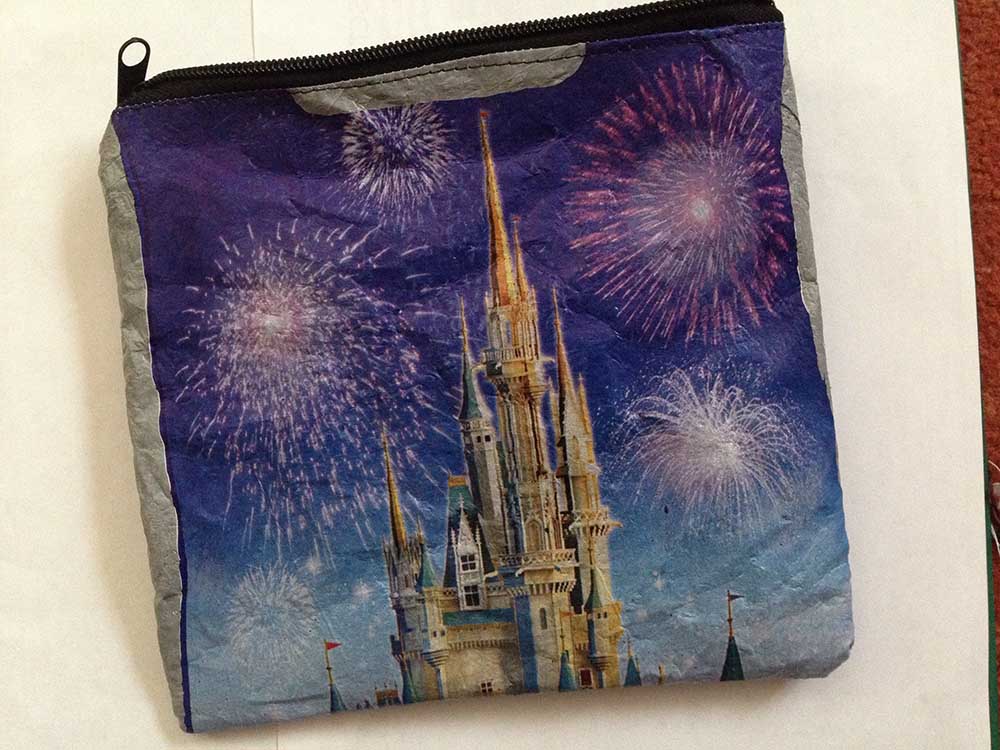
Once I had 2 layers fused together, I added a fancy outer bag, as can be seen.
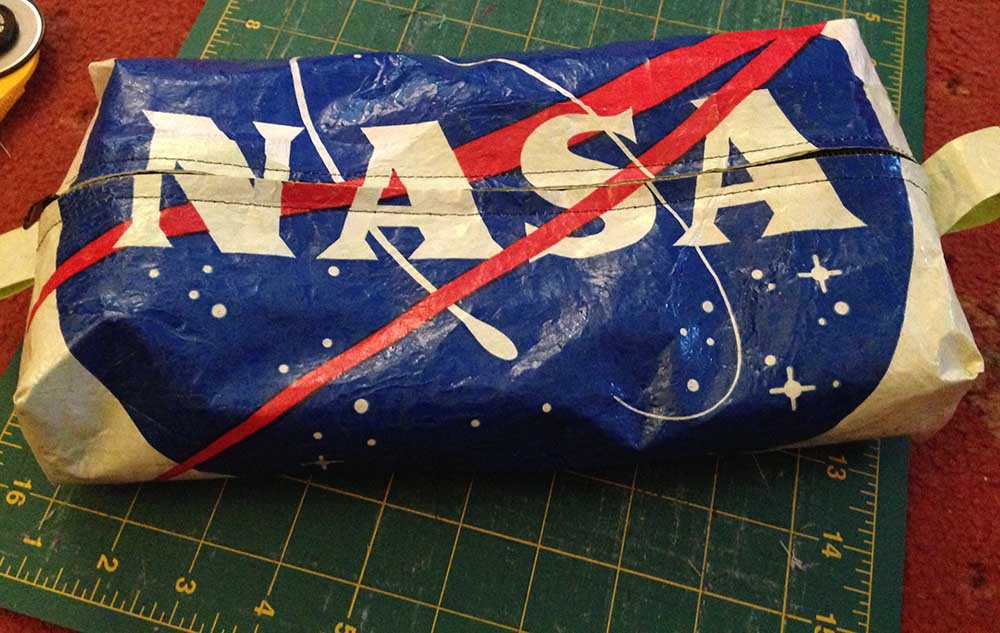
Let it cool then get sewing! Below is a ‘Disneyland’ zipped pouch I made for one of my teens and a ‘NASA’ zipped pouch for my husband! Keep your stitches at about 3mm long when sewing with your machine.


 We’re thrilled to announce that we’ve partnered with Tree Nation, the platform to reforest the world & fight climate change! Home to over 90 planting projects in 33 countries, Tree Nation is a non-profit organisation that helps people & companies offset their CO2 emissions.