
The seventh dress in the series is a strapless, princess seam dress.
I used Vogue pattern, V8849 (option A), and made a slight amendment to the peplum detail. This pattern is from their Custom Fit range, which means the bodice pattern pieces come in different cup sizes, as well as different dress sizes. Therefore it makes an otherwise not-so-friendly dress style easier to wear and less likely to fall down (because it’s too big, or be restrictive, because it’s too small). I would recommend this pattern to anyone wanting to make a strapless dress who usually finds it difficult to buy this style of dress “off the rail”.
Bardot Dress | Slip Dress | Maxi Dress | Shift Dress | Overlay Dress | One Shoulder Dress | Strapless Dress | Long Sleeve Dress | Cold Shoulder Dress | High Neck Dress
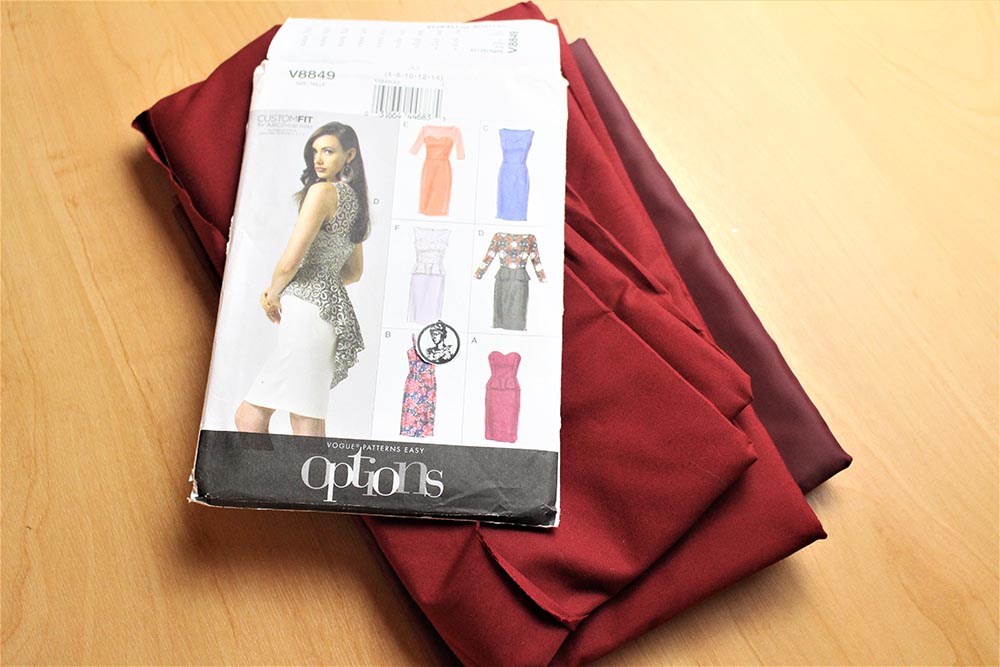
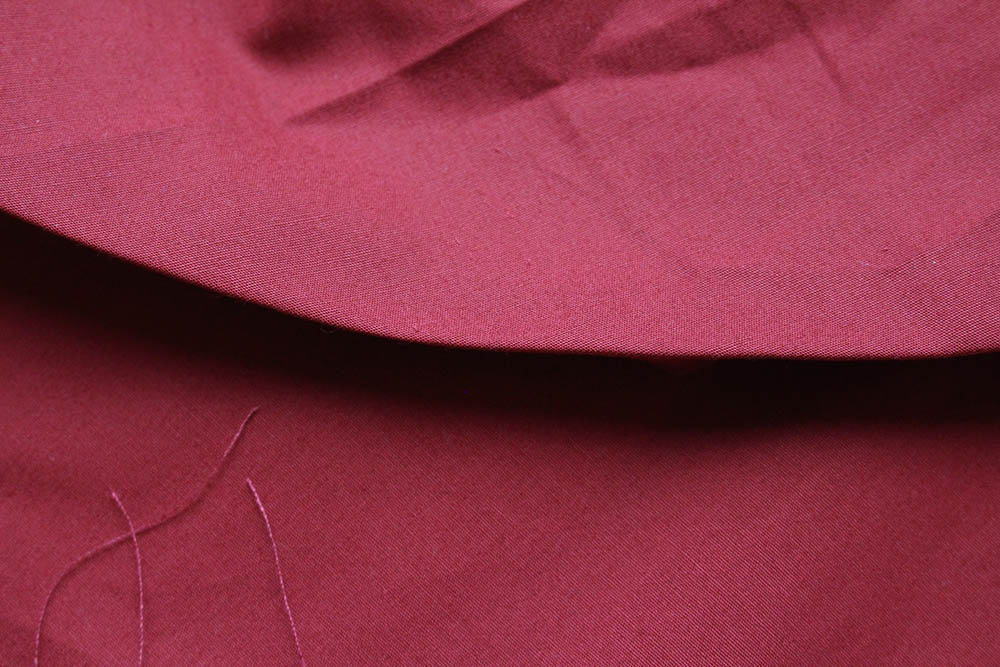
I chose to make this dress in cotton poplin, in a gorgeous vibrant red. The fabric is so soft and was a dream to work with. I altered the skirt pattern slightly to make it more close fitting and used anti-static lining fabric to make sure that the lining would not get stuck to me or the dress. It was my first time getting fabric online. I was a little nervous but very happy with it overall.
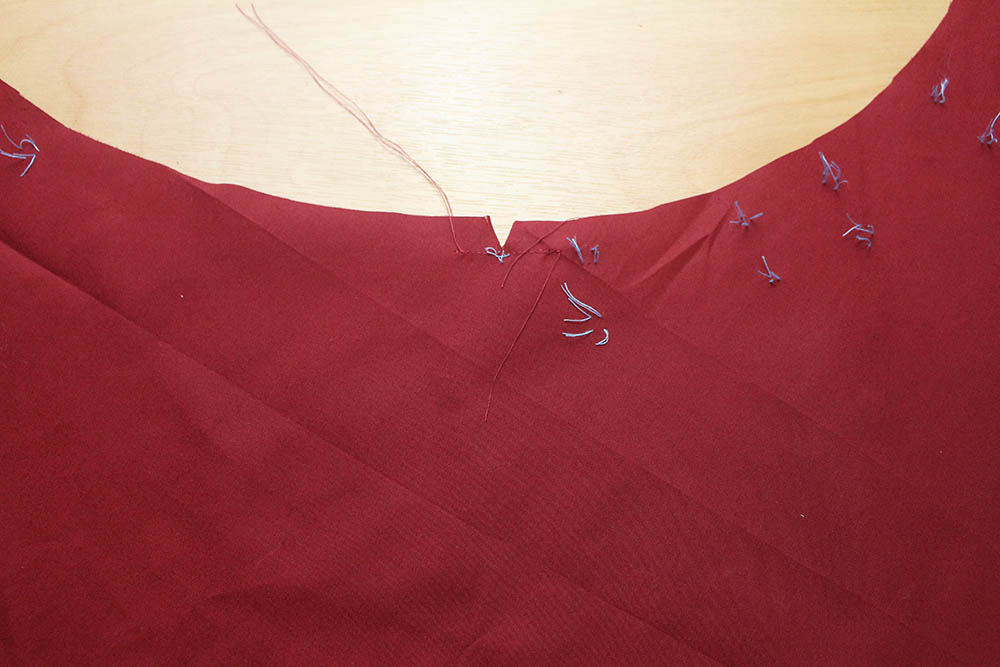
Once all your pattern pieces are cut, you are ready to start sewing. The first instruction is to staystitch the side edges of the bodice front. Similarly to the one shoulder dress, the front bodice has curved seams. However for this dress the pattern uses a staystitch to help form the curved seam (rather than easestitch, as in the other pattern). Next step – pin bodice side sections to bodice front, clipping bodice front as necessary. Baste and stitch. Form darts in back bodice sections and press towards the center.
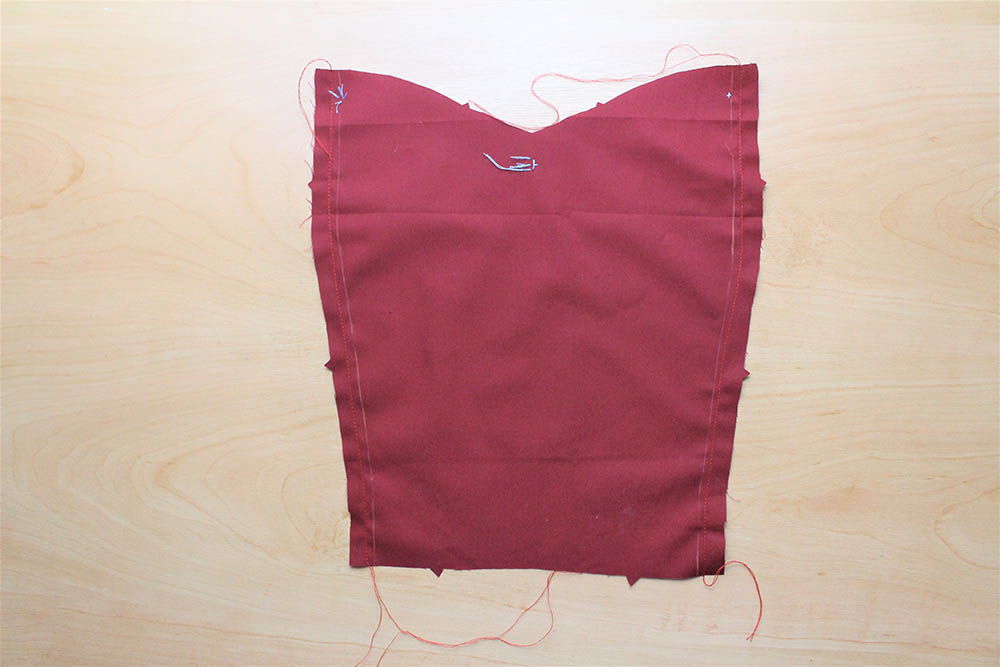
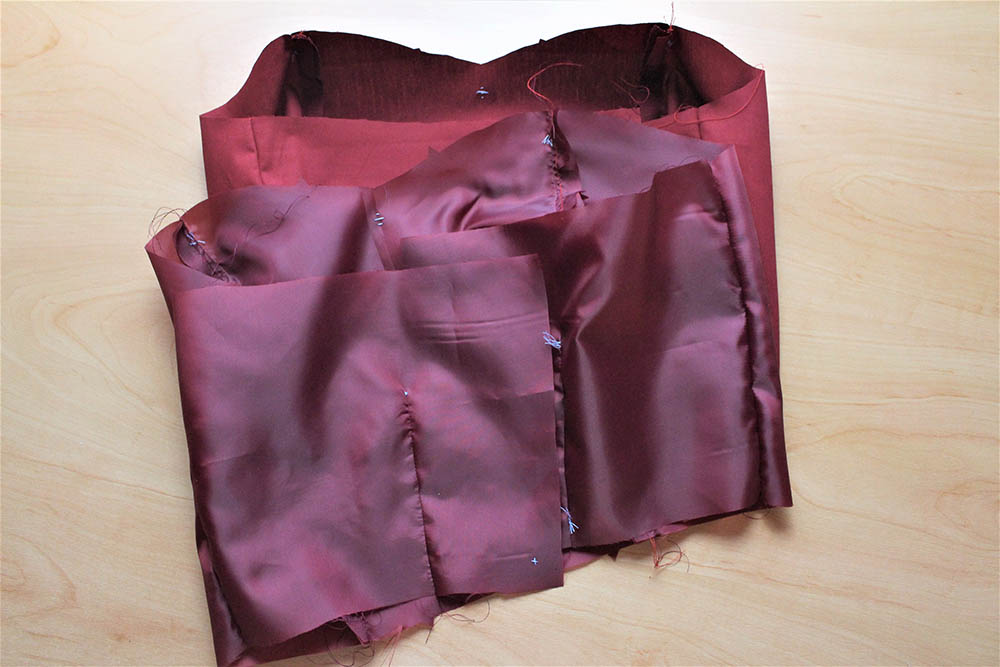
After the front and back bodice sections are sewn together. Repeat the same steps to form the bodice lining. Then it’s onto adding structure to the bodice.
The pattern instructions recommend using covered boning. I didn’t use covered boning, but would recommend using covered boning for comfort. The boning I used is made up of individual strands of plastic, that can move at their own will. Which means one could slip down and breakthrough the seams and poke you. But covered boning is either joined together, or made as one piece, so less likely to breakthrough seams.
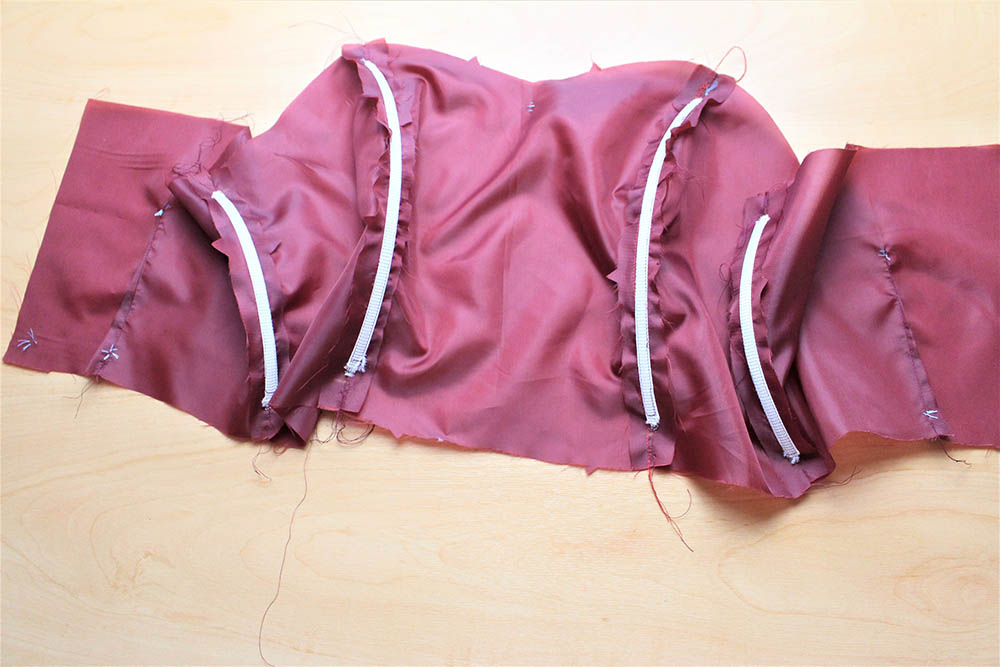
You will need to cut four lengths of boning, one for each side seam. If you used covered boning, slide the covering for your boning down to reveal the tip of the boning and trim away 2cm from the tip, making sure to round the edges. If you didn’t use covered boning; trim away 2cm from the tip, round and smooth ends as much as possible.
Center the boning over the seams on the wrong side of the bodice lining. Stitch close to long edges and baste across lower and upper edges.
With right sides together, pin lining to bodice matching centers, notches and seams. Stitch upper edge, pivoting at large circle. Clip at large circle, trim seam allowance and understitch lining.
Moving onto the skirt:
As mentioned at the beginning of this post, I made an amendment to the skirt and waist detail. I made the skirt more close fitting, and created a double back peplum instead of a front and back peplum trim.
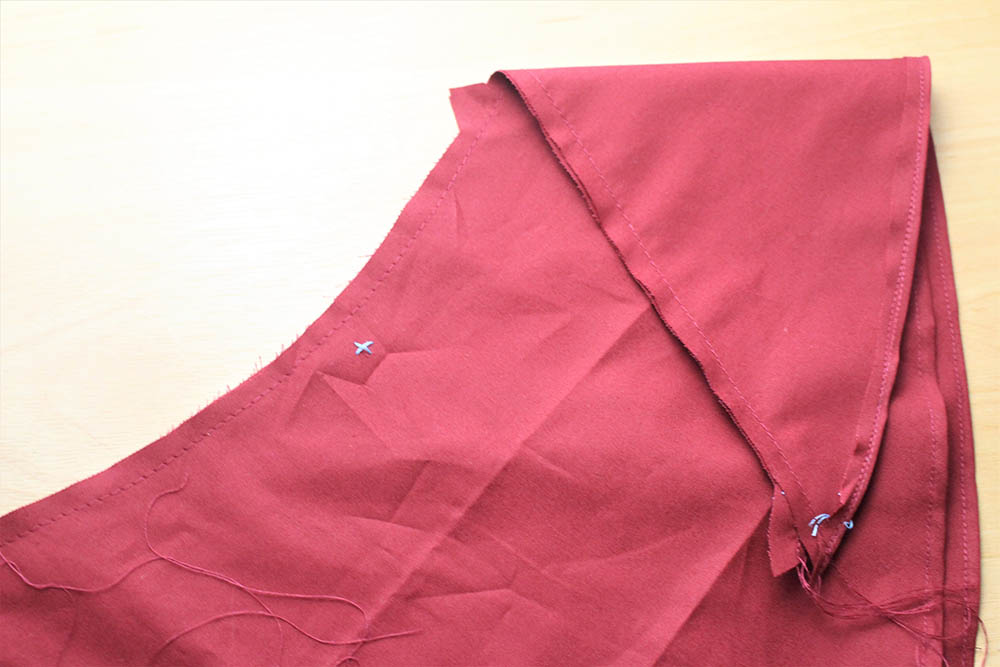
I worked on the peplum first and cut four back peplum pieces the same size. I then transferred marking, reinforced the upper edge through center back small circles and clipped seam allowance to small circle. I then made the pleats by creasing along the line of small circles and brought the crease to the line of large circles. Baste the pleats in place and then baste across upper edge. Repeat this for the remaining 3 back peplum pieces.
To hem the lower edge of the peplum, first stitch 1.5cm from raw edge. Turn in and press alongside stitching. Trim close to stitching; stitch in place. The stitching helps to create a smooth curved edge, when pressed. Keeping any fullness neatly eased between the raw edge and stitching and not on the curved hem itself. For the second set of back peplum pieces I turned up 2.5cm from raw edge and followed the same remaining steps. So I finished with two peplums of different lengths, for each skirt back section.
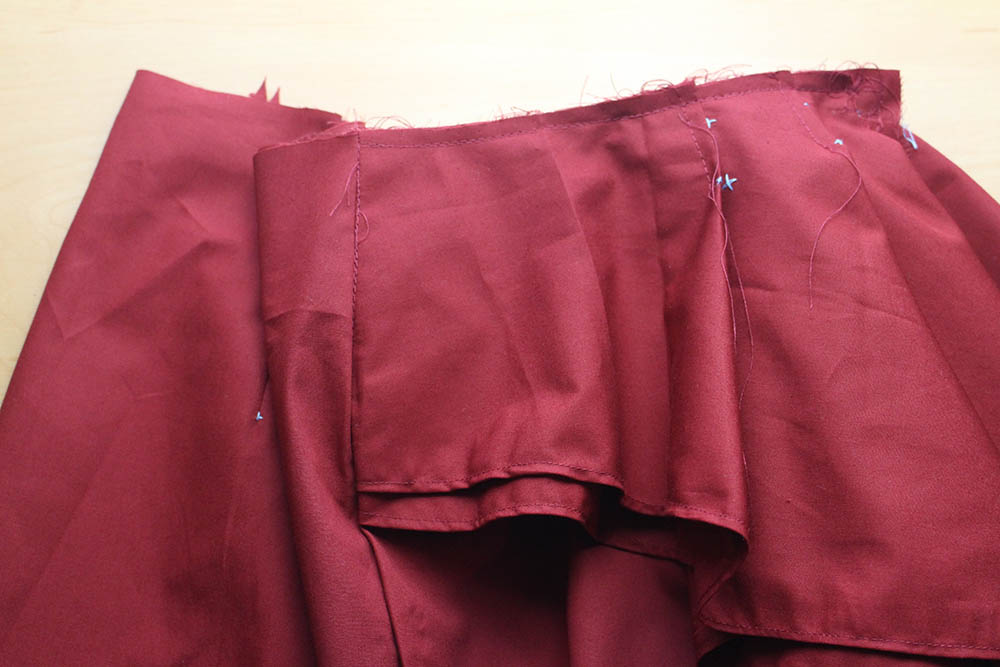
I laid the shorter layer on top of the longer layer, matching marking and notches, and basted along the raw edge.
On to the skirt:
I graded the front and back sections down so the skirt had a closer fit. Stitched darts in the front and back skirt pieces, pressed darts towards the centre.
Pin wrong side of peplum to right side of skirt back; match upper and back edges, centers, markings and notches. Baste, keeping raw edges even.
Pin right side of skirt back to right side of skirt front at side edges. Stitch through all thicknesses.
Open out bodice lining. Pin skirt to bodice, matching centers and seams. Stitch.
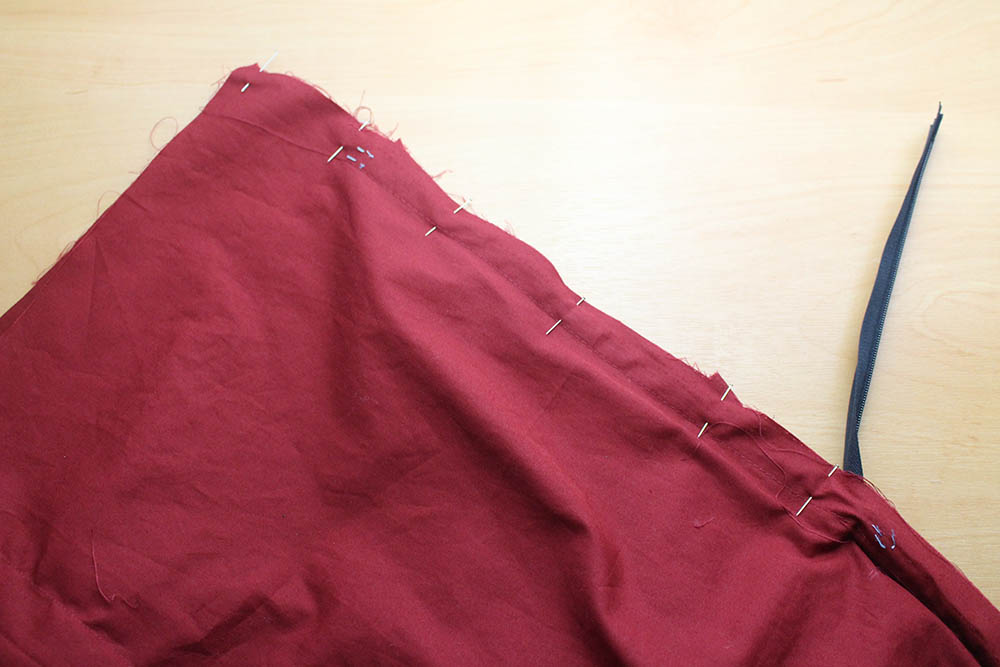
This pattern uses an invisible zipper, that is inserted before the center back seam in stitched.
First press the zipper teeth away from the zipper tape, to make inserting the zipper easier. On outside, of dress, pin zipper to left back opening edge with zipper teeth on seamline. Using an invisible zipper foot, stitch close to teeth. Ending at large circle. Pin remaining zipper tape to right back opening edge, stitch close to teeth, ending at large circle.
Close zipper and pin skirt back sections together below zipper.
I used a standard zipper foot to stitch the back seam to be able to get a tight seam at the base of the zipper.
Next up is the skirt lining. Grade the lining down as with the front and back skirt. Stitch darts in front and back lining, press towards center. Stitch back lining sections together, leaving open above large circle. Pin front lining to back lining, right sides together, stitch side seams. Press seams open.
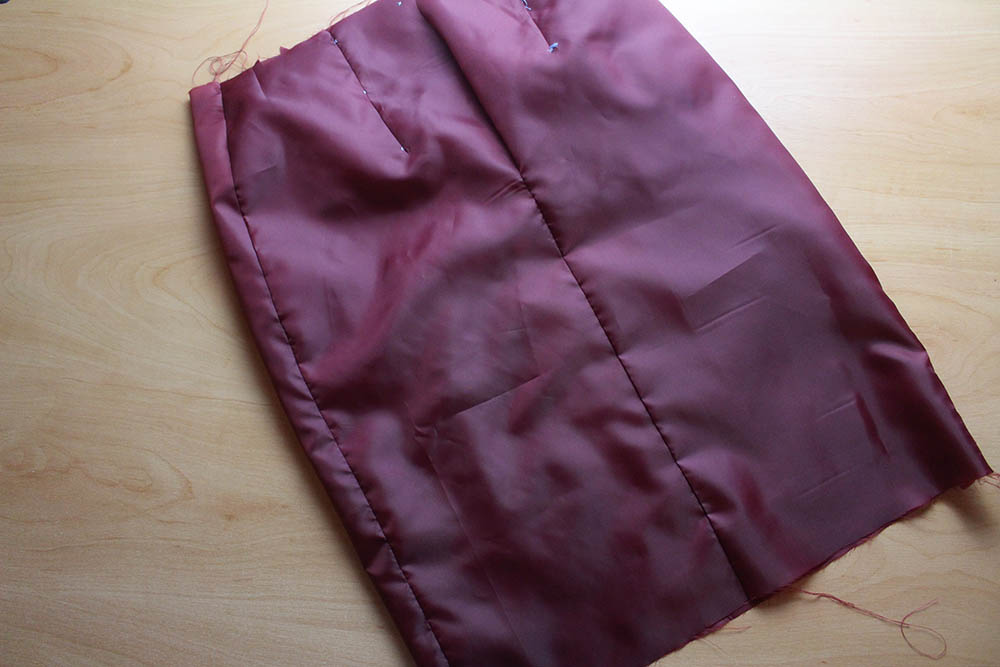
With right sides together pin skirt lining to bodice lining, matching seams and notches. Stitch. Turn down lining and turn in back edges along seamline. Press and slipstitch to zipper tape, keeping clear of zipper teeth.
On to the finishing:
I freestyled at this point.
Pressed the waist seams and invisibly stitched the lining to the dress along the seam allowance. For the lining hem, turn up 2.5cm of the raw edge, press and then turn up 2.5cm again. Press. Stitch close to upper folded edge. For the dress hem, turn up 1.5cm of the raw edge, press, turn up 1.5cm again. Top stitch close to upper folded edge.


 We’re thrilled to announce that we’ve partnered with Tree Nation, the platform to reforest the world & fight climate change! Home to over 90 planting projects in 33 countries, Tree Nation is a non-profit organisation that helps people & companies offset their CO2 emissions.