The 9th dress in the series is a cold shoulder dress, using a pattern from Prima magazine. I chose to do this as the penultimate pattern as it is a construct-it-yourself pattern.
Similar to PDF patterns you can download online, Prima patterns need a bit of work before you can get down to sewing. I am a huge fan of Prima patterns because they are really simple. Making them easy to trace and assemble, and also making them good pattern blocks. So they are easy to amend and customise. And if you have to go through the trouble of tracing it out in the first place, it’s worth trying to add your own spin to it!
For this dress I took inspiration from the the likes of Kim Kardashian, Rihanna and Beyonce. ho have all been seen in beautiful gowns/dresses with strategically placed detail to cover ones modesty. See how I got on below…
Bardot Dress | Slip Dress | Maxi Dress | Shift Dress | Overlay Dress | One Shoulder Dress | Strapless Dress | Long Sleeve Dress | Cold Shoulder Dress | High Neck Dress
First things first- open out the Prima pattern to see where all the parts are – it will be printed double-sided. Read through the instructions on cutting and tracing the pattern before starting to trace. The patterns are fitted onto four sides of A1(ish) size paper, so there will likely be an extension piece that needs to be traced out for dresses, skirts and trousers (that will be on a different page to the rest of the pattern). Once you are comfortable you know where all the pieces are that you need to trace, grab some pattern paper and begin tracing out the size you want.
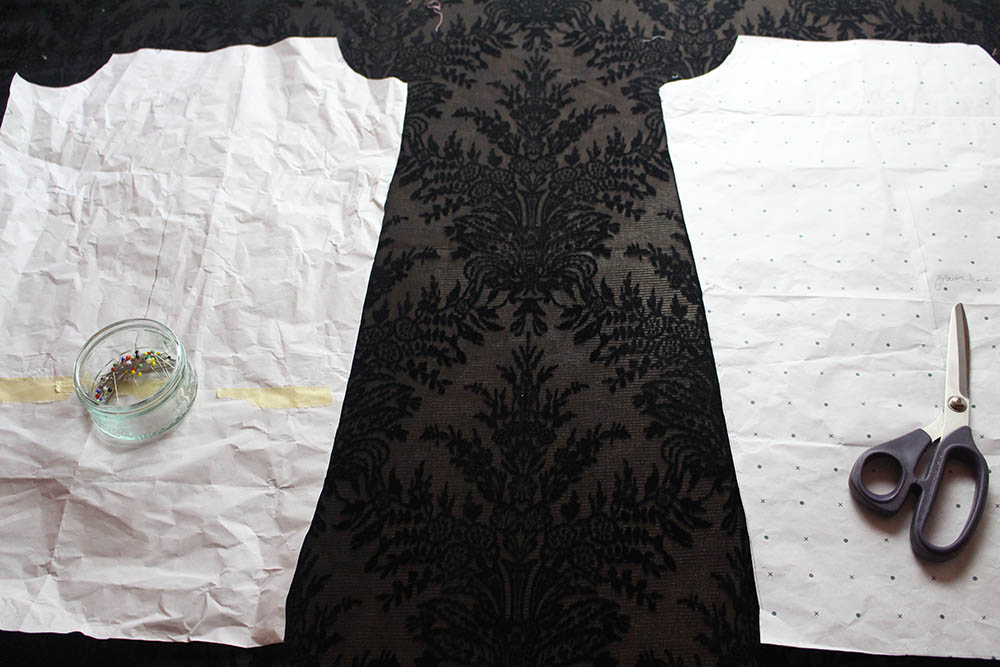
Once all the pieces are traced out, you can then lay them out on your fabric and begin. I used printed fabric, so cut out the mirror image of each of the pattern pieces as well. I did this so I could pattern match the seams, and the print placement across specific body parts. A good thing about this dress is that it doesn’t take too long to construct once cut out (I barely noticed the extra time needed to trace the paper pattern first!)
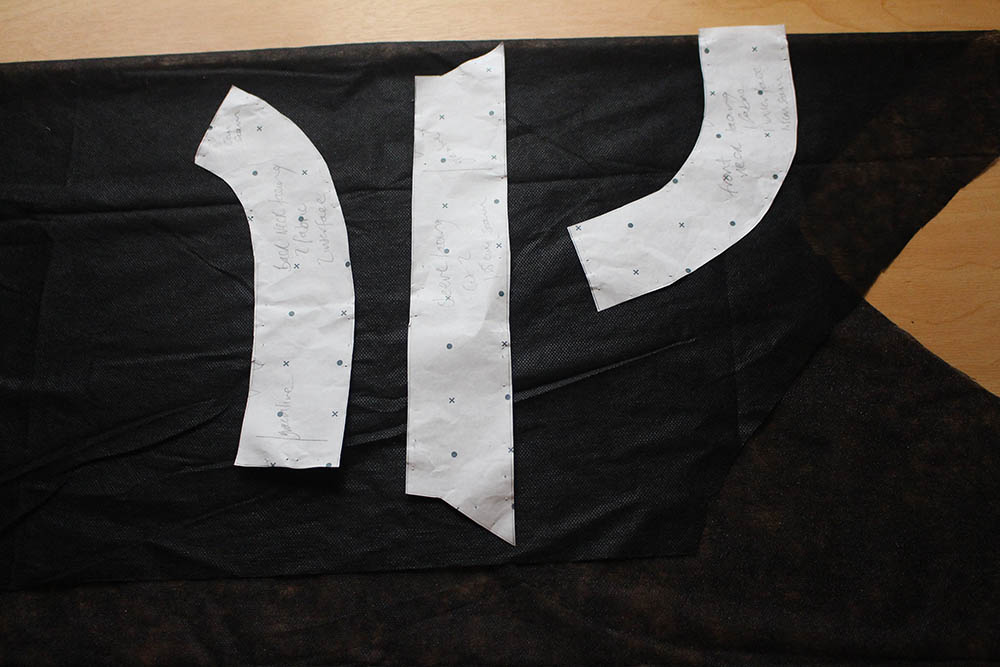
Once all you fabric pieces are cut out you will need to cut out 3 of the pattern pieces again on fusible interface.
This dress was very quick to assemble once I got going. If you pre-assemble and trace the paper pattern, this dress should take you no more than 8 hours to make. Which I know still sounds like a long time, but it could take less than that, depending on what fabric you use.

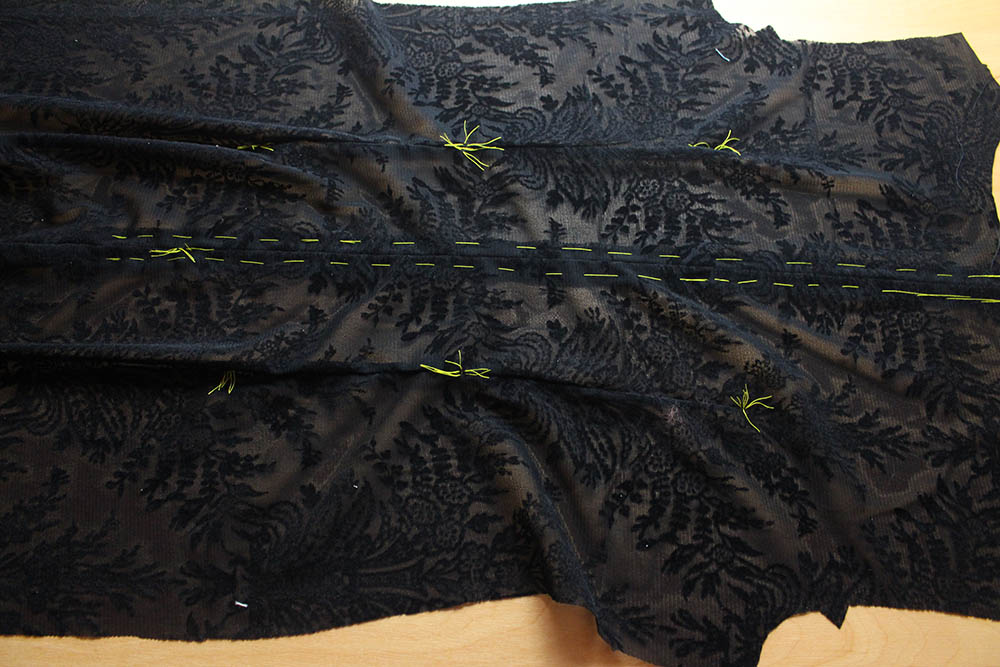
The dress has two front darts and two back darts that need to be sewn first. Before stitching the front and back together at shoulders and side seams you need to insert the zipper in the centre-back. The pattern instructions uses an invisible zipper, but I decided to use a standard one. We have used many invisible zippers in this series; I just fancied a change.
After stitching the shoulder and side seams. It’s time to move onto the neck line and armholes. Iron-on fusible interface to the wrong side of neck facing. Stitch shoulder seams and neaten outer edge of facing. Before stitching the neck facing to the neck edge of the dress, I stay-stitched the neck edge. It’s not in the instructions, but the fabric I used had a slight stretch to it and I didn’t want the neck edge to warp out of shape. Understitch facing, turn down and slipstitch at shoulders and zipper tape, keeping clear of zipper teeth.
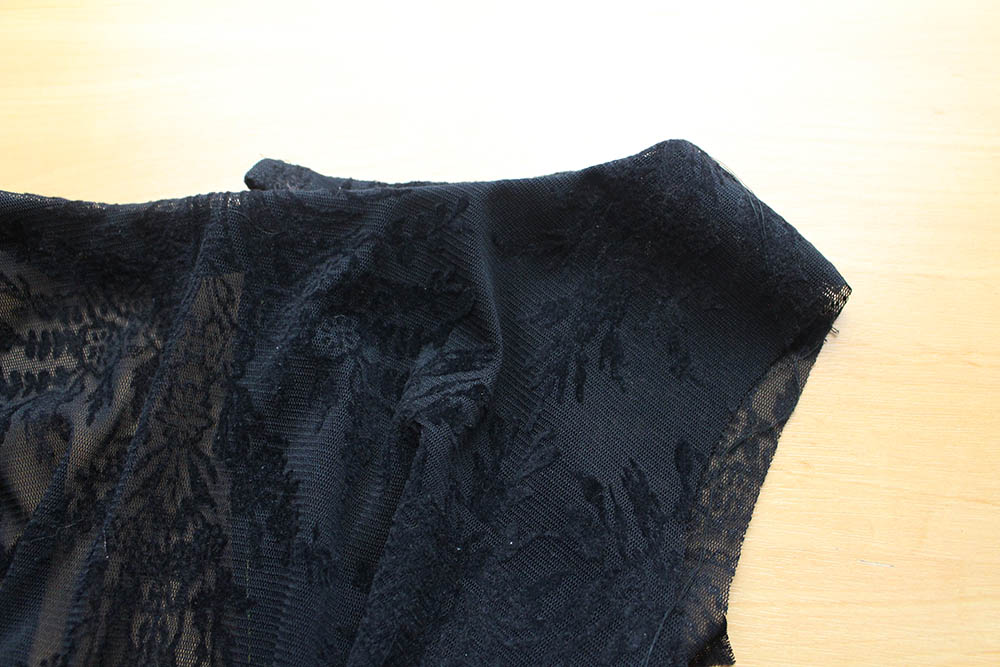
Iron fusible interface to wrong sides of sleeve facings. Neaten un-notched edge. Matching notches and symbols stitch facing to upper edge of sleeve. Understitch facing, turn down and press. Baste sides of sleeve facing to sleeve. Stitch sleeve seam.
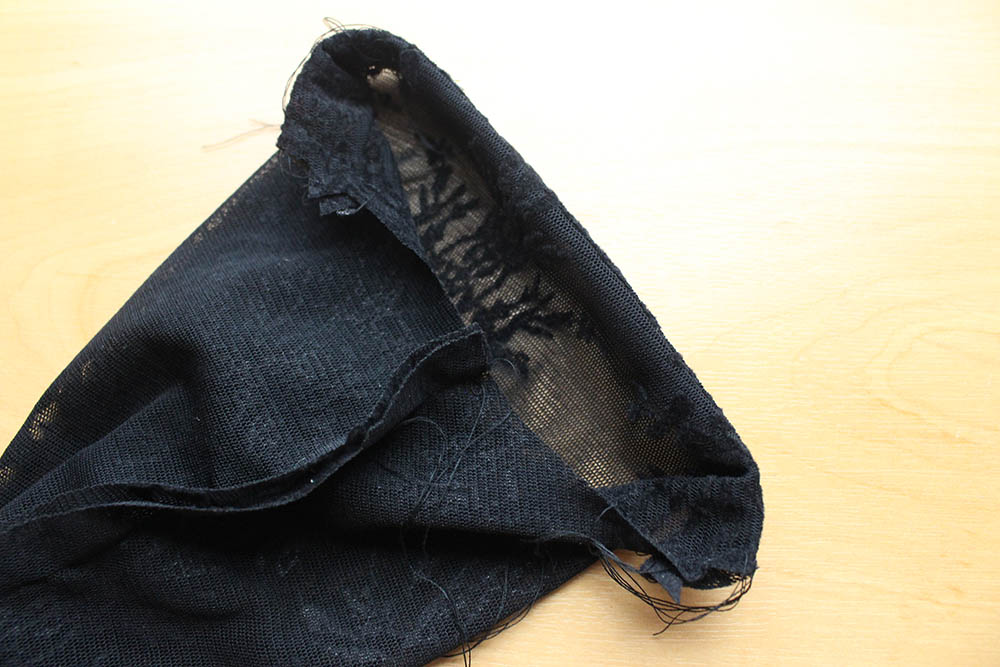
Attaching the sleeves and armhole facing takes some concentration. Without the pictures to show what each step looks like it is very easy to get lost. You first need to insert the sleeve, as you would do normally, but as it is only half a sleeve you only need to stitch half of the armhole edge. Do this with a basting stitch. The armhole facing then comes in to neaten the shoulder edge and secure the half sleeve in place. The end result looks something like this.
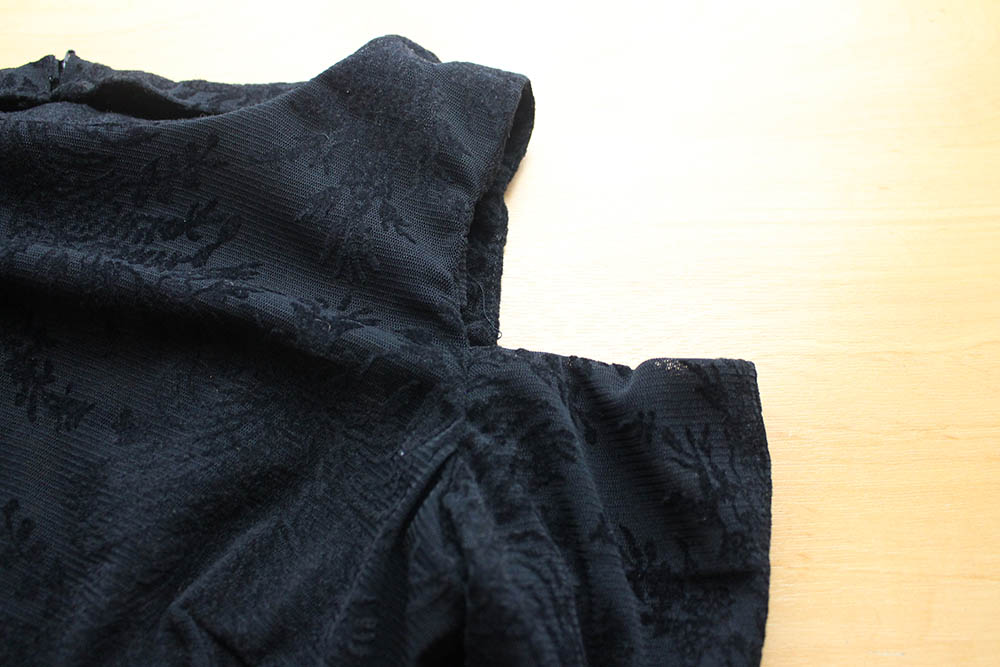
All that is left to do it hem the sleeve and the dress and you are all done.

Overall I think the dress turned out really well, but I do wish the fabric hung better. I will definitely be making this dress again (I will even make it as a top). For the next one I will remove the centre back fastening and insert a front placket to make a button down dress. And then make it as shirt with amended sleeves to fit a cuff.

Thank you for taking the time to read this post. I hope you will stick around for the rest of the series. And I look forward to seeing all your makes!
Until next time.
A


 We’re thrilled to announce that we’ve partnered with Tree Nation, the platform to reforest the world & fight climate change! Home to over 90 planting projects in 33 countries, Tree Nation is a non-profit organisation that helps people & companies offset their CO2 emissions.