Part 1: Tools of the Trade | Part 2: Pattern Hacking | Part 3: Interfacing | Part 4: Fastenings
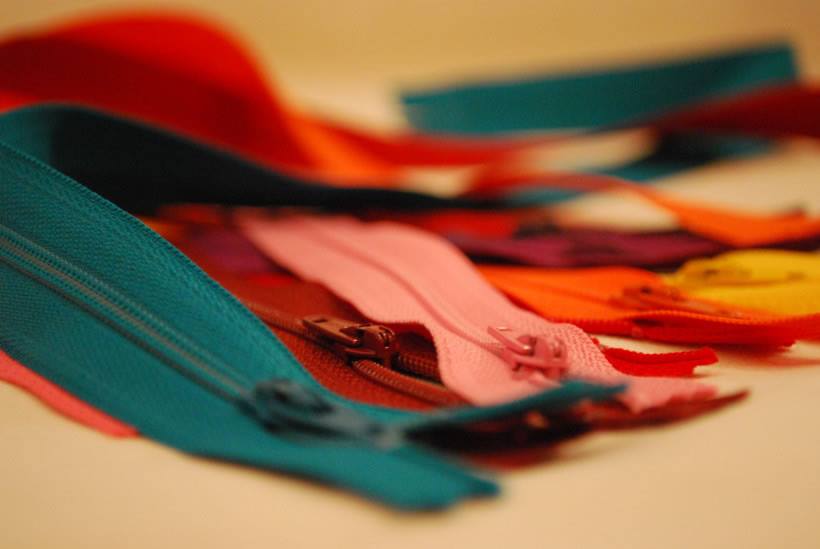
Unless your garment is super stretchy you are going to need some kind of fastening to be able to get into it and keep it closed. Keep it Zipped!
The most obvious thing to use is a zip. But it’s how you use it that counts…
The standard way that you are first taught is a centred zip, where there is an equal amount of fabric on each side of the tape and covers the teeth – a practical but not overly pretty or sophisticated way of applying a zip. Once you have mastered the centred zip why not go on to try a next level insertion.
Concealed Zip
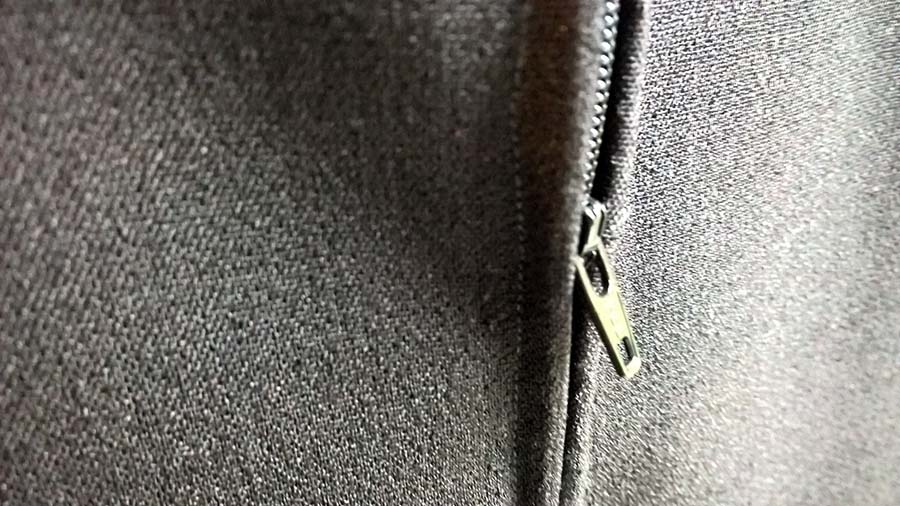
In most high end garments you will not be able to tell where the zip is or how you got into it (unless it is a design choice) for this you will need to learn to insert a concealed zip (also known as an invisible zip). If you can sew a straight line, you can insert a zip. The trick to invisible zips is to iron the tape flat first (do not melt if your zip has plastic teeth!) and sew as close as you can to the teeth. If you are struggling, tack the zip in using silk or basting thread first (silk thread snaps easily so is perfect for tacking), then machine sew and remove your tacking stitches. Use a much brighter and different coloured thread to tack with so it makes this last process easier!
Lapped Zip
Making a vintage style garment? Pick a metal zip and insert using the lapped technique. To do this fold and iron your seam allowance to the wrong side. On one side stitch your zip so that the teeth are over the edge of the fabric. The fold of your fabric should almost be touching the teeth but with enough space for the slide to pass. On the other side, stitch the other half of the zip in from the folded edge. It should work out that it is the same amount as your seam allowance (if your seam allowance is 1.5cm then your zip will be around 1.5cm from the edge) before you sew the second side make sure everything lies flat.
Exposed zip
For more modern clothing or when you wish to make a statement try using an exposed zip. To do this fold the majority of your seam allowance to the wrong side. You will need to make a small snip at the bottom and fold this too so the fabric sits flat. Stitch the zip to the edge of your folded allowance making sure that it is central!
Every zip should be accompanied by a hook and eye. It reduces stress on the zip and stops it from sliding down when you don’t want it to! When sewing hooks and eyes you should only be able to see the edge of the hook and eye – the rest should blend into the garment having been sewn neatly with buttonhole stitches.
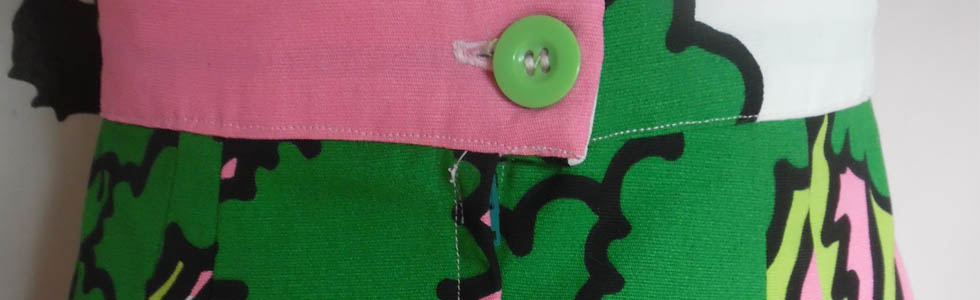
Button it!
By far the simplest way to make buttonholes is on a sewing machine. Most newer machines have a simple one step buttonhole stitch setting that makes life easy. However if you want to upgrade the finish on your garment why not try something a little different:
A bound buttonhole looks great and gives a very neat finish with no raw edges and no chance that it can fray. This technique is perfect for coats and jackets but adds luxe to shirt dresses or even something simple like cushions.

To really test your patience and your skill, a hand sewn buttonhole can look exquisite and add an element of couture to your garment. Cut your buttonhole first using a pair of sharp embroidery scissors or a buttonhole punch. Pin or baste securely a small square of silk organza to the inside of your work.
Using a buttonhole thread (it is slightly thicker than regular hand sewing thread, I recommend Gutermann) sew neatly and carefully around your cut hole using buttonhole stitch, making sure that the stitches are even and close together. If the fabric you are sewing is medium-heavyweight, why not try using gimp thread to strengthen and stop your buttonhole stretching out of shape? Cut a small length and place around your buttonhole before stitching over it.
Some sewing machines also have the option for using gimp or cording with the buttonhole foot; check in your manual for instruction. Once completed trim the organza and voila!
What’s your favourite kind of fastening and why? We’d love to know!
![]()


 We’re thrilled to announce that we’ve partnered with Tree Nation, the platform to reforest the world & fight climate change! Home to over 90 planting projects in 33 countries, Tree Nation is a non-profit organisation that helps people & companies offset their CO2 emissions.