Project Space: How to make Lavender Hanging Hearts
Shopping Bag
William Gee's Haberdashery

Welcome back to William Gee.
Please sign in or Register for a faster checkout.

William Gee's Haberdashery

Welcome back to William Gee.
Please sign in or Register for a faster checkout.

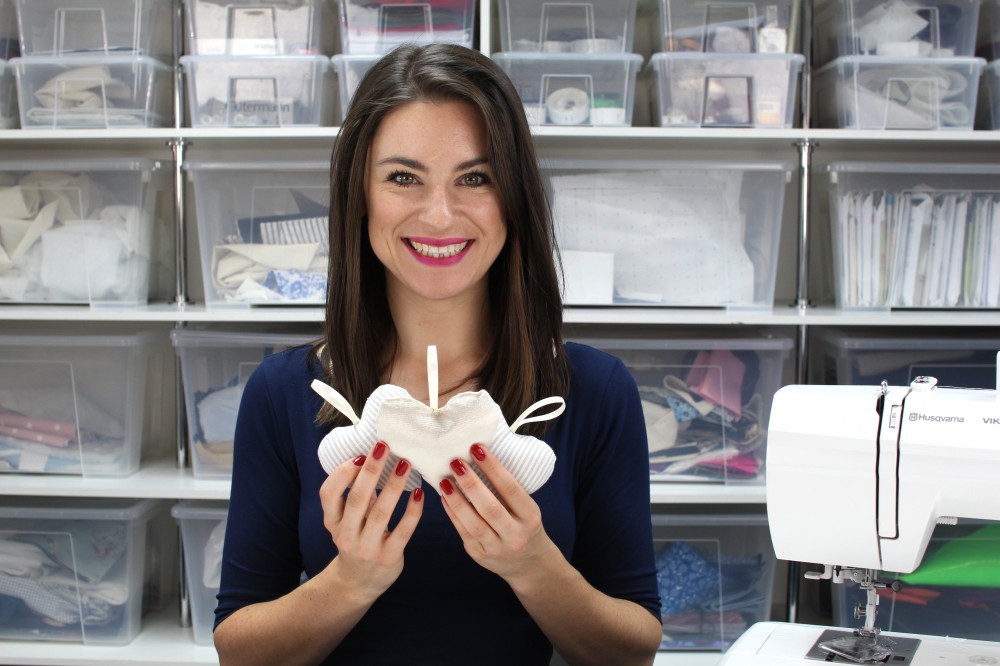
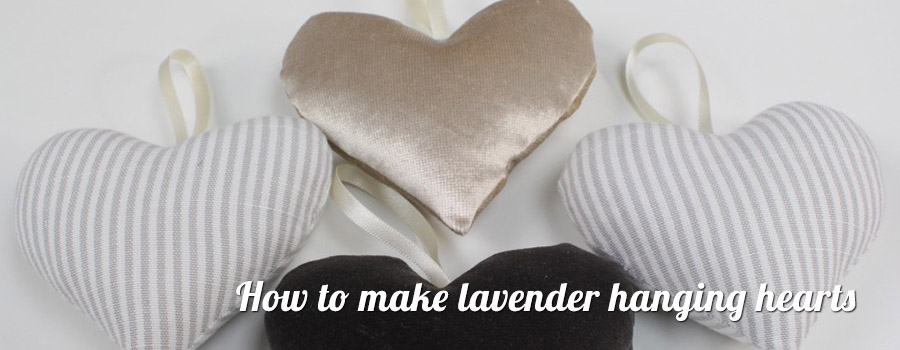
How to make Lavender Hanging Hearts

PROJECT SPACE: Lavender Hanging Hearts

Aneka Truman at Made at Sew
What materials do you need?
– Fabric (light-weight upholstery, cotton, linen, ticking, velvet)
– Ribbon (we used double sided satin ribbon; Width: 5mm, Length: 15cm)
Polyester Stuffing
– Lavender (optional)
Thread
– Template (download from website: Click Here)
What equipment do you require?
– Sewing Machine
Scissors
Pins
Needle
Removable Pen, Chalk, Pencil
Ruler, Tape Measure
Start by downloading the heart shaped template, or drawing your own shape onto card or paper. Click Here to download the template from our website (there are NO seam allowances on the pattern).
Position your chosen fabric WRONG side facing up. Using chalk or a removable pen draw around the heart template. If you are working with a patterned fabric, be sure to place the template straight on the fabric (line up the grainline on the template with the pattern on the fabric). If you are working with a bold print, consider the area of the pattern that you wish to see on the finished heart; this is totally up to you!
Made To Sew - Lavender Heart 2
If you are working with our template, be sure to mark the notches onto the fabric. We will NOT sew between the notches, you must leave room to turn the heart around (to the RIGHT side) after sewing.
Made To Sew - Lavender Heart 3
Our pattern does not come with seam allowances, you will need to add these. Draw seam allowances of 5mm around the drawn shape.
Made To Sew - Lavender Heart 4
Cut out the fabric on the outside line.
Made To Sew - Lavender Heart 5
Complete for 2 pieces of fabric; you will need 2 pieces of fabric for each heart you wish to make. When creating the second side of the heart if you are working with a patterned fabric think about your pattern placement, do you want the second side to look the same as the first or different?
Made To Sew - Lavender Heart 6
Position the cut out hearts RIGHT sides together. Start by pinning the point at the bottom of the heart together. Pin along the outline of the template.
Made To Sew - Lavender Heart 7
Check when pinning that the pins come through on the drawn line on both layers of fabric, this will help with accurate sewing.
Made To Sew - Lavender Heart 8
Prepare a piece of ribbon that will allow you to hang the heart when finished. We chose a piece of double sided satin ribbon that was 5mm wide. Cut a length of ribbon that measures 15cm.
Made To Sew - Lavender Heart 9
Fold the ribbon in half.
Made To Sew - Lavender Heart 10
The ribbon must sit BETWEEN the two layers of fabric. The raw edges of the ribbon should line up with the raw edges of the fabric. This will put the folded edge of the ribbon into the middle of the fabric. This can be confusing but remember that once sewn we will turn the heart around (to the RIGHT side) and the folded edge (of the ribbon) will be on the outside.
Should you require a bit of extra help, please check out our corresponding YouTube video.
Made To Sew - Lavender Heart 11
Made To Sew - Lavender Heart 12
Continue pinning the two pieces of fabric together, along the drawn line. Pin the ribbon in position securely.
Made To Sew - Lavender Heart 13
Sew around the heart on the drawn line using a 1.5mm stitch length for reinforcement. Stop and start at the notches, fasten the stitch using a back-stitch. Be sure to leave a gap between the two notches, this will be required to turn the heart around.
Made To Sew - Lavender Heart 14
Once the sewing is complete. Trim the seam allowance to 3mm.
Do NOT trim the area between the two notches, this must be left alone so that it does not fray.
We recommend that you do NOT trim the ribbon, but the seam allowances of the fabric can be trimmed either side. This will prevent the ribbon from fraying and coming out of the seam at a later stage.
Made To Sew - Lavender Heart 15
Made To Sew - Lavender Heart 16
Cut off the point at the bottom of the heart, this will produce a better finish when you turn the fabric around.
Made To Sew - Lavender Heart 17
Turn the heart around to the RIGHT side. Poke out all of the corners using a point turner or cocktail stick to create a nice heart shape.
If you have been working with a removable pen, now is the time to remove the pen.
Made To Sew - Lavender Heart 18
Made To Sew - Lavender Heart 19
Using polyester toy stuffing stuff the heart. Be sure to compact the stuffing into all of the curves and points to create an even finish. If you wish to add lavender to the heart we recommend adding this gradually with the stuffing; you do not need much to produce a nice scent.
Made To Sew - Lavender Heart 20
Made To Sew - Lavender Heart 21
Once you are happy with the shape of the heart turn under the seam allowances at the opening and pin the edge closed. Complete a slip-stitch, ladder stitch to fastening the hole.
Made To Sew - Lavender Heart 22
Made To Sew - Lavender Heart 23
Congratulations hopefully you have been able to follow the tutorial and create some beautiful hanging hearts that you can use to decorate your house.
We would love to see how you get on; get in touch with us on FacebookTwitterInstagram!
Made To Sew - Lavender Heart 24
Made To Sew - Lavender Heart 25

We’re thrilled to announce that we’ve partnered with Tree Nation, the platform to reforest the world & fight climate change! Home to over 90 planting projects in 33 countries, Tree Nation is a non-profit organisation that helps people & companies offset their CO2 emissions. Join us by planting trees & offsetting carbon emissions with William Gee today!

[]