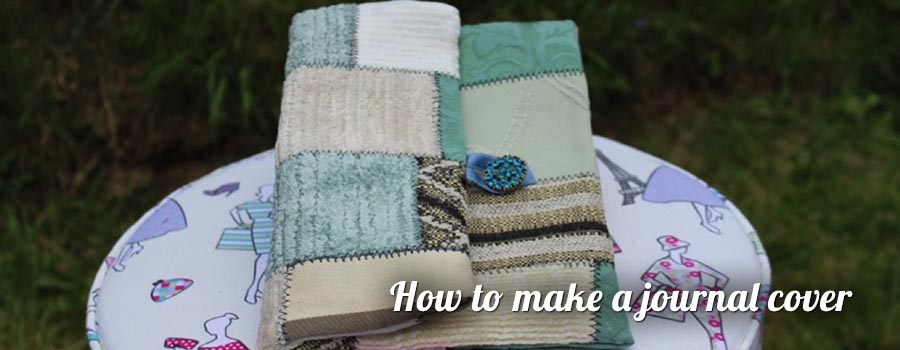
This notebook cover was made using Marcy Tilton’s pattern Vogue 8407. The following instruction shows how to make this using fabric you can construct yourself.
Materials:
– Vogue pattern 8407 for anyone wanting to follow along with the original.
– An iron
– Sewing machine with zig zag stitch
– Fabric shears
– Tape measure and ruler
– Fabric marker (chalk, pencil or disappearing pen)
– Pins
– Basting thread
– Hand sewing needle
– 28 x fabric pieces each measuring 9 x 12cm
– 1 x piece of cotton fabric lining 63.5cm x 25.5cm
– 1 x 23cm zip
– 1 x 25cm length of 3.5mm wide ribbon
– 1 x 2.5cm diameter button
Method:
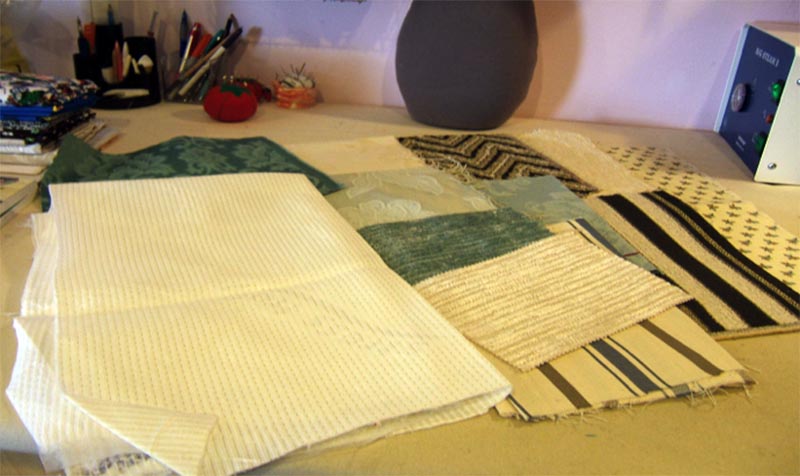
To make the outer shell you will need a selection of fabric offcuts. Choose colours and patterns that blend or co-ordinate according to your own taste. Using different textures can add dimension to your finished project.
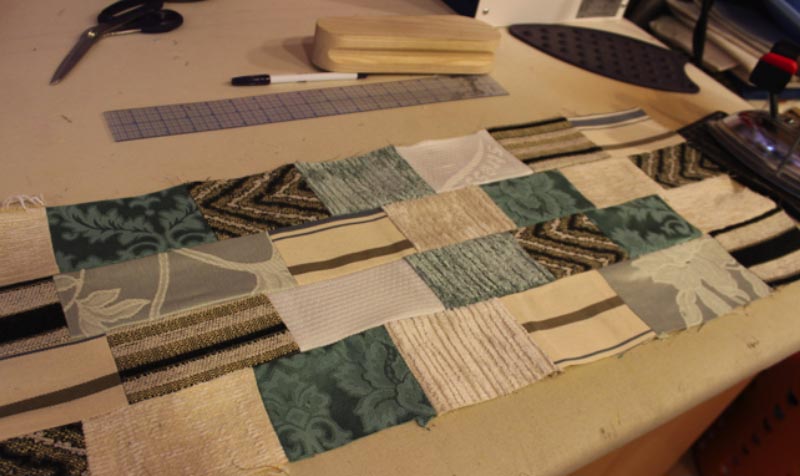
Having selected your fabrics, cut them into pieces roughly the same size. Mine were around 9 x 12 cm. Don’t take too much time over this because they will be trimmed to the correct size later.
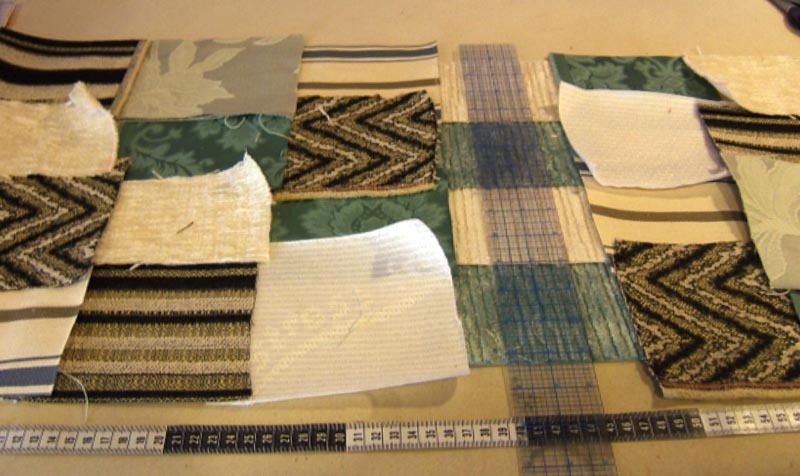
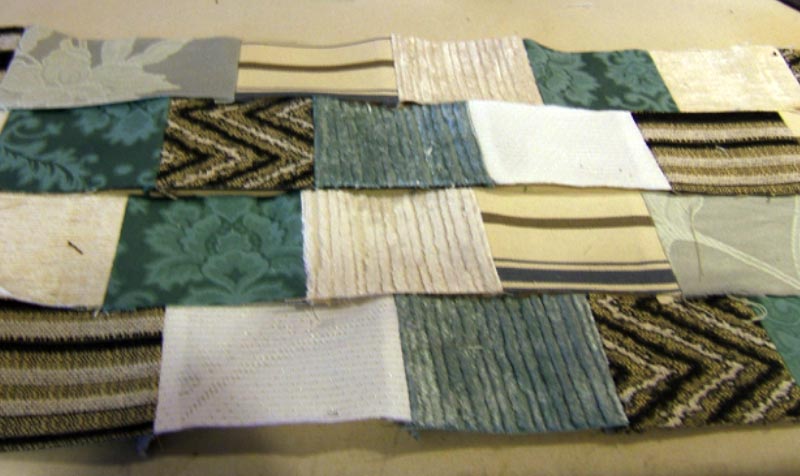
Now lay out your pieces on a flat surface, moving them around until you are happy with the design. For this pattern we need a finished size of 68.5 cm wide by 25.5cm long so we need to lay out the pieces, overlapping slightly, to a measurement of at least 80cm by 40cm. This will allow enough to accommodate all the seam allowances when piecing the fabric together.
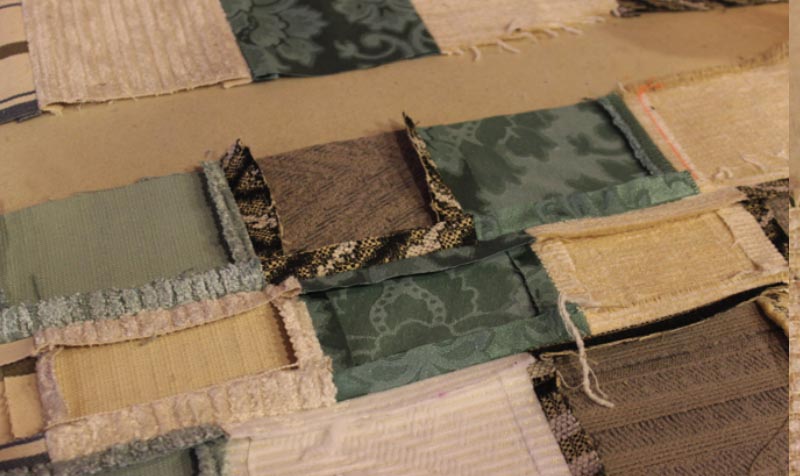
When you are happy with the layout you can begin joining the pieces together. Join pieces one row at a time using a 1.5cm seam allowance and pressing the seams open.
Now join the long rows together. Placing two of the rows right sides together and sew a 1.5cm seam down the whole length. Don’t try and match all the short seams, they are supposed to be staggered. Most important is to make sure that the short seam allowances are open and pressed flat.

Press the seams flat then clip away the corner pieces inside the seam allowance. This prevents bulk and helps the seams lie flat.
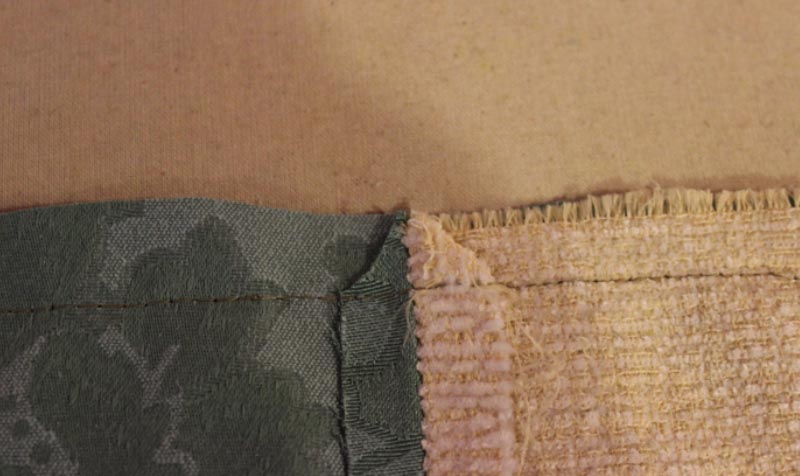
Continue in this way until all the strips are joined together and all seams are pressed open and flat.
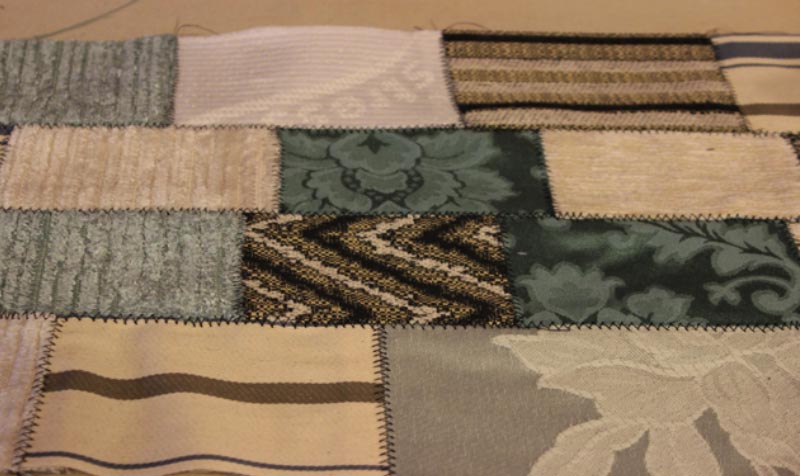
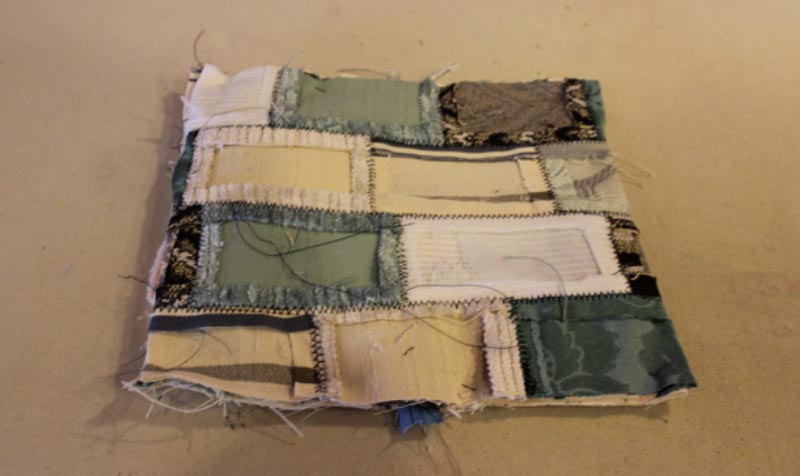
Now, with right side uppermost, machine along all seam lines with a decorative stitch. I use feather stitch but even a basic zig-zag will be effective if a contrasting thread is used.

The next step is to measure your new piece of fabric and cut it to the correct size as per your pattern. In this case it needs to be 68.5cm wide by 25.5cm long.
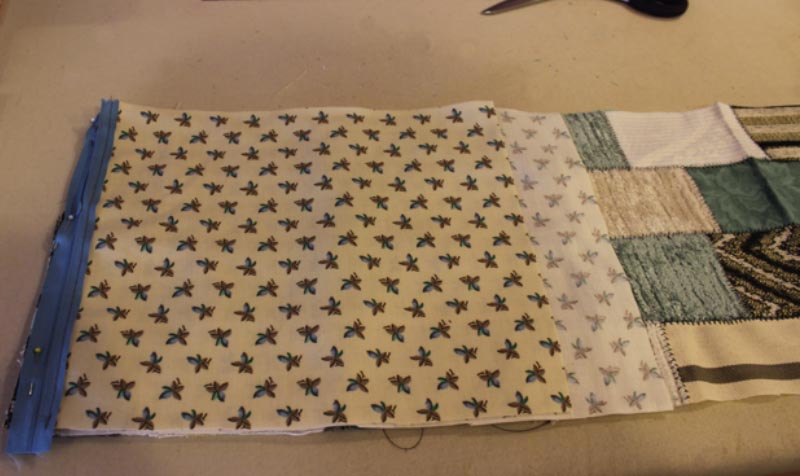
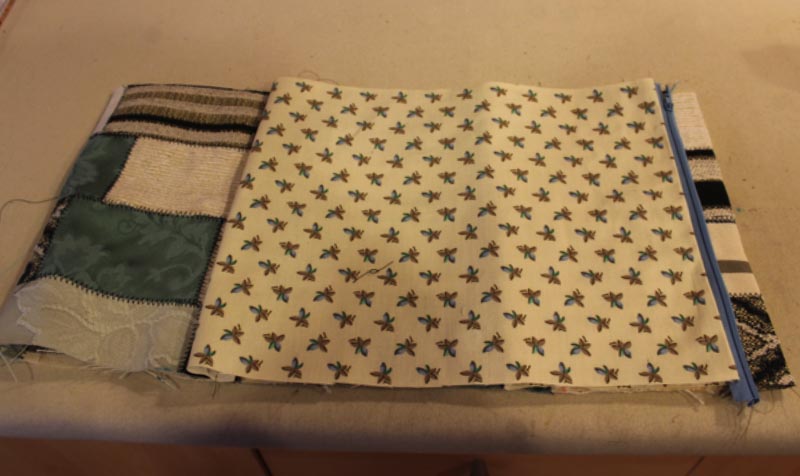
Cut a piece of lining fabric 63.5cm x 25.5cm and with the right side uppermost draw a line 35cm in from the left hand side. Place your zip right side down with the right hand tape centred over the line and machine in place.

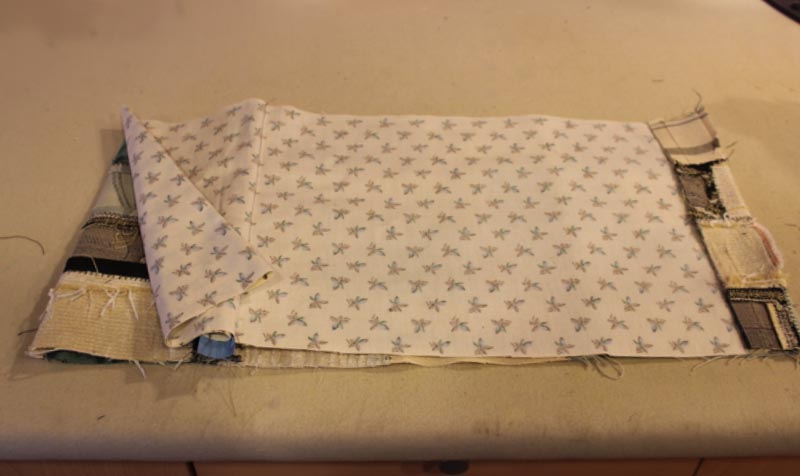
Take your outside fabric and with the wrong side facing up, measure 18cm in from the left hand edge, fold on this line and press. Repeat on the right side edge then open the fabric out flat and lay right side up on the table.
Place the free side of zipper tape face down along the left hand edge of cover fabric. Pin or tack in place.
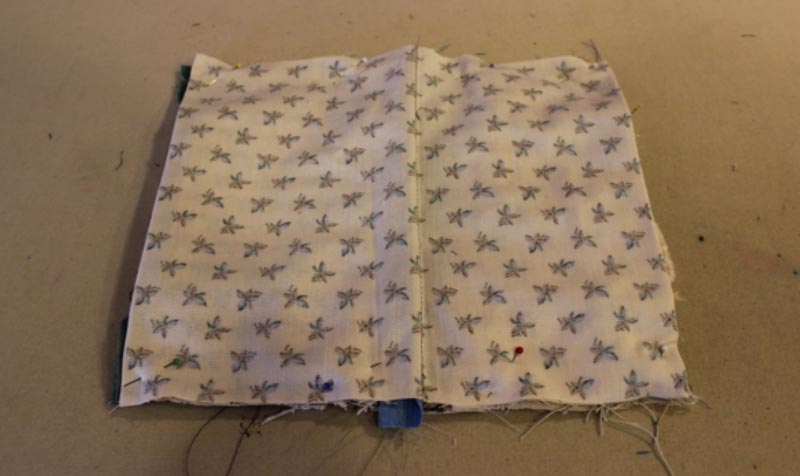
With right sides together, pin ends of lining to cover. The zip will be enclosed on the left. Leave a 10cm opening for turning in the centre of the right hand edge. Machine and press.
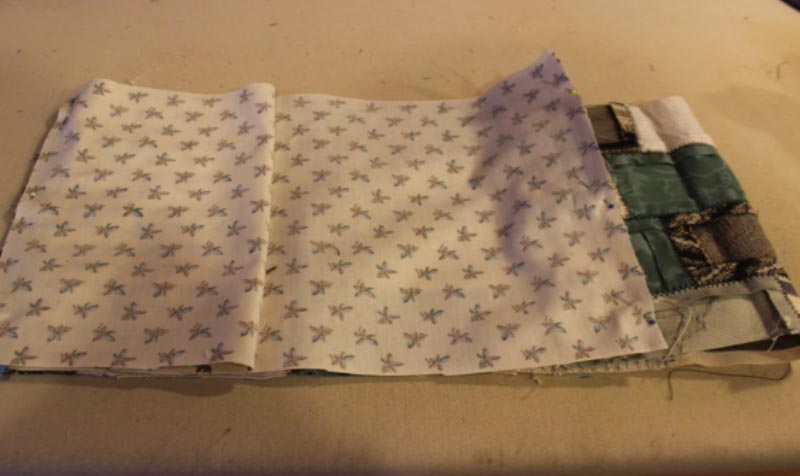
Flip the whole thing right side out and with the zip on the right, fold in 2cm of the cover fabric. Press and tack in place.
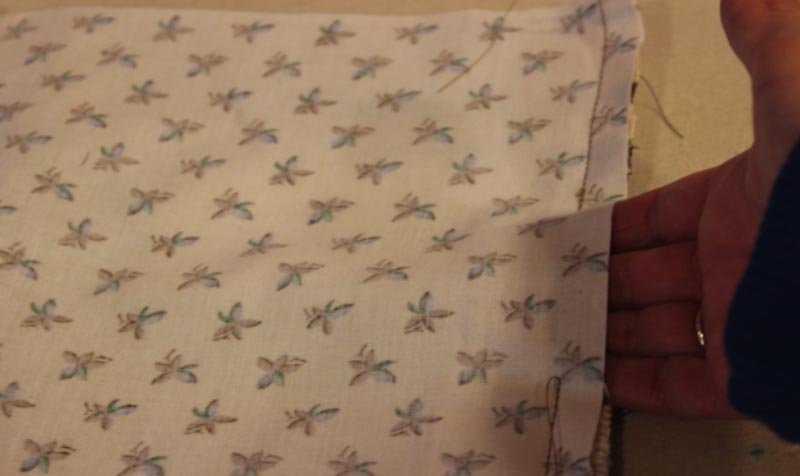
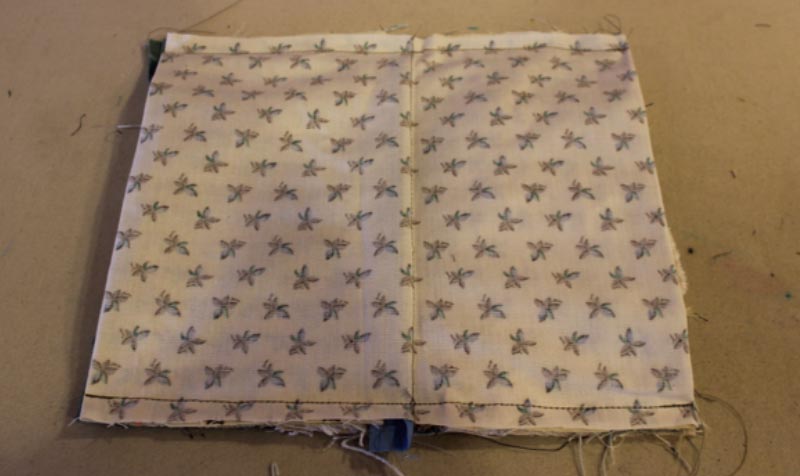
With right sides together and zip towards the left, fold in cover fabric 2.5cm from outside edge.
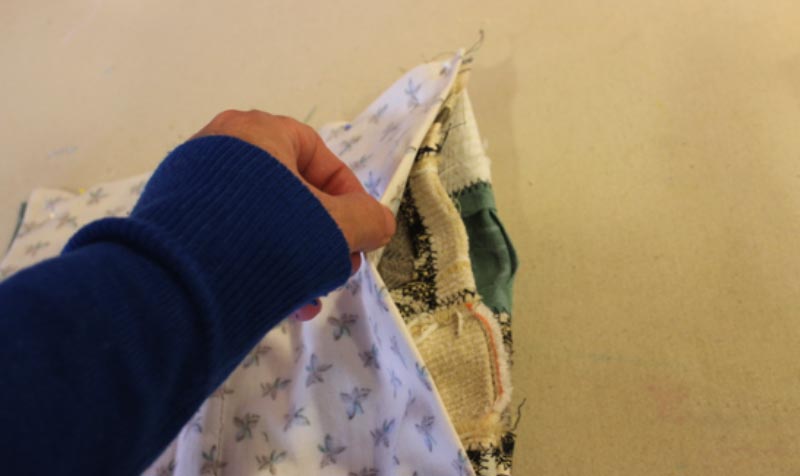
Now for the tricky bit, with the lining facing upwards, centre the zip and fold lining and cover fabric in until the left edges of both fabrics line up. Repeat for the right.
Using a 1.5cm seam, machine through all layers along the top and bottom edges.
The opening for turning through is tucked between the layers on the right hand side
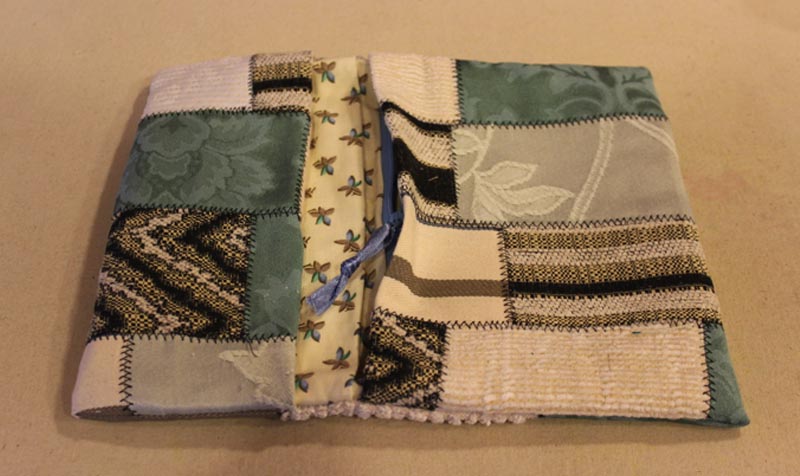
Turn right side out, press and slipstitch closed.
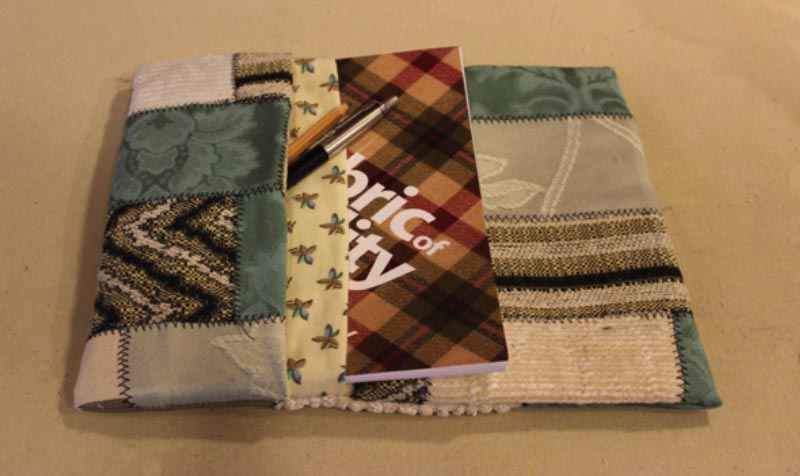
I added a piece of ribbon to the zip pull for ease of opening and, because I like a bit of bling, added a sparkly button with a ribbon loop for closing.


 We’re thrilled to announce that we’ve partnered with Tree Nation, the platform to reforest the world & fight climate change! Home to over 90 planting projects in 33 countries, Tree Nation is a non-profit organisation that helps people & companies offset their CO2 emissions.