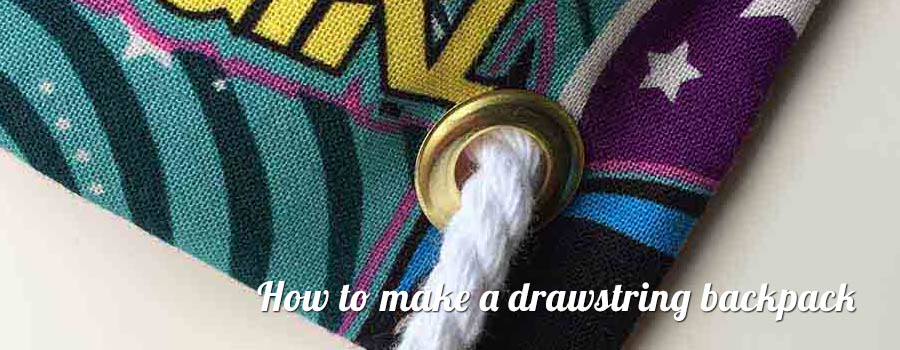
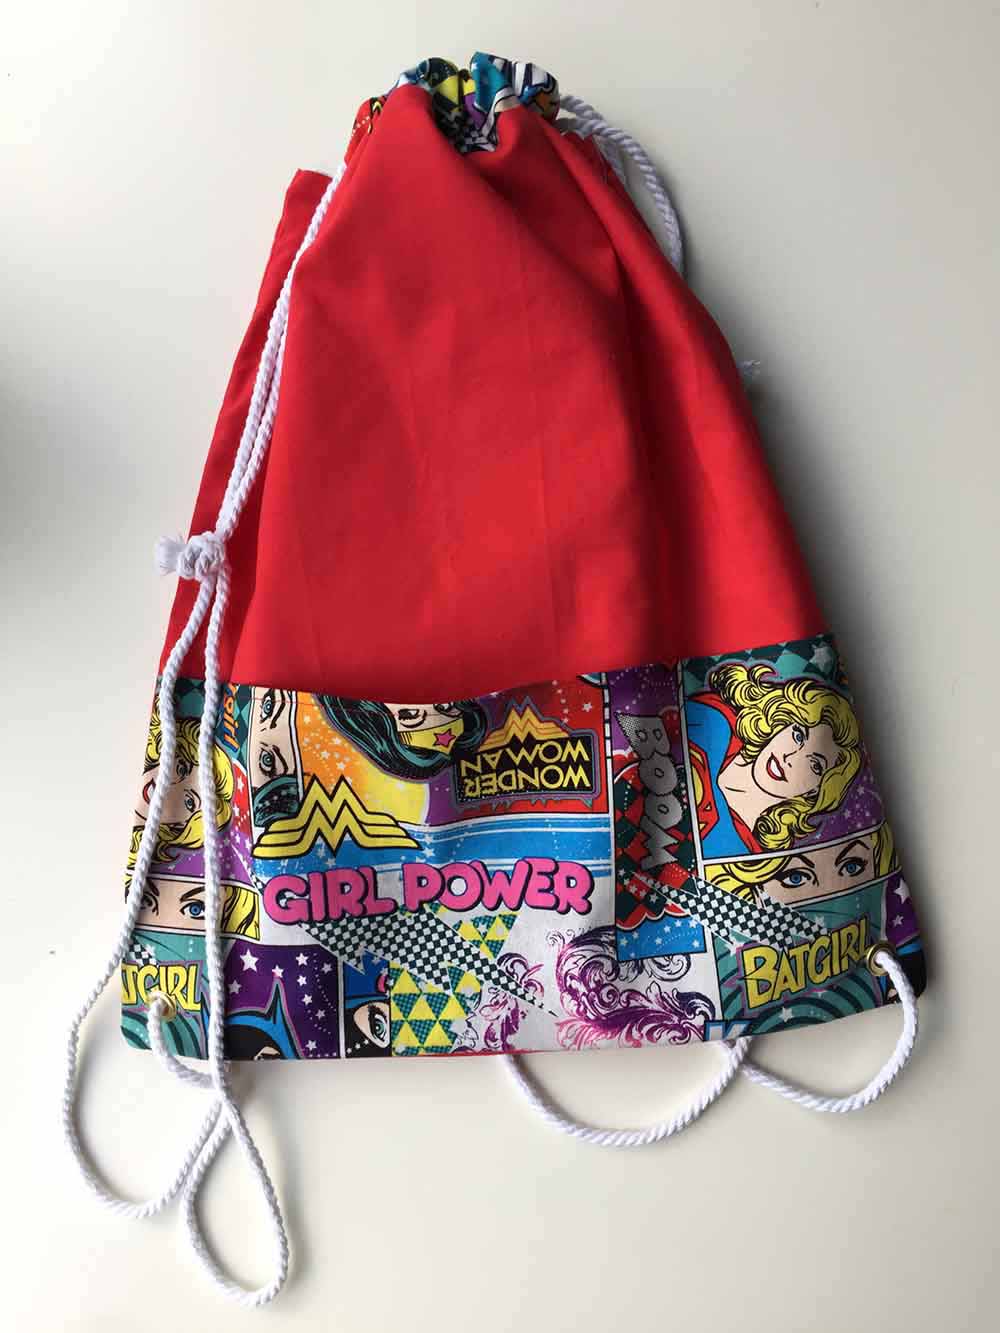
With the start of school upon us again, why not make your little one a drawstring backpack for their PE kit? These fully-lined backpacks are quick and easy to make, and can be personalised based on your fabric choices. They’re a great way to use up some fabric off-cuts and would make a lovely gift!
What materials do you need?
– Piping cord x 2m
– Eyelets
– Plain fabric
– Printed fabric
– Calico x 1m

Instructions
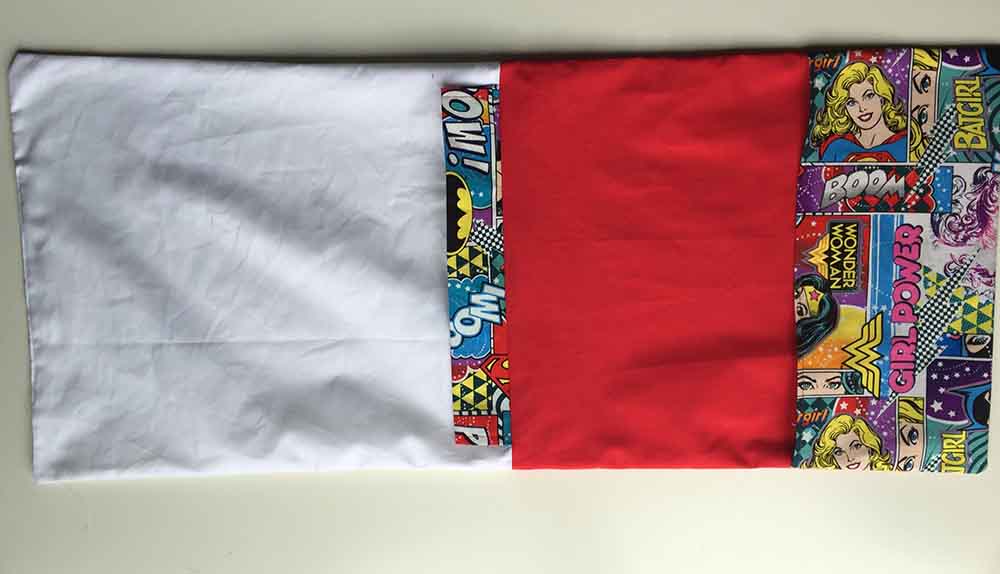
Cut two rectangles measuring 15 x 17 inches from both your plain fabric and printed fabric. These rectangles are for the bag and the lining. I’d recommend using a steel rule and rotary cutter for this, much easier to get straight lines than using a tape measure!
Cut two rectangles from your printed fabric measuring 3 x 12 inches. These rectangles will form the drawstring closure at the top of your bag.
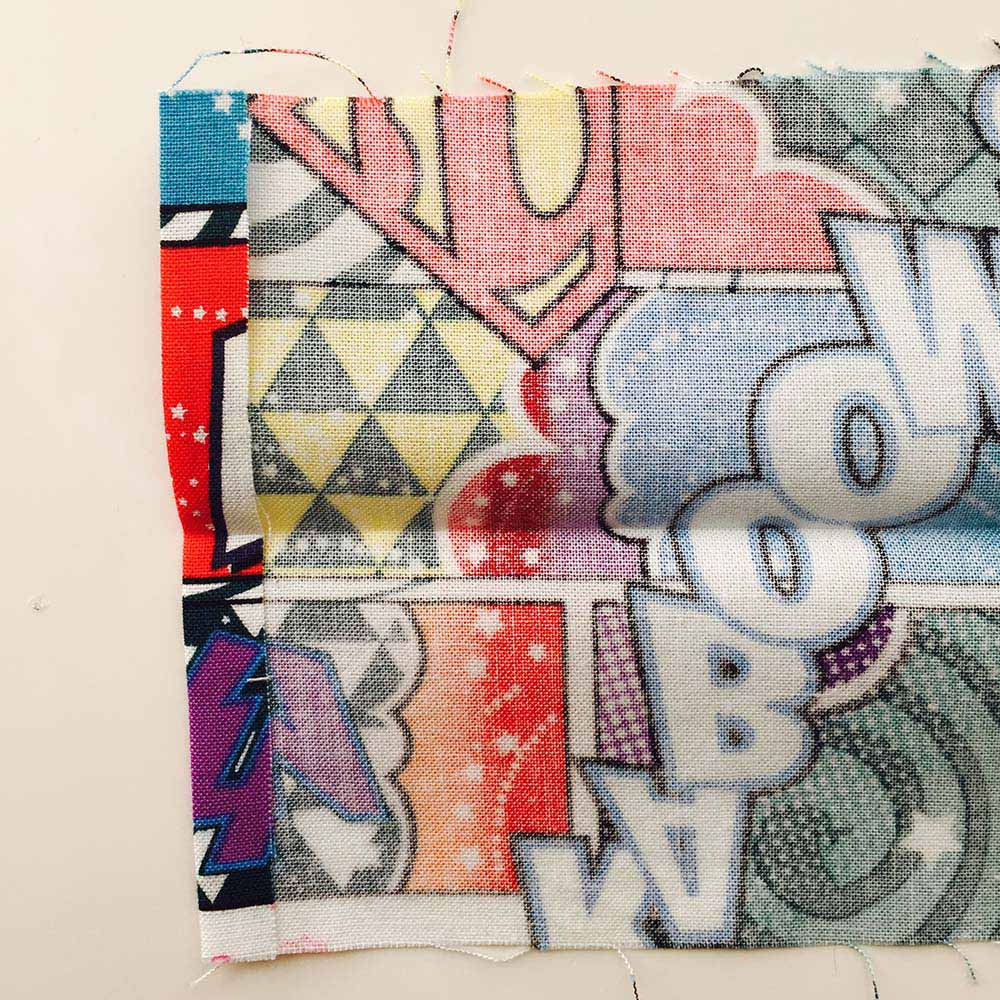
Cut another rectangle from your printed fabric measuring 15 x 8 inches. This is going to be the pocket on the front of your bag, so you could always change the height of it if needed.
Press all of your fabric – it may not be the most exciting step but it will give you a better finish!
Hem the top of the pocket piece.
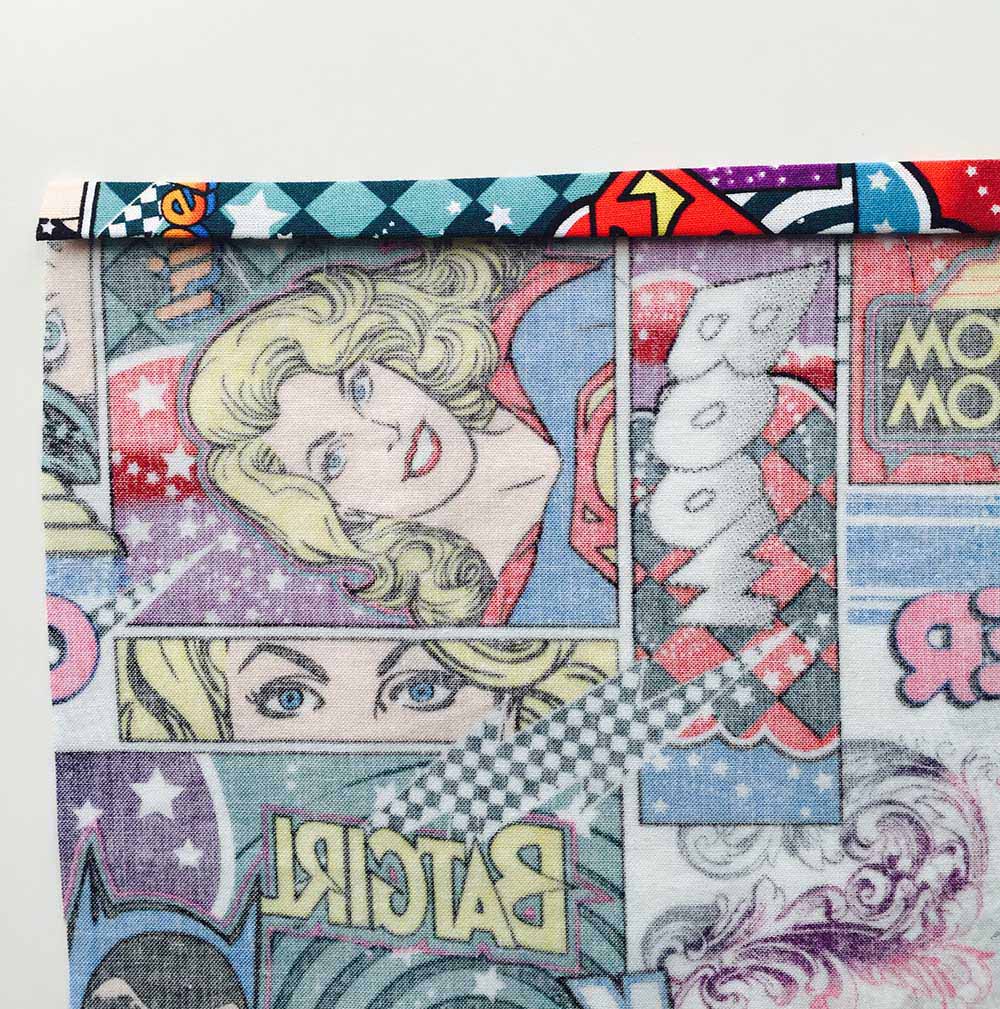
Hem the short sides of each small rectangle and then fold in half (wrong sides together) and press.
Place one piece of calico with a plain piece of fabric on top, insert one of the folded rectangles in between the two and pin along the top.
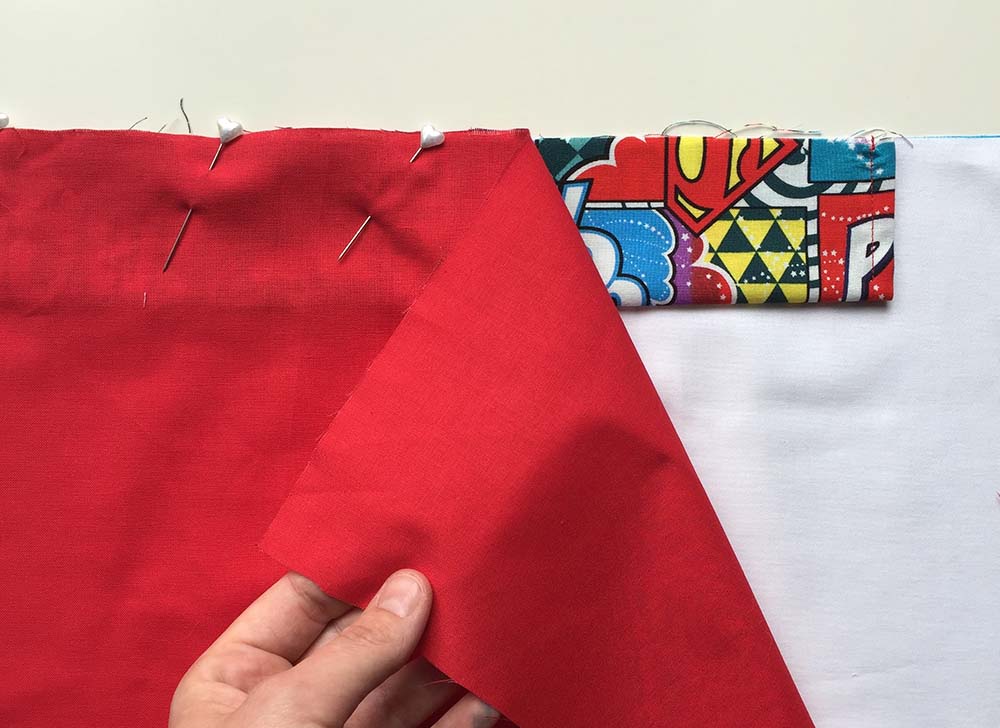
Sew along the top edge only.
Repeat pinning and sewing for second lining and bag piece.
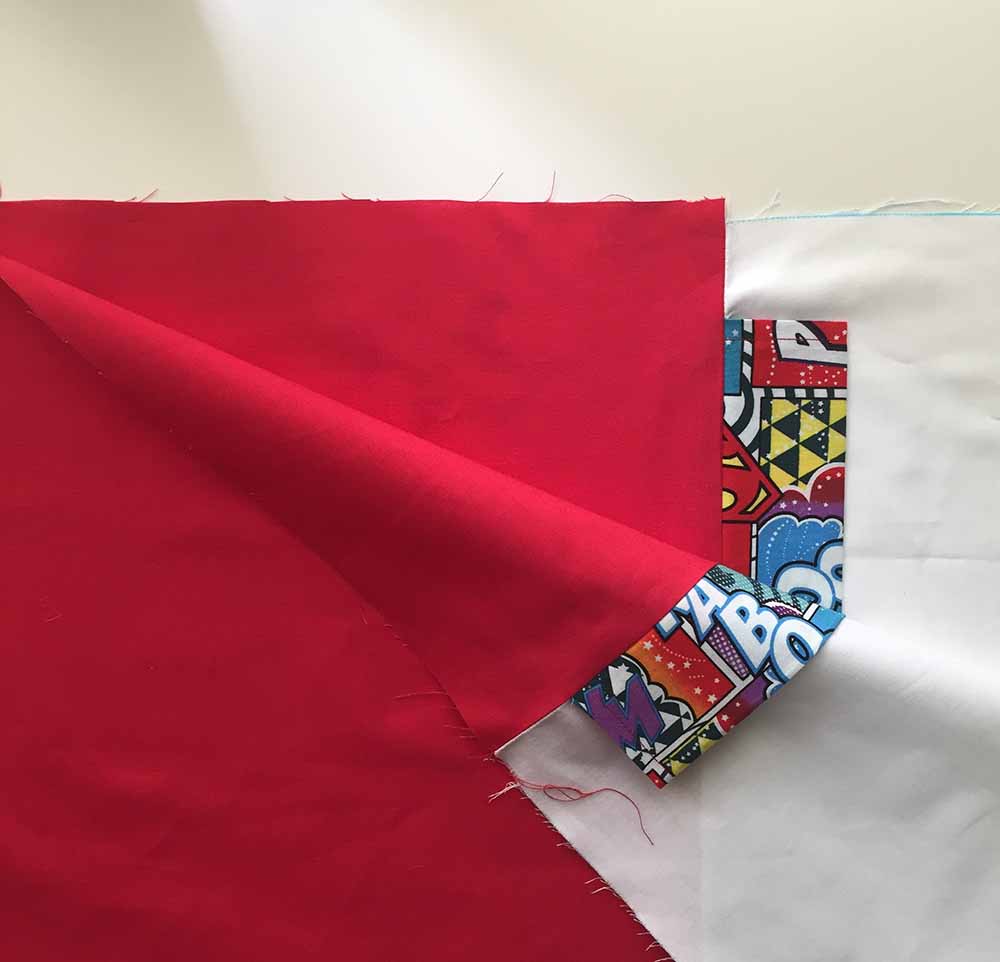
Turn bag pieces out so that the drawstring tab sticks out at the top and press again.
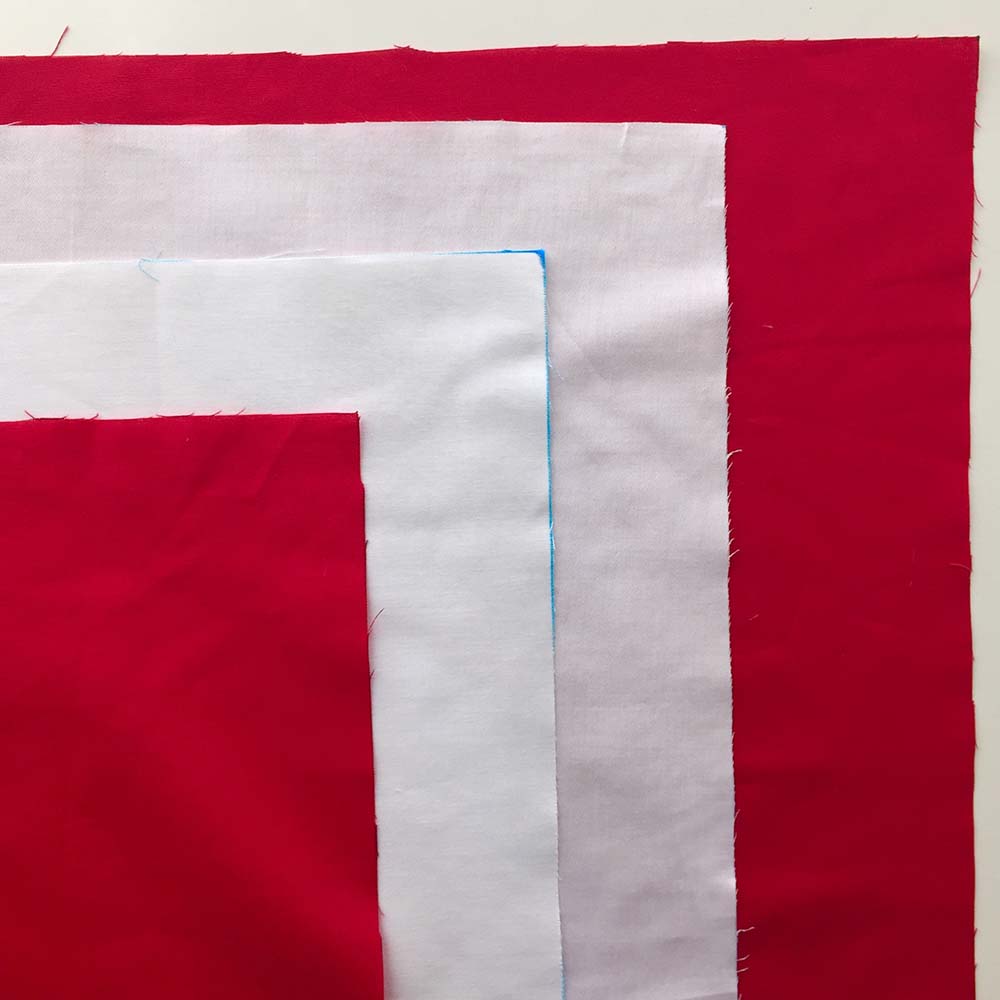
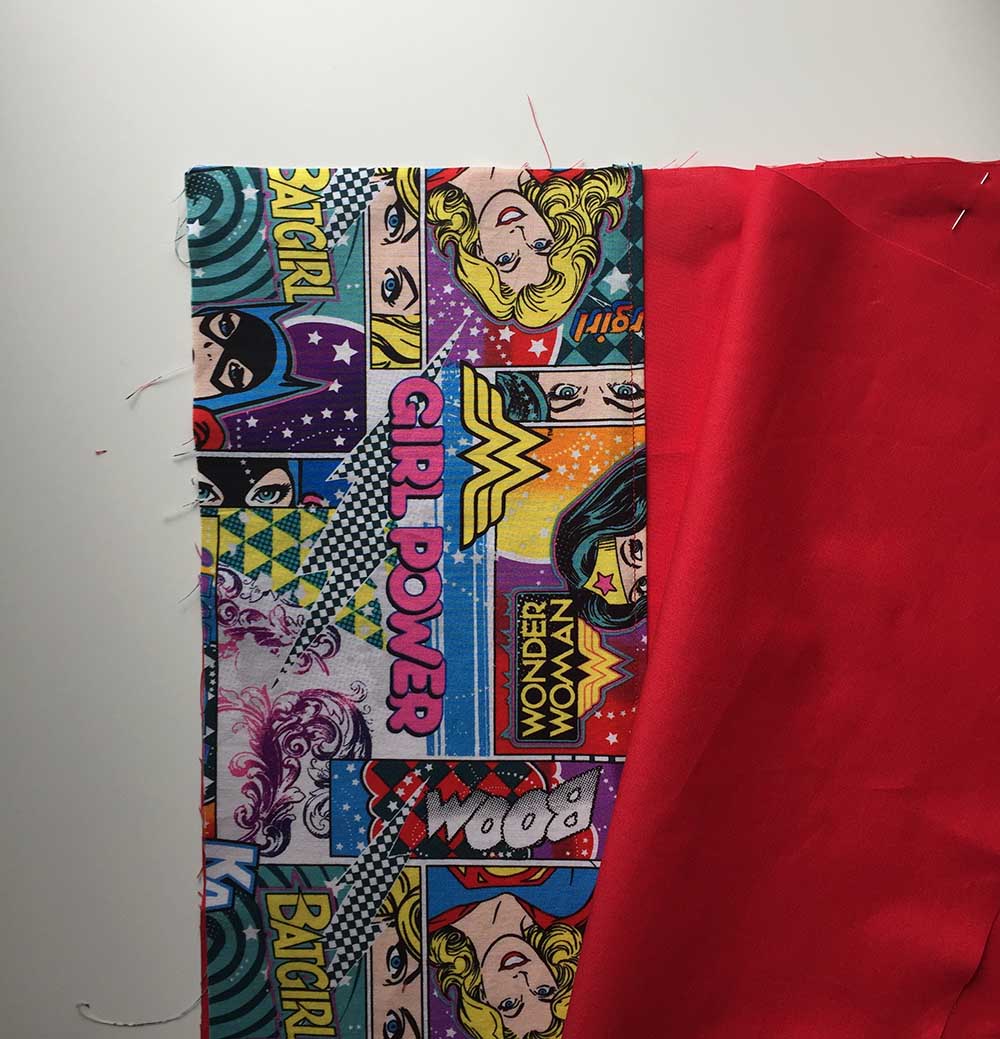
Now place both bag pieces wrong sides together, so that the plain fabrics are together and the lining pieces are together, like this:
Don’t forget your pocket! Put this piece in between the two plain fabric pieces (red in this case). Pin all the way around the edges of the bag.
Sew the edges, leaving a gap of about 4 inches in the lining piece for turning the bag out. I’d recommend leaving the gap in the middle of the bottom edge, not on a corner.
Trim the edges and snip the corners before turning your bag out and pressing again.
Sew up the gap in the lining, then push the lining inside the bag and turn your front pocket out the right way.
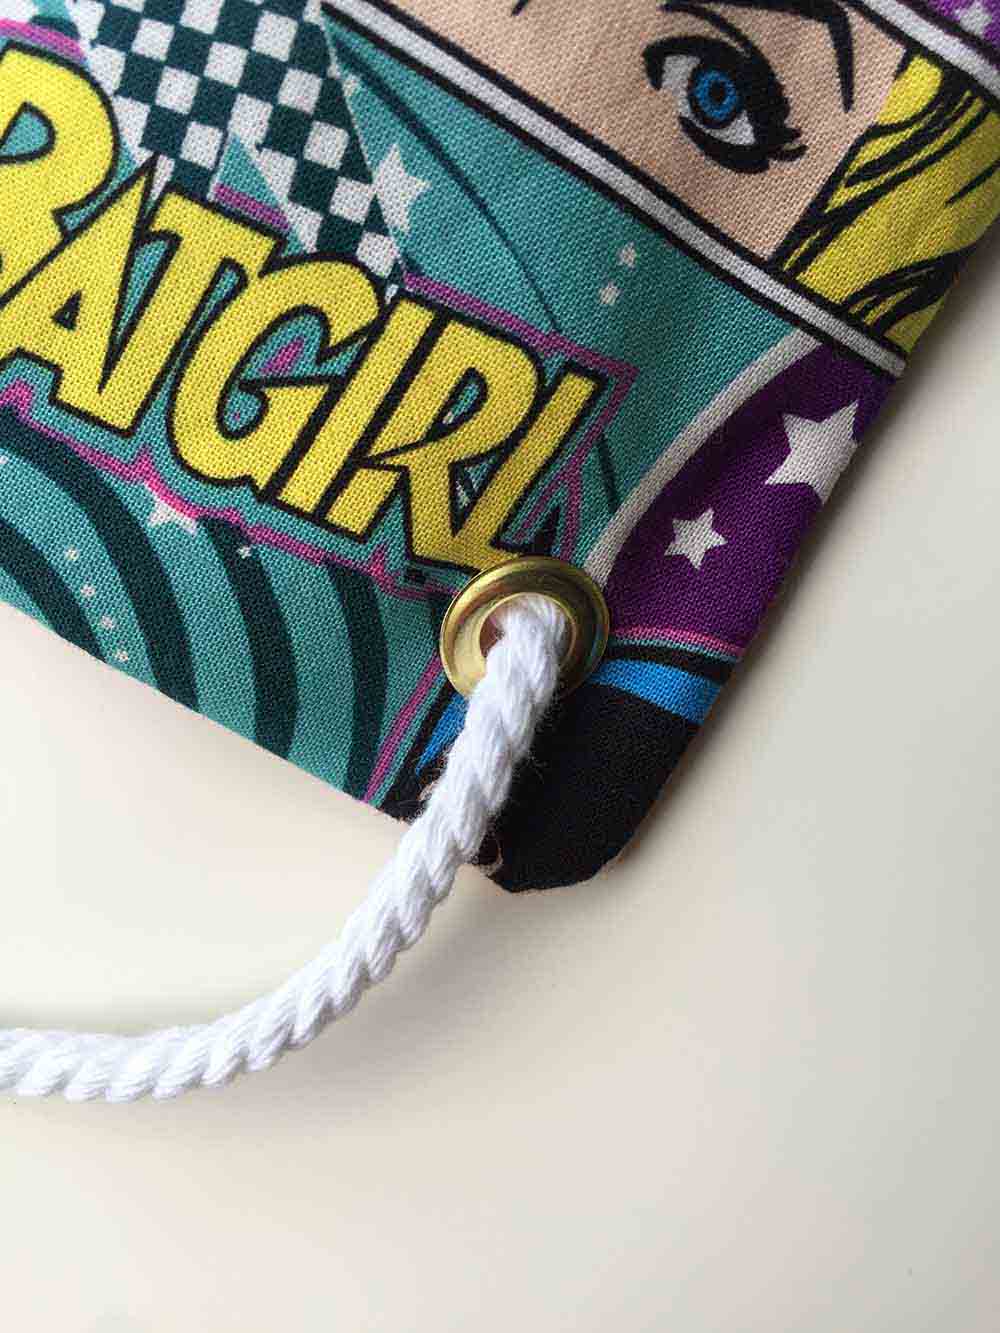
On the reverse of your bag, mark where you’d like the eyelets to go. Mine were a couple of centimetres in from the bottom and side.
Make a small snip where you’ve marked and insert the eyelets as per the instructions on the pack (don’t worry, it’s easy, but I’d recommend practising one on a scrap of fabric first).
Now to thread the cord through. (I put a bit of tape on the end of the cord to make to easier to attach a safety pin.) Thread the cord through both tabs at the top and through one of the eyelets. Take the tape off and tie the ends together in a knot.
Repeat for the other eyelet.


 We’re thrilled to announce that we’ve partnered with Tree Nation, the platform to reforest the world & fight climate change! Home to over 90 planting projects in 33 countries, Tree Nation is a non-profit organisation that helps people & companies offset their CO2 emissions.
[…] My first tutorial for William Gee has been a while coming, but it’s now live! I’ve started with a nice easy one: how to sew a lined drawstring bag. Perfect for PE kits! Check it out here. […]