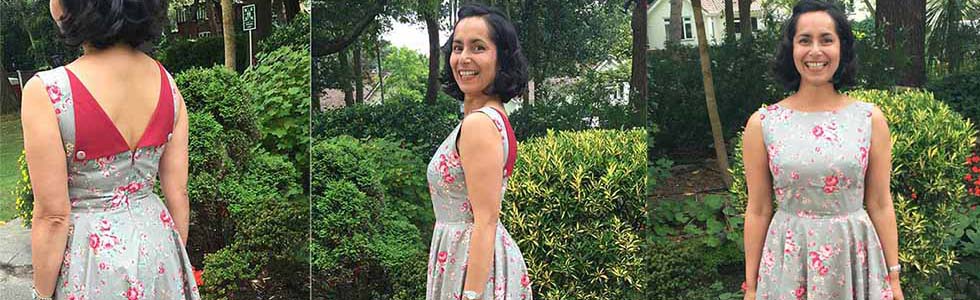
My dear friends Anna and Andy got married this summer, and I knew they were planning a vintage theme for the day, so I had the perfect excuse for making myself a new dress! I bought Butterick pattern B6094 by Gertie some time ago, drawn to the gorgoeus back detail, but had not found the occasion to suit such a glamourous dress until now. On spotting this floral print fabric at John Lewis, along with the contrasting lining fabric, I had what I needed to make a beautiful vintage inspired garment.

In addition to the pattern and fabric, I also used the following:
– Gutermann Threads
– Swedish tracing paper
– Pencil and ruler
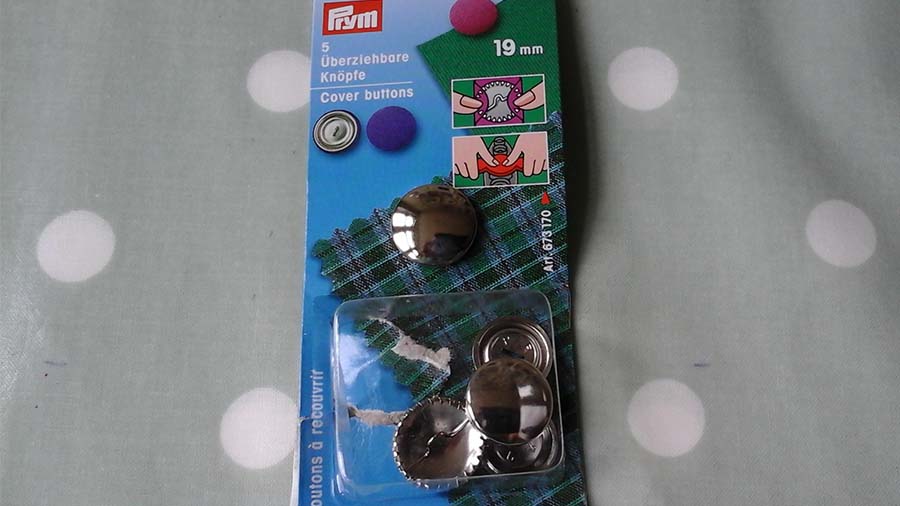
– Prym 19mm covered buttons
– Thread for tailor tacks (known as Basting Thread)
– Dressmaking Scissors & Embroidery scissors
– Pins
– 40cm invisible zip
– Calico
This pattern has a very fitted bodice, attached to a swing skirt, just the style I love. However, as most commercial patterns are designed to fit a B cup, and as I’m rather curvy, I knew the bodice would require a lot of adjustment for the snug fit I was after. Normally, I would cut the bodice a couple of sizes larger, then scale down at the waist and back, to create a good fit on my bust. Whilst this technique is effective, it can prove awkward and time consuming, more so when you haven’t someone to help with all the pinning required for this! So I was on the look out for a more precise and efficient method and read a great blog on pattern hacking, part of the William Gee Sewing Bee series, where several youtube videos were recommended on making a full bust adjustment. The video I selected was produced by inhousepatterns.com, as the technique employed seemed relatively simple.
Using my handy tracing paper, I redrafted the bodice in my dress size, before drawing hinge lines straight across, through the bust point and from the shoulder down to the bust point. I then slashed through these lines to the hinge points, and placed this draft ontop of another sheet of tracing paper. I then adjusted the bust size by drawing apart the pieces at the slash line along the middle (the rule being to add 3/8” for each cup size), and then secured the adjusted pattern to the paper below with tape. It was then just a case of cutting around the new shape. This method does not add any width to the waist, whilst accomodating an increased cup size.

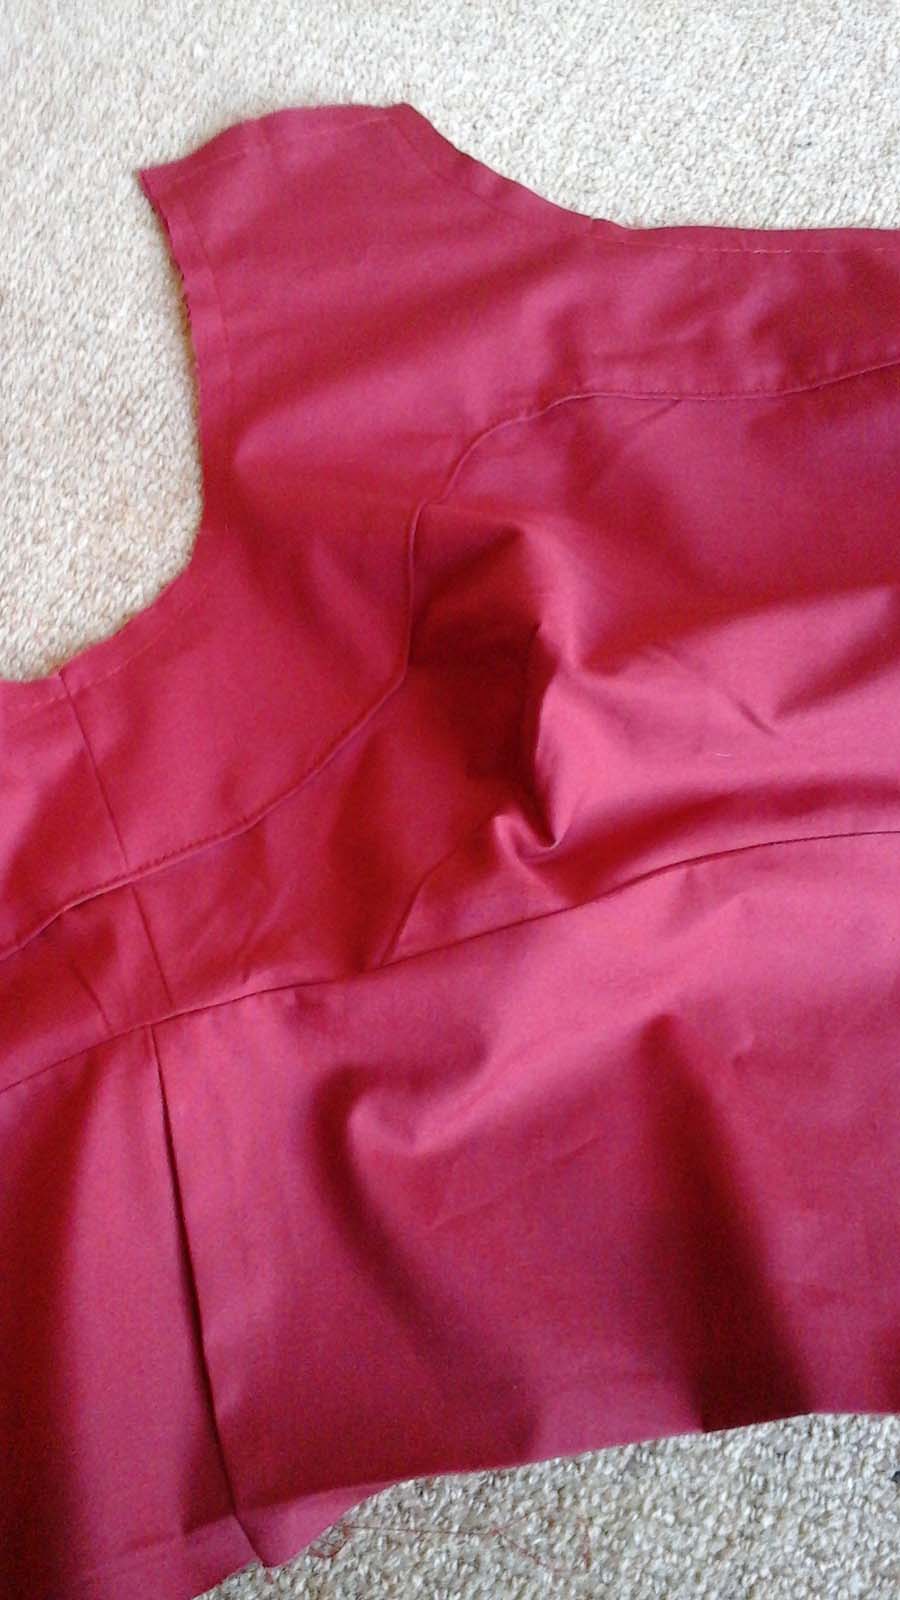
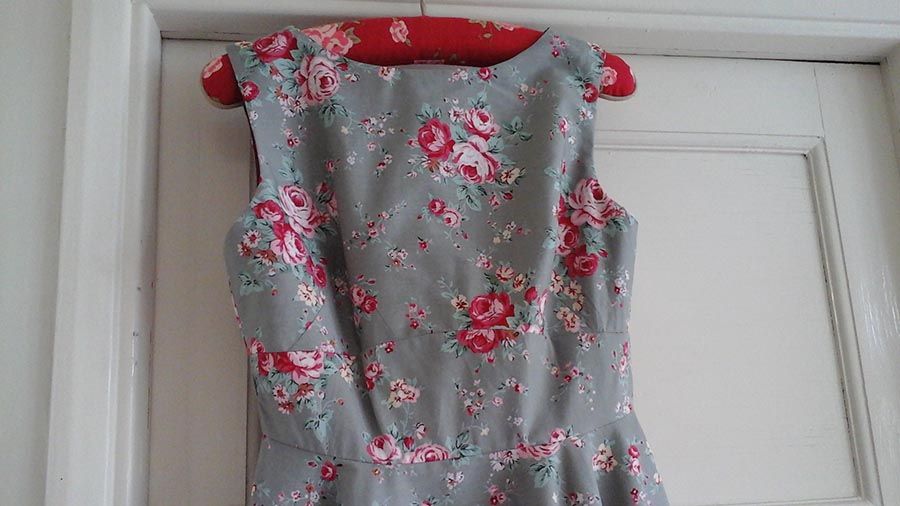
I went on to make a toile for the bodice, being my first time trying this method. The fit around my bust was perfect, in fact the best I have ever had! So I went on to cut into the fabric itself, following the instructions closely. The next area that looked to present a challenge was the lovely collar style detail at the back. However, it was actually surprisingly straightforward, although the tailor tacks were essential in ensuring I didn’t lose my way when attaching the facing to the lining and then to the outer fabric!
The pattern allows for a built in petticoat, but I chose to line it without the ruffle, as I prefer to have the option of choosing whether to add a petticoat for added flounce! I did find positioning the zip for insertion rather tricky, as it wasn’t obvious to me where the top of the zip should finish. As a consequence, it actually finished slightly short of the spot where the collar folds over, but I decided instead of taking out and reinserting the zip, to pen it to experience and be mindful of the fact next time (there will definitely be a next time!).
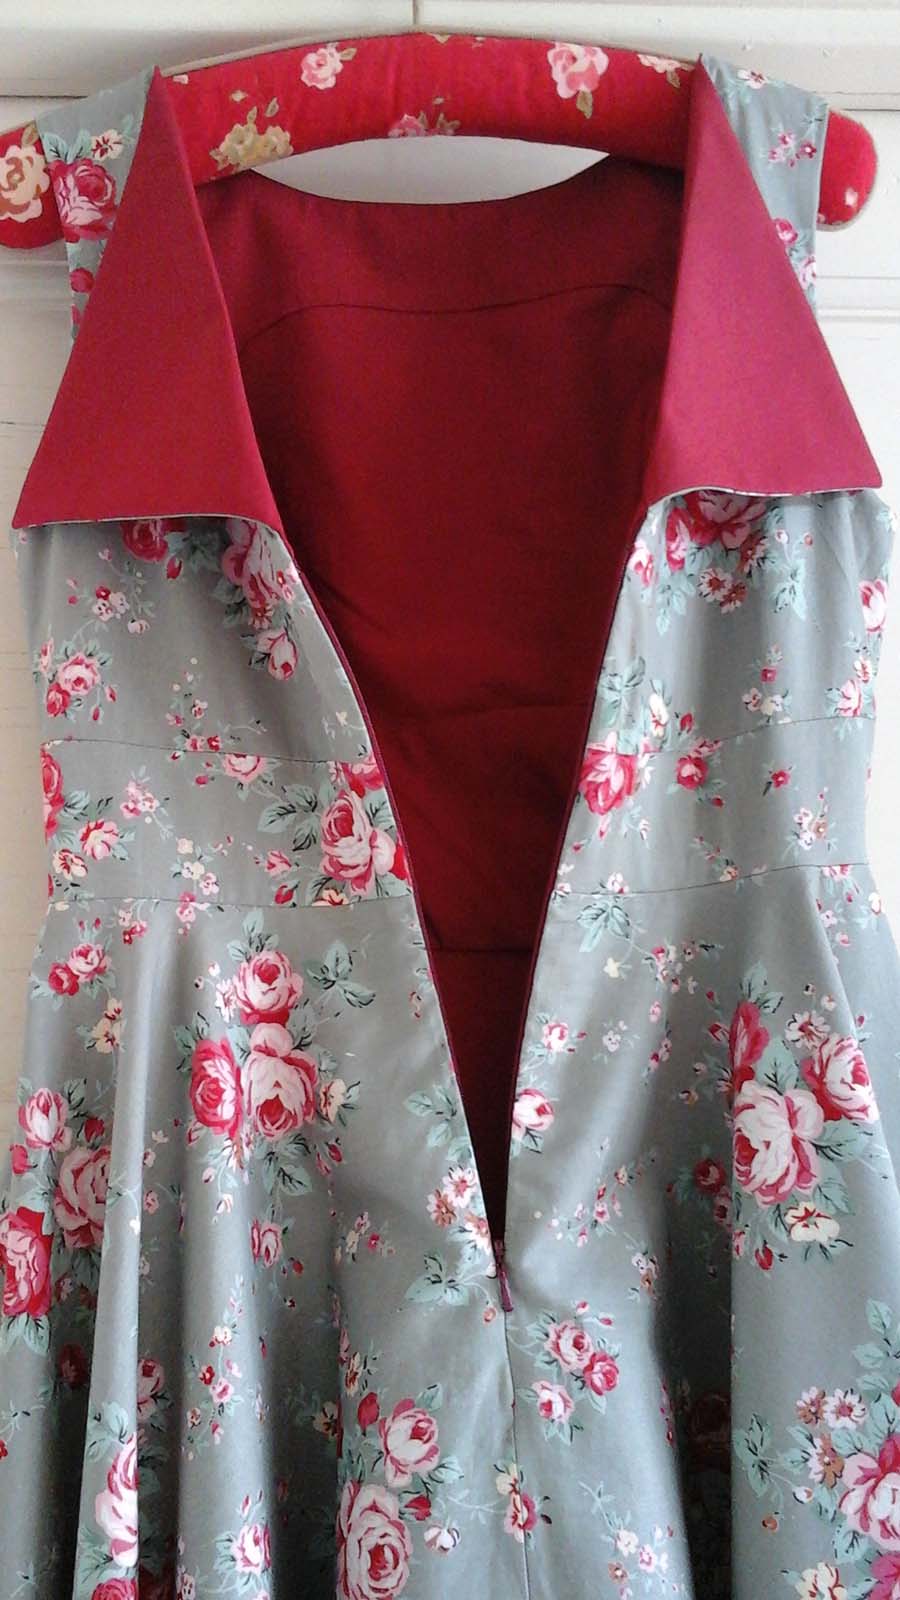
The next step was to turn the collar back and pin in place in readiness for the self cover buttons. I love these buttons and the freedom they allow for customising your look!
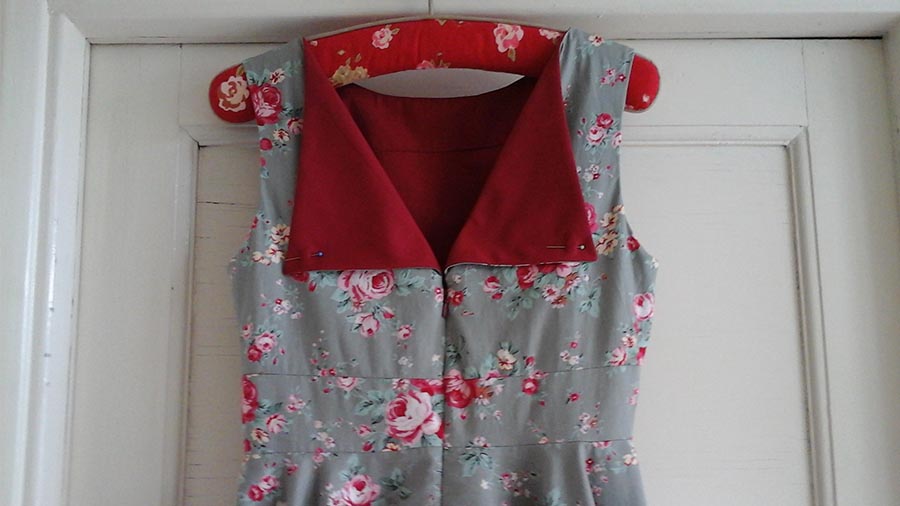
So the buttons were covered and added.

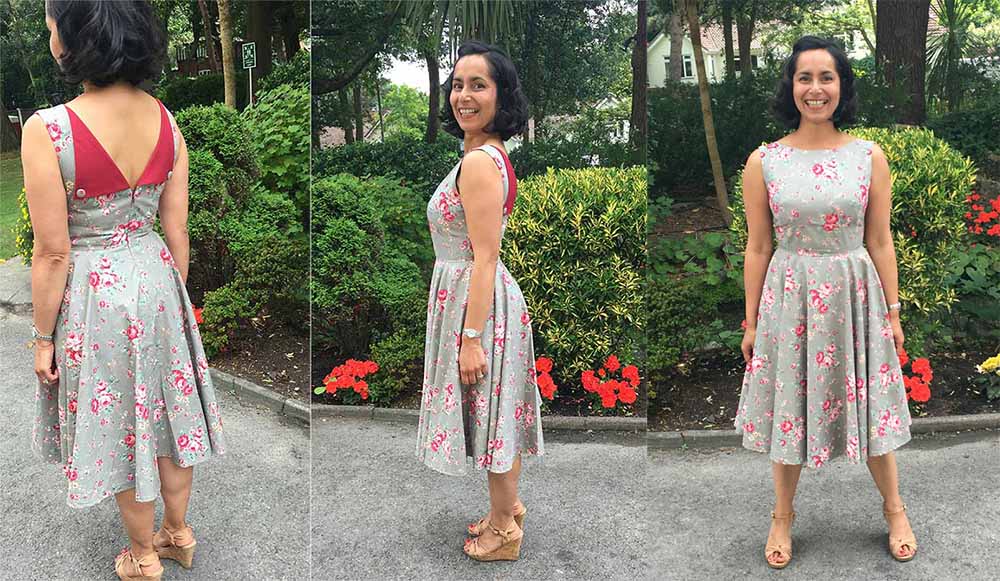
And the dress was finished!
I was thrilled with the fit of this dress and the full circle skirt hung beautifully. In fact, despite taking a petticoat to wear with it, I chose not to as it was such a hot summers day, and teamed with a 50s handbag and my wedge heeled shoes, the dress was perfect for a vintage themed wedding!
Has anyone else made this Butterick number, if so, I’d love to see your pics and hear how you got on!


 We’re thrilled to announce that we’ve partnered with Tree Nation, the platform to reforest the world & fight climate change! Home to over 90 planting projects in 33 countries, Tree Nation is a non-profit organisation that helps people & companies offset their CO2 emissions.