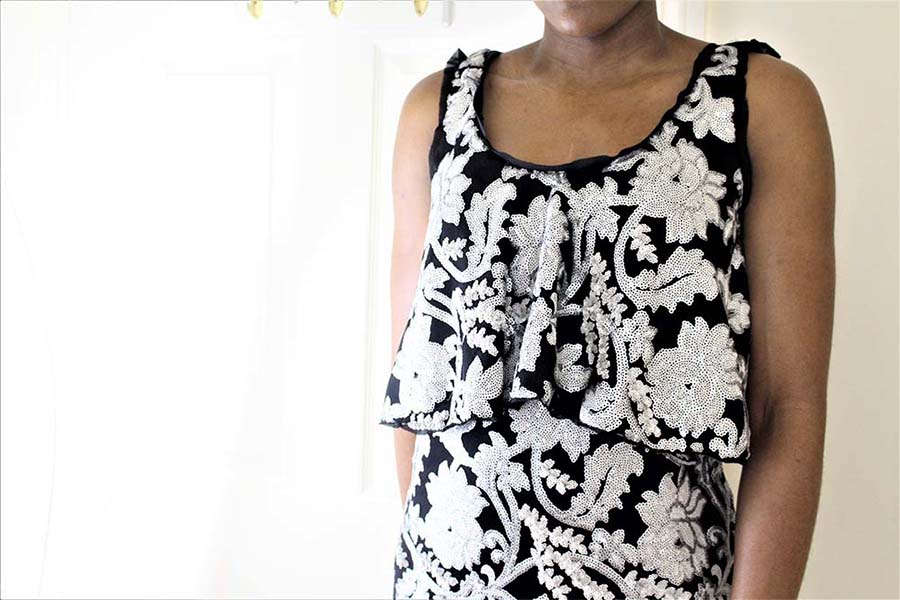
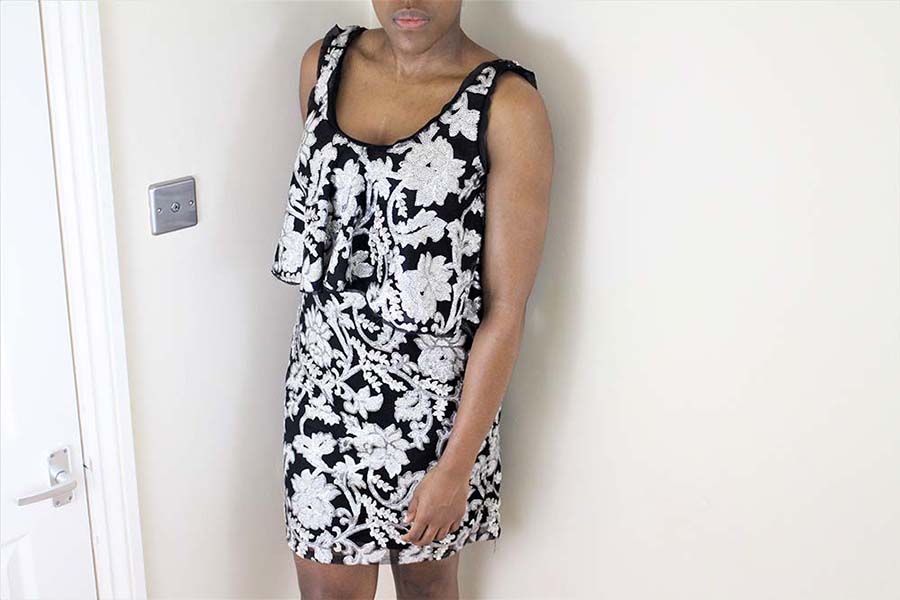
The Overlay Dress (or Shelf Dress) , is a version of a shift dress that has become very popular on the high street over the past few years.
Because it’s such a “new” style there isn’t a history so say. But it could be argued that 2012 was the year for this dress. Many young “fast fashion” brands, such as Miss Selfridge, River Island, Miss Guided and Boohoo, really got behind the style. Producing many variations of dresses – long and short- and playsuits all featuring the overlay, or shelf. As it’s popularity grew it quickly became a dress that could be found in almost every high street store. I think what really won over the public’s heart is that it is a flattering style for everyone. The overlay makes an otherwise super tight and revealing dress complimentary to every and any figure.
Bardot Dress | Slip Dress | Maxi Dress | Shift Dress | Overlay Dress | One Shoulder Dress | Strapless Dress | Long Sleeve Dress | Cold Shoulder Dress | High Neck Dress
To make my dress I used Vogue pattern V1288, and a floral printed sequin fabric. For this dress you need 2 meters of fabric, 2 meters of lining, a 20/22” zipper and a hook and eye. Because the sequin fabric I used is patterned, I traced out the mirror image of the pattern pieces on to pattern paper first, to aid pattern matching at seams, and then began cutting the dress out. Once all the pieces were cut out I moved on to form the binding and bias strip.
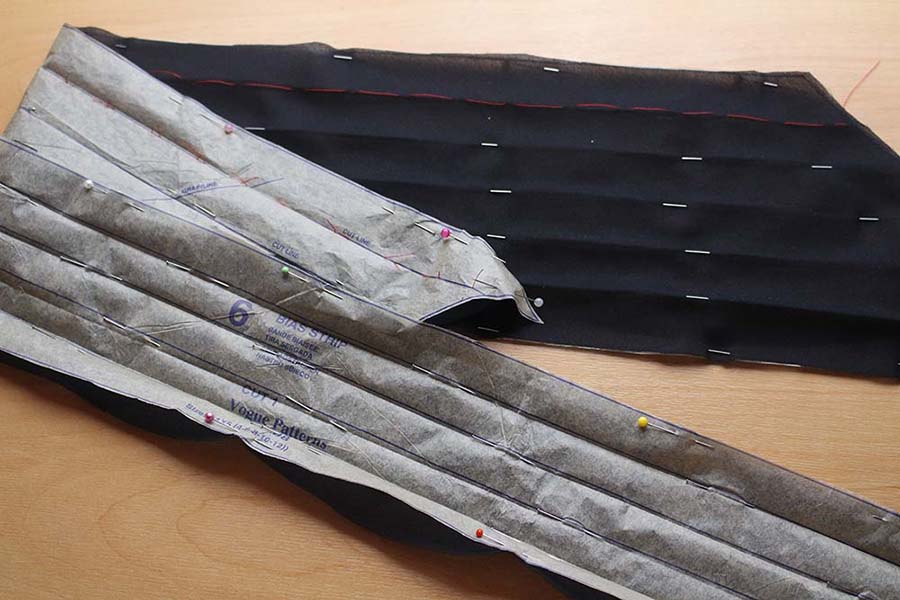
To make sure I didn’t lose the cutting lines. I pinned the tissue paper to the fabric along each line, folded along the line and ironed in a crease. I first tried marking the line with a long running stitch. But became concerned that once I removed the pattern paper, I would find it difficult to follow the straight line. Ironing the crease made it easier to follow the line once the pattern paper was removed.
Once the creases were set I unpinned the tissue paper and stitched the short ends, right sides, together matching notches. Letting the fabric hang over a little bit at each side. I used a rotary cutter to cut the binding in one long strip and repeated the same steps for the bias strip.
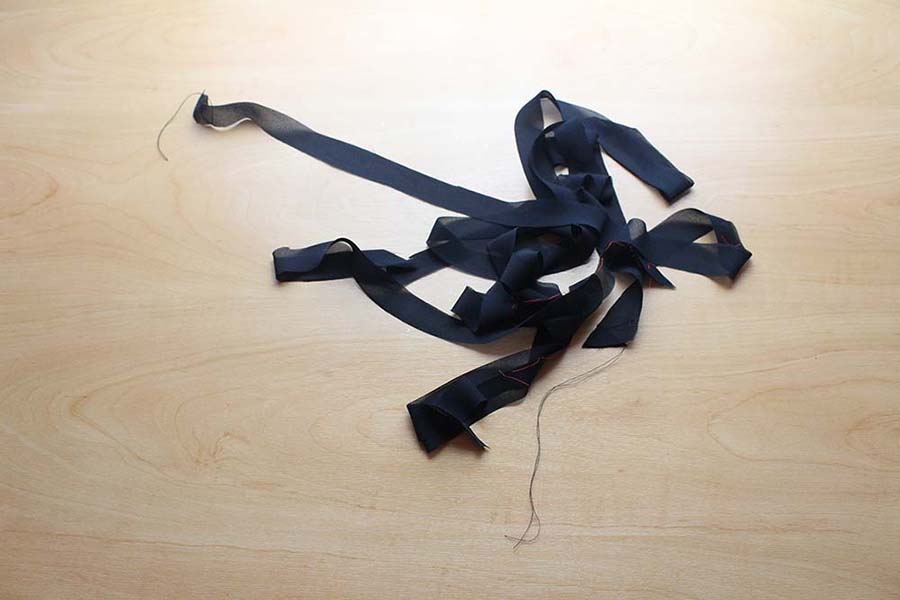
To make the binding and bias strip usable, the long edges need to be folded in, 6mm, pressed, and then folded in half and pressed again. I would recommend purchasing a bias strip maker. It’s not essential, and the pattern does not suggest to buy one, but it is a useful tool to have. And is less fiddly that folding in narrow edges, as the tool does that for you.

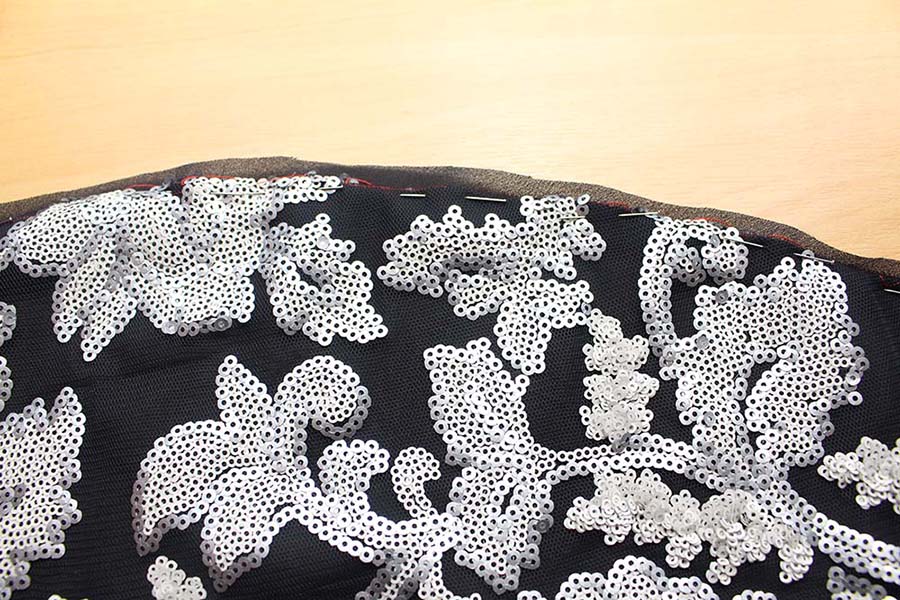
Once I had sorted the binding and bias strip, I turned my attention to preparing the fabric. As with the sequin maxi dress, I had to remove the sequins from all seam allowances. This pattern has a front dart, so I also needed to remove the sequins from that area as well. I used contrasting thread to mark the borders of the areas I needed to remove sequins. This was the most time consuming part of the whole process, so if you do decide to make this dress, or any dress, in sequin fabric make sure you give yourself plenty of time.
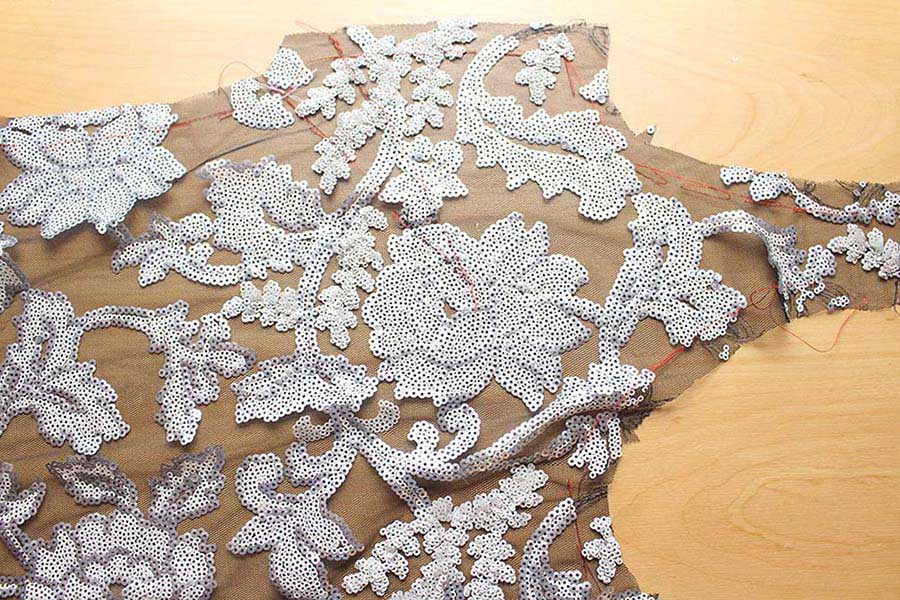
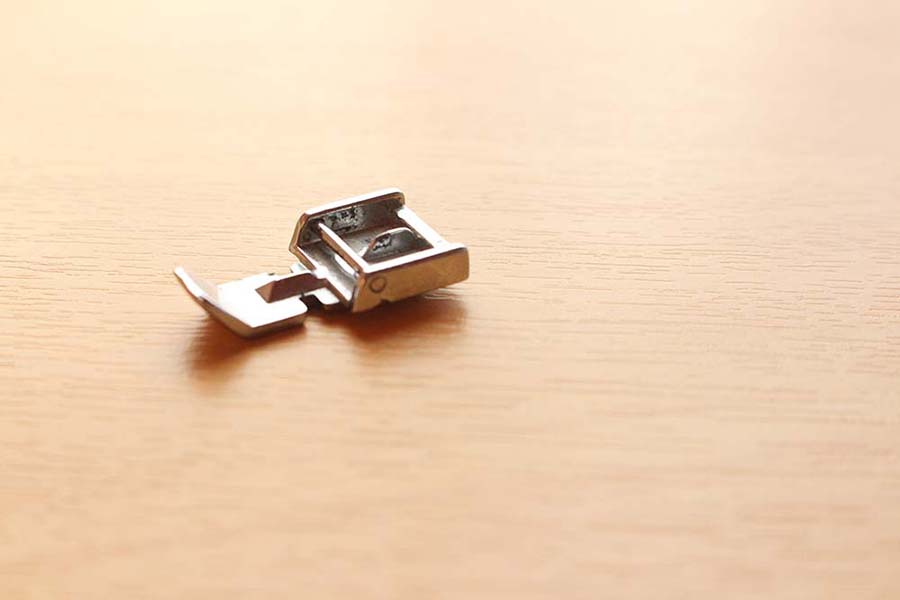
The pattern instructions recommend using a zipper foot when sewing with sequins. I have, previously, always used a standard foot to sew sequins. But using a zipper foot makes a big difference. It makes it a lot easier to get a tight seam line and maneuver around the sequins. It’s is a tip I highly recommend.
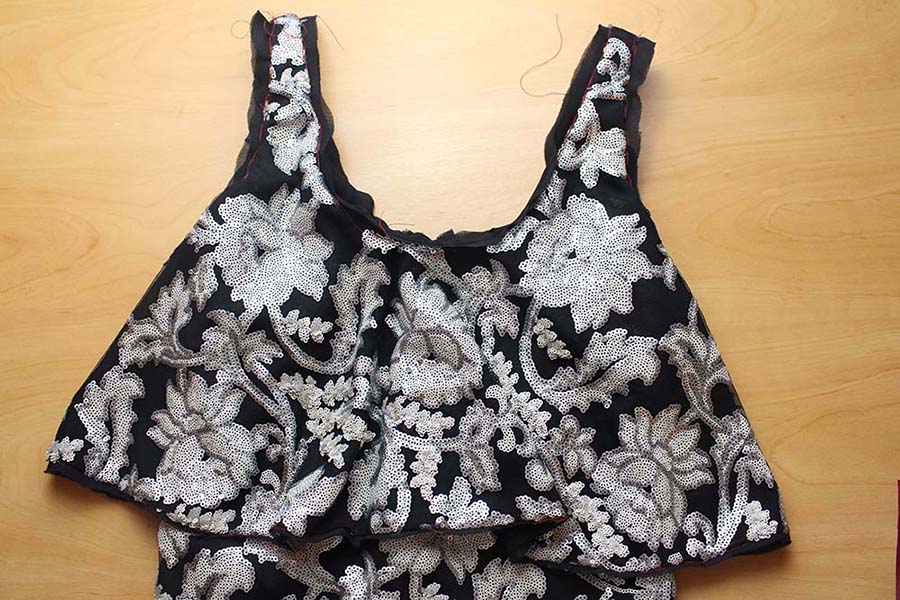
Once all the sequins are removed it’s time to start sewing. First stitch the front darts into the dress front and then stitch the dress front to the dress back at the shoulders and side seams. The binding is used to neaten the edges. The aim is to encase the raw edges inside the binding. The left over binding is used, again, later on in the construction.
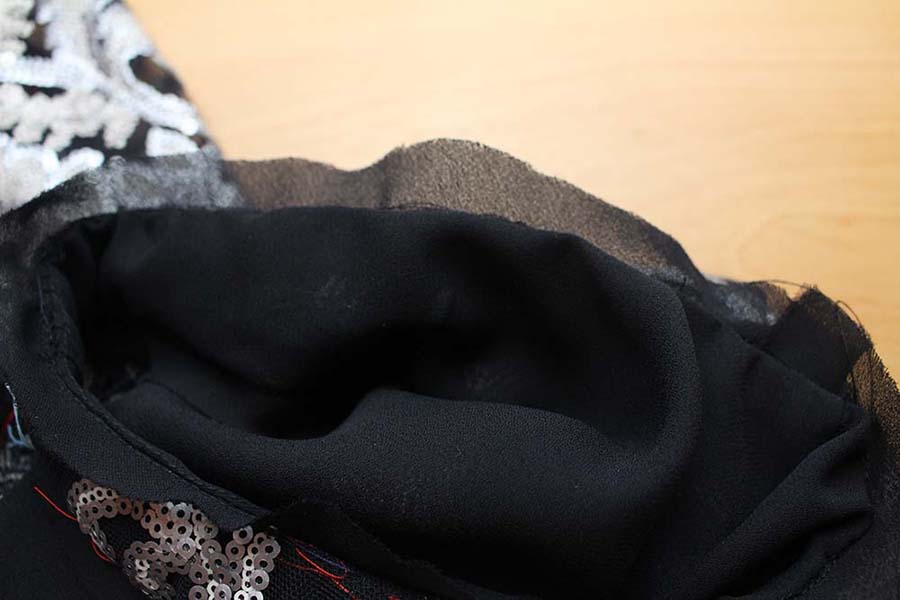
Before stitching the overlay sections together, I cut out additional lining pieces to baste to the underside to prevent to the sequins from the dress catching on the mesh of the overlay. As I was handling the fabric I kept getting the two pieces tangled, so thought adding in the extra lining would help make the dress more wearable.

Stitch the front and back overlay sections together at the shoulder and side seams. Press under 1.5 cm on the lower edge and trim this to 1 cm. Open out the hem and pin the bias strip to the lower edge, centering over crease; stitch along crease. Because I didn’t want to have a row of stitches showing on top of the sequins, I slip-stitched the lower edge of the overlay to the underlining. The lower edge of the bias strip will hang lower than lower edge of the overlay.
The next step is to baste the overlay to the dress at the neck, back and armholes. Stay-stitch neck and armhole edges ready to attach the trim.
It was after I finished the dress that I realised that I didn’t like the trims on the neck and armholes. It could be that I attached them incorrectly, or that I cut them too big. But I felt they were too obvious and took away from the simplistic style, rather than enhancing it. I completed the dress with the trims as per the instructions, but I will be cutting them down before I wear the dress again. If you would rather have a cleaner finish to the neckline and armholes you can miss out attaching the the trim. But still stay-stitch the edges to prevent them from stretching out when attaching the lining.
Moving onto the lining.
Form the dress lining in the same manner as the dress, stitching the front darts and then attaching the front and back pieces at shoulder and side seams. Machine-stitch 1.5cm from raw edge of armhole, turn in along stitching clipping as necessary so fabric lays flat. Press and trim to 1cm.
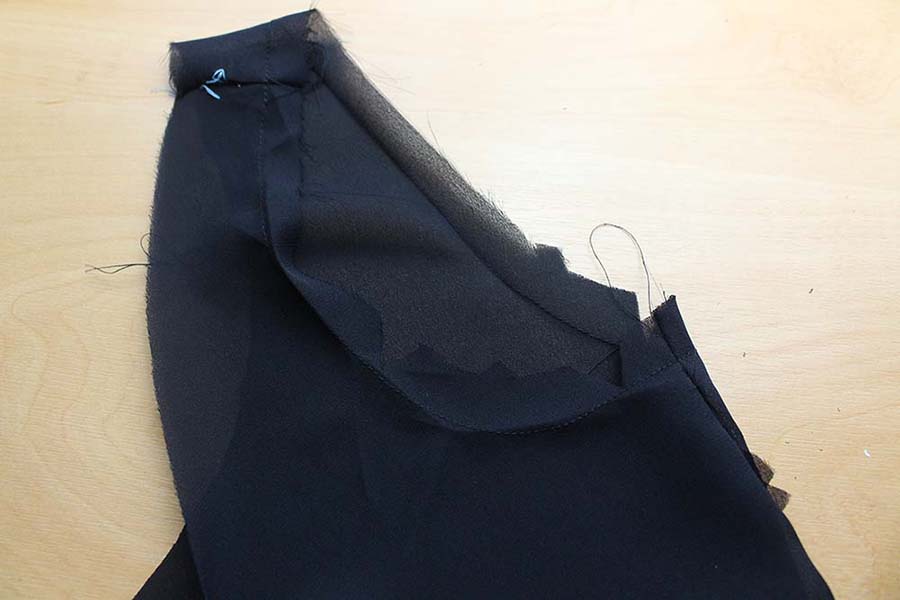
With right-sides together pin the lining to the dress, matching notches and centers. Stitch the neck edge. If you attached the trim to the dress this should stick out between the lining and fabric, not be stitch inbetween the two. Understitch lining, press and turn lining inside; keeping trim turned out. Slipstitch turned lining armhole over armhole trim.
Next step is to insert the zipper in the center back. As with the shift dress, in this series, this pattern uses an invisible zipper. The method to inserting the zipper is different on this pattern. On this pattern the zipper is inserted before the center back seam is stitched. Once the zipper has been inserted, the remainder of the center back seam is stitched. Edges are finished by encasing them in the remaining strip of binding.
Stitch the center back seam in the lining below the large circle. Turn in seam allowance on remaining edges and slip-stitch the lining to the zipper tape, keeping clear of the zipper teeth.
For the hem, and final finishing of the dress, I didn’t follow the instructions. The remaining bias strip is intended to be used on the hem of the dress in the same way it was the hem of the overlay. But I decided to leave this off of my dress.
I am a big fan of this style of dress and have many variations in my wardrobe. Now I have found this Vogue pattern I will be able to add a few more custom made overlay dresses to my SS17 wardrobe.

Thank you for taking the time to read this post. I hope you will stick around for the rest of the series. And I look forward to seeing all your makes!
Until next time.
A


 We’re thrilled to announce that we’ve partnered with Tree Nation, the platform to reforest the world & fight climate change! Home to over 90 planting projects in 33 countries, Tree Nation is a non-profit organisation that helps people & companies offset their CO2 emissions.
[…] https://www.williamgee.co.uk/10-dresses-overlay-dress/ […]