Next up in the series, the shift dress.
The shift dress has a long history. Depending on who you ask, the history will either start in the 1920s as a flipper dress or in the 1960s as Audrey Hepburn’s signature Breakfast at Tiffany’s dress designed by none other than Hubert de Givenchy.
I love shift dresses. Not only are they a quick garment to make, they are also an easy garment to wear and easy pattern to adjust and change. It is possible to use the same shift dress pattern several times and come out with a different dress every time: either by changing the type of sleeve you use, or by changing the dart positions.
Bardot Dress | Slip Dress | Maxi Dress | Shift Dress | Overlay Dress | One Shoulder Dress | Strapless Dress | Long Sleeve Dress | Cold Shoulder Dress | High Neck Dress

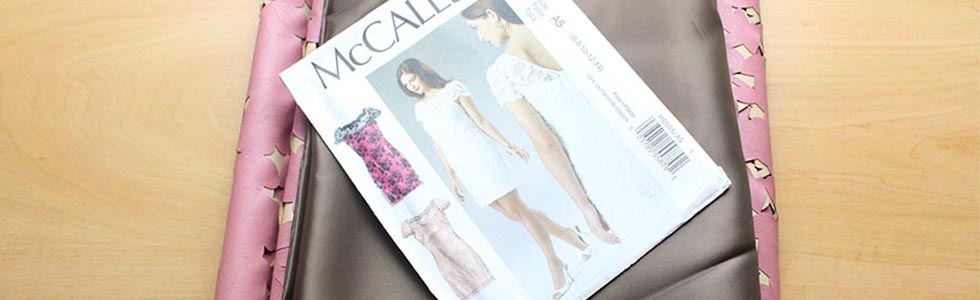
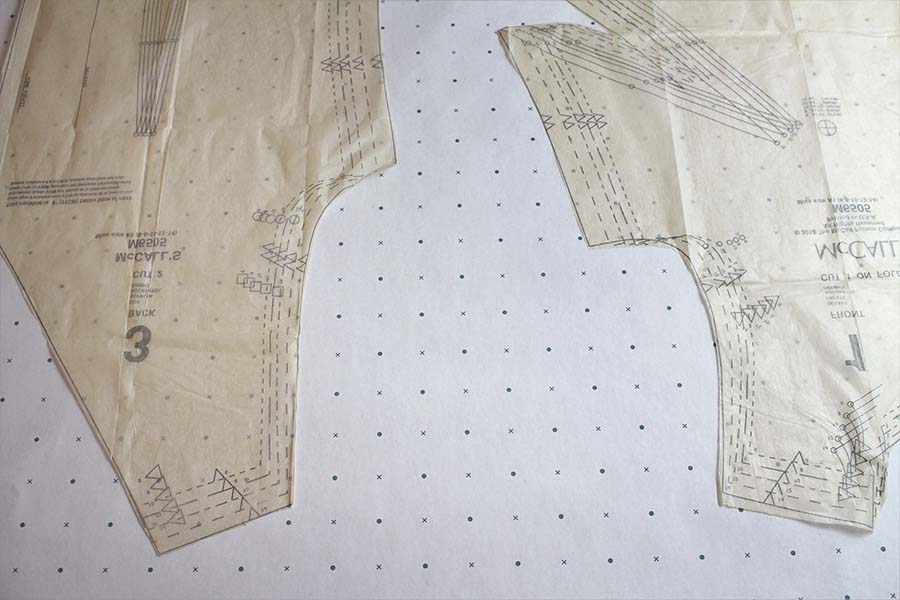
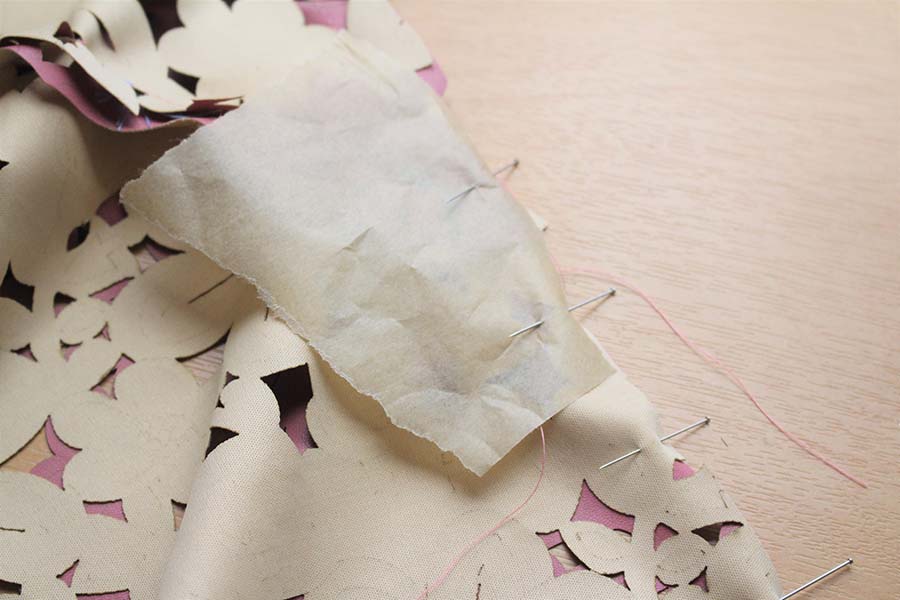
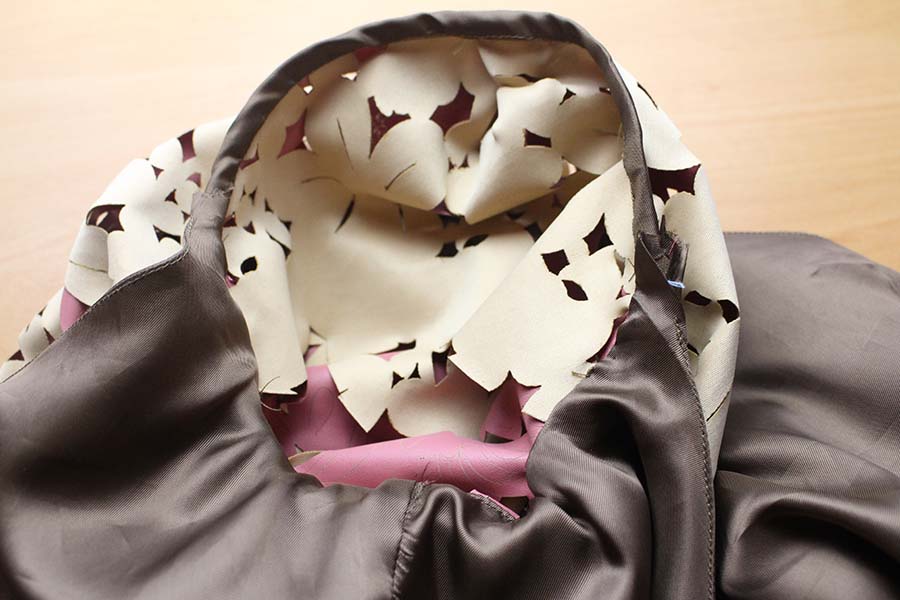
For this dress I used a McCall’s pattern (M6505). It is a basic shift dress with a lace overlay. The suggested fabric to use is novelty lace. I, however, chose to use laser cut PU fabric (2 meters). And for the lining I used 3 meters of viscose lining, to help reduce static, but you can use any suitable lining fabric. Because the dress fabric is printed, I followed the same logic as with the maxi dress; first trace out the mirror image of the front and back pattern pieces onto pattern paper, so each piece could be cut out separately to help pattern-match across seams.
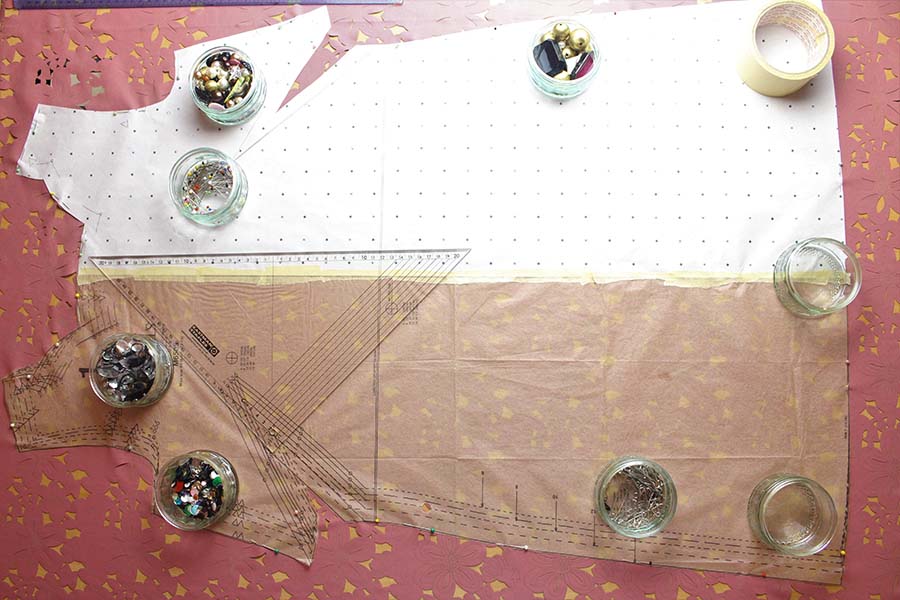
Once these were cut out I placed the centre front of the dress onto the fabric so that the large flowers ran down the centre of the dress. I used my DIY pattern weights to hold the pattern down on to the fabric. William Gee sell Prym fixing weights as a suitable alternative!
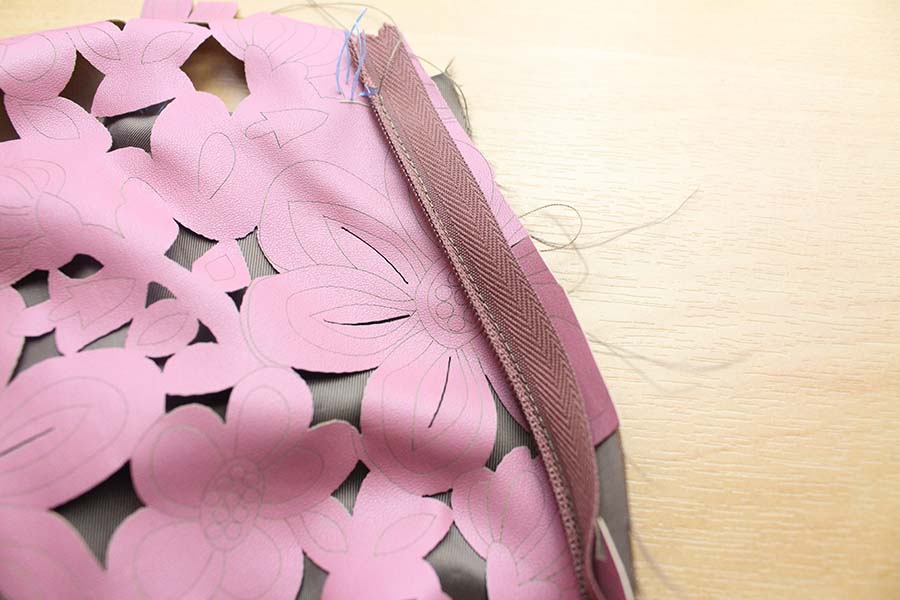
I transferred the marking from the pattern to the fabric using tailors tacks and was ready to start sewing. This pattern builds on the French seams we have been using throughout the series, by introducing the front dart formed with a French seam. It is exactly the same as sewing a seam. Stitch the dart wrong sides together, 5mm away from raw edge. Then stitch another row 5mm from folded edge, right sides together, encasing the raw edges within the dart. As my fabric is bulkier than lace, it was better to sew a regular flat dart, so I did not get to use this new technique. But will definitely keep it in mind to use on other projects that have open front darts.
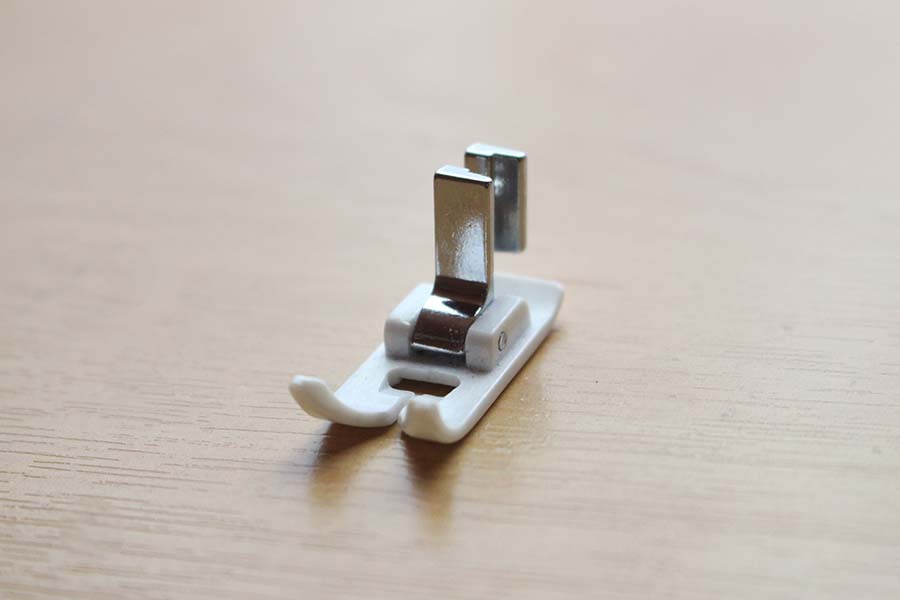
To help get additional control on my PU fabric I used a plastic machine foot, which helped to reduce fabric slippage and sticking versus using a metal sewing foot. On the parts of the dress where I stitch on the right side of the fabric- over the darts at the side seam- I placed a piece of grease-proof paper between the fabric and machine foot. If I didn’t do this the machine foot would have got stuck to the PU. Once I had sewn the seam, I carefully ripped the grease-proof paper off.
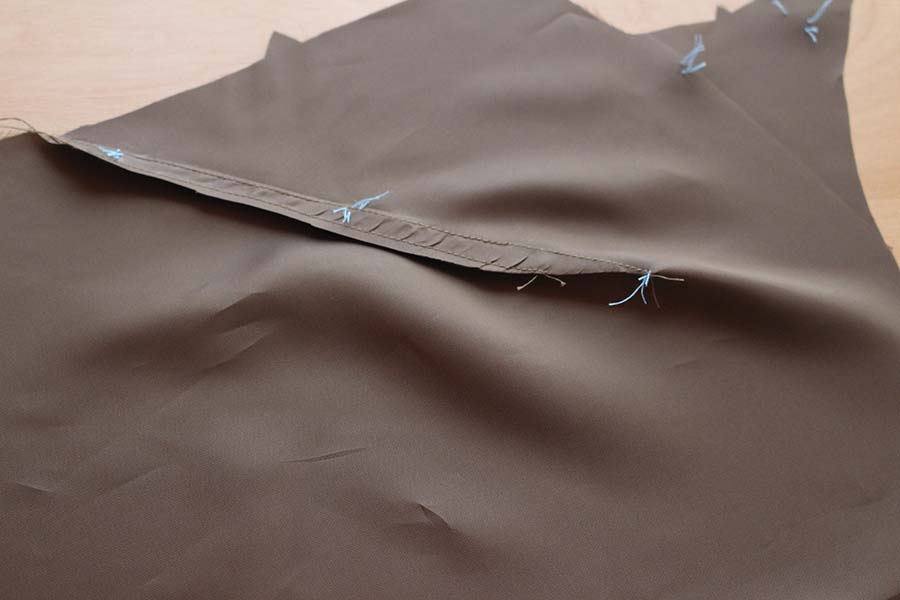
The first instruction on the pattern is to reinforce key stress points on the front and back of the dress. These stitches are very important and will come into play when attaching the sleeves a little later on.
Because of the fabric I chose to work with, I made the dress with standard flat seams, rather than the French seams, as per the instructions. And because pinning PU fabric leaves a permanent hole, I made sure all the pinning was within the seam allowance.
I liked the raw end of the fabric, so chose to leave off the neck trim and facing (for both the front and back of the dress).
When it came to constructing the back of the dress, I was confused by the apparent missing instruction to sew the back darts. After making the dress, I can say it is a good thing that I didn’t go off on my own creative flare and sew them in! As instructions on how and (more crucially) when to sew them is included in the instructions, it just comes later on in the construction.
Moving onto the construction of the lining and underlining…
To help you know one from the other I would recommend adding labels, by pinning a piece of paper to each piece to show which section is for which part, as it can get a bit confusing. The instructions say to first stitch the underlining, which is the part that will sit against the dress once the dress is complete, and the lining will sit against your body.
Stitch the front dart as you usually would and then stitch a second row 5/6mm into seam allowance and trim close to the second row of stitches.
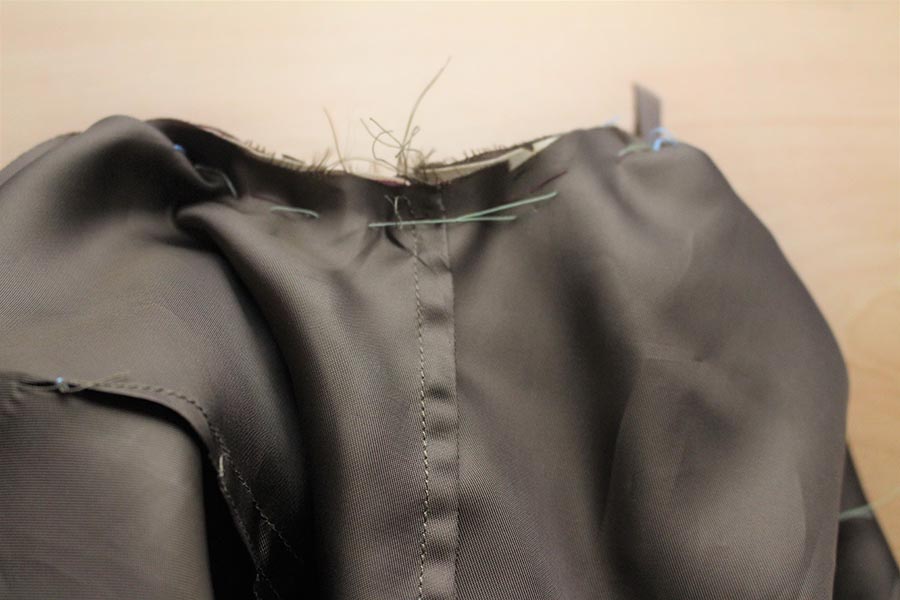
Stitch the back underlining as you did the dress back. First stitch the centre back seam leaving open above the square and leaving the back darts open. Instructions on when to sew these will come later. Stitch the front underlining to the back underlining at sides. I chose to use French seams on my lining and underlining seams, to keep the raw edges neatly tucked away. Repeat the same steps for the front lining as the front underlining. For the back lining you will need to stitch the back darts first, and then stitch the centre back seam in the same way as the underlining and attach to the front lining at side seams. At this point you can remove your labels, as long as you remember the lining has back darts and the underlining does not.
To join the lining and underlining you will need to pin right sides together and stitch the front neck edge, ending 13mm from triangles and stitch the back neck edge, ending 13mm from small circles. Making sure to match marking and side seams, now trim the seams and understitch lining. Turn this right side out and press.
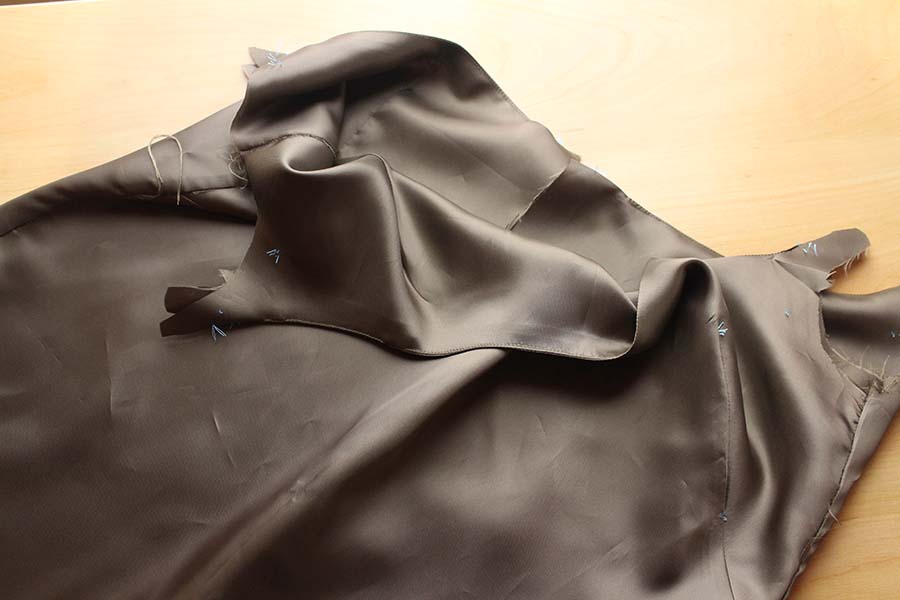
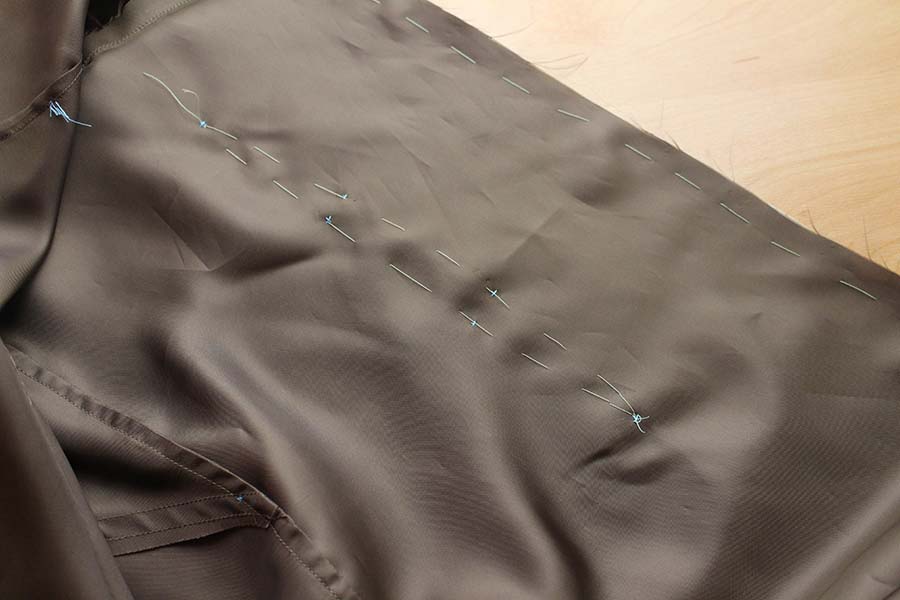
To attach the underlining to the dress. You need to open out the lining. Pin and baste the right side of the underlining to the wrong side of the dress at the armhole and centre back edges. Basting is an important step, it helps to make sure the underlining is attached to the dress correctly. Basting the underlining to the dress will reduce the movement of the underlining when stitching the interior parts of the dress. Once the underlining is basted to the dress you can stitch the missing back darts. First baste the underlining to the wrong side of the dress along the dart lines, making sure to match the markings of the two layers of fabric. Stitch and press darts toward the centre.
Moving onto the sleeves…
I chose to replace the gathers at the sleeve cap with two pleats and left off the sleeve trim as I was happy with the raw edge of the fabric.
The sleeve of this dress is a cap sleeve. Meaning it does not have an underarm seam (the sleeve cap is attached to the armhole using binding). And the part of the armhole that would typically be attached to the underarm is replaced with understitched lining. The key to forming the armholes is patience and accuracy of the reinforced stitching, done at the beginning of the construction.
I unfortunately clipped my reinforced stitching on one of the armholes, but fortunately I was using a robust fabric so it didn’t have too much of an impact.
When stitching the armhole lining, make sure you take your time! You will need to form the seam between two layers of fabric, which makes it very easy to accidentally get the wrong part of the dress sewn into the seam. I added in extra basting when attempting the sleeve seams and the armhole lining to help keep the sections of fabric not intended to be sewn out of the way.
This is the first dress in the series that requires a zipper fastening.
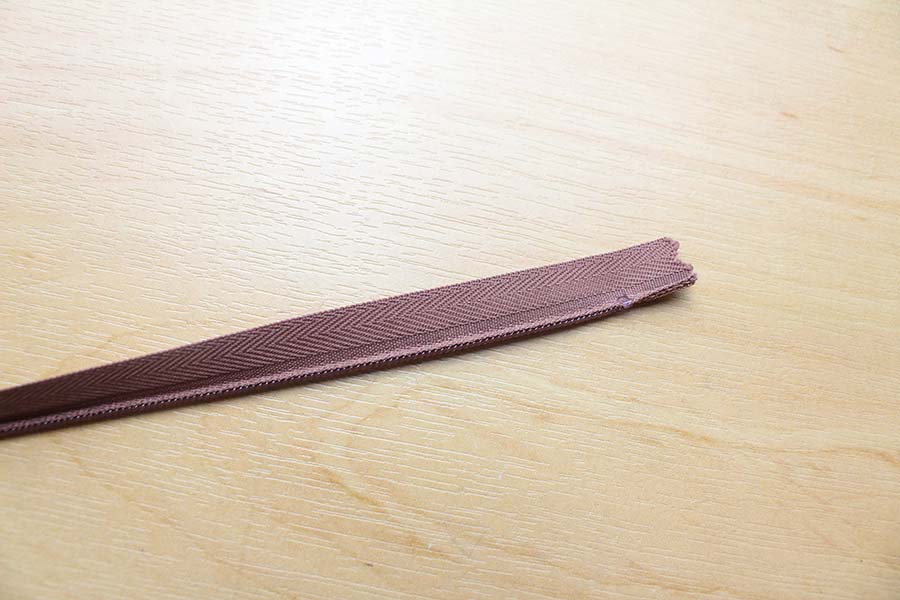
In this instance it is an invisible zipper. You will need to use an invisible zipper foot for this and the zipper needs to be 20/22” long. A really useful tip, that helps when sewing with an invisible zipper, is to first iron – on a low heat – the zipper so that the teeth are opened out away from the zipper tape.
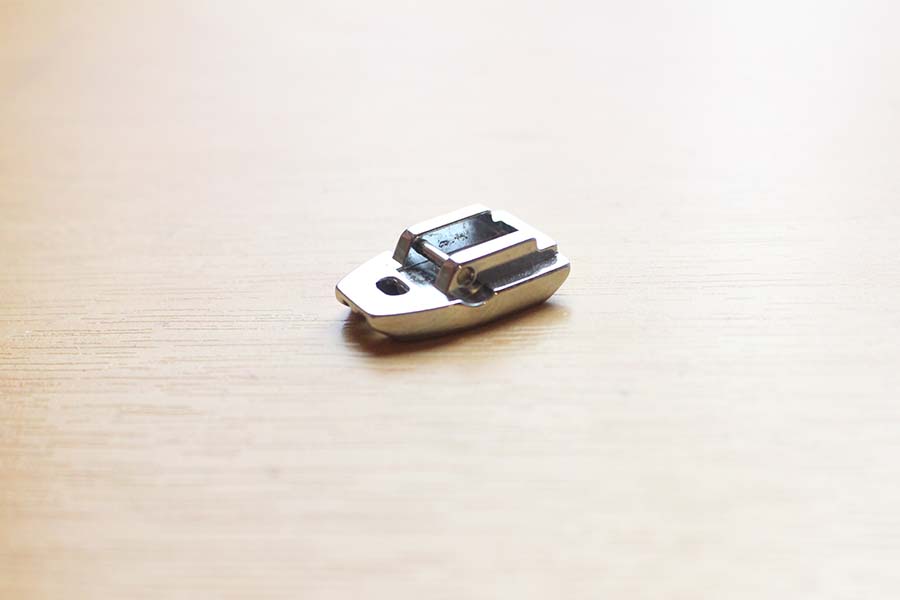
By exposing the groove, behind the teeth, of the zipper; it gives you a clear line to sew along as well as making it easier for the zipper foot to sit on top of the teeth. Which means it is less likely that the needle will get stuck in the teeth of the zipper. And makes it easier to accurately stitch the zipper so that it is fully encased in the seam allowance, hence making it invisible.
To insert the zipper you will need to open out the lining and pin the zipper tape to the right side of the left back opening edge. The zipper teeth need to sit on the seam line, which is easier to place if the tip to iron the teeth outwards has been followed. Stitch down to large circle. Close the zipper and pin the remaining side to the right back opening, open zipper and stitch down to large circle.
Once the zipper is inserted, you will need to sew the small gap at the base of the zipper closed. Hand stitch the ends of the zipper to the seam allowance, to anchor it to the dress. Fold over the seam allowance on the lining and slipstitch this to the zipper tape, making sure to keep the lining clear of the zipper teeth.
All that is left to do is to attach the back neck binding, though on this occasion I chose to leave it off. Finally, finish the hem of the dress. I went off on my own creative flare to finish the hem as I wanted to be able to show off the laser cut pattern on the fabric at the hem, so the hemmed lining and underlining is shorter than in the pattern instructions. Once the hem was pressed the dress was good to go!

I love this dress. Pairing it with chunky open toe sandals gives it a nod to the era when the mini-shift really took off.
If you are as much a fan of this dress as I am. Show us your makes on the William Gee Facebook page or on Twitter using the @williamgeeUK handle and #10dresses.
Thank you for taking the time to read this post. I hope you will stick around for the rest of the series. And I look forward to seeing all your makes!
Until next time.
A


 We’re thrilled to announce that we’ve partnered with Tree Nation, the platform to reforest the world & fight climate change! Home to over 90 planting projects in 33 countries, Tree Nation is a non-profit organisation that helps people & companies offset their CO2 emissions.
[…] McCalls pattern M6505 to make a dress that I “absolutely love”. My first creation was a PU Lazer cut dress, I made in December 2016 for a blog series I did with William […]