Hi everyone, I’m Andrea and in the run up to the festive season I’m going to show you some quick win dresses that you can make to wear to any social event you have planned in the coming weeks. The dresses will get progressively harder, either the fabric or pattern or both. But I hope you find the suggestions useful and get involved by making your own versions and sharing them with us all.
A little about me. I’m a self-taught seamstress and am the new recruit to the William Gee blogging team. I have been sewing for about 8 years and have taught myself to make everything from a jersey tee to a men’s blazer. I’m not an expert I still have a lot to learn, but I love sewing and want to share my makes and experience with others. So when the William Gee opportunity came about I could not resist.
So back to the reason why you are here. The Dress.
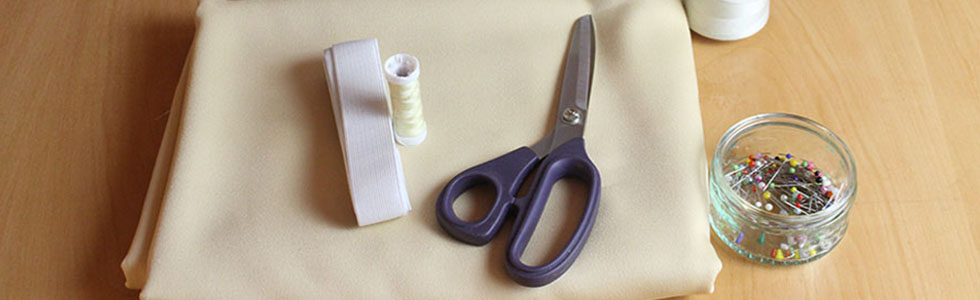
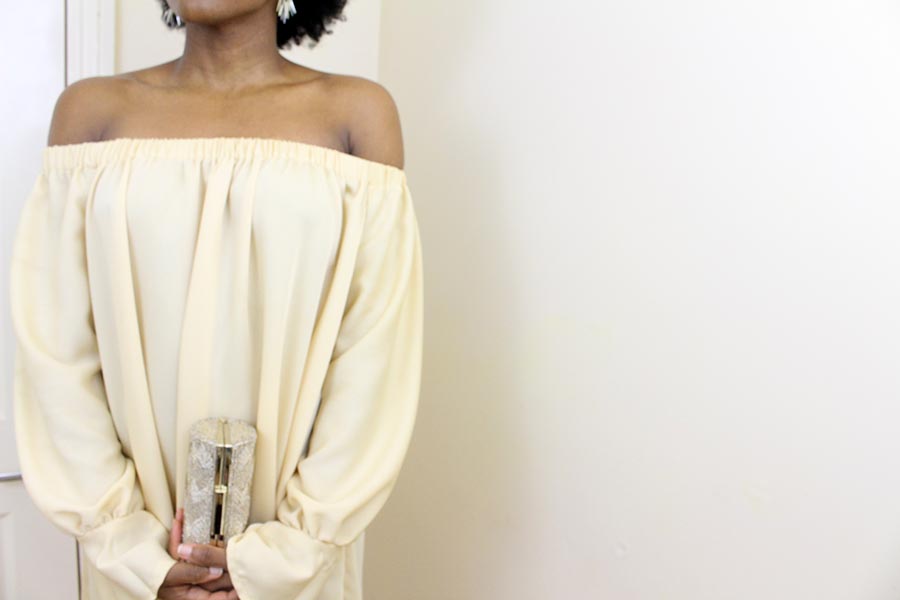
Dress number 1 is the Bardot dress. Every time I hear the word Bardot, I think Brigitte Bardot. How true it is that the neckline was named after her I am unsure, but it is a great marketing/PR stunt. The pattern I used to make this dress was Simplicity 8124, it’s a pattern by Cythia Rowley. I love this pattern- it is so easy to use and this dress took me 6 hours to make from start to finish, including cutting out the fabric, pressing, hemming etc. And all you need to make it is 3 metres of fabric – any fabric – at least 115cm wide, 160cm of 25mm wide elastic, thread, pins, scissors and you are ready to get going.
Dress 1: Bardot Dress | Dress 2: Slip Dress | Dress 3: Maxi Dress
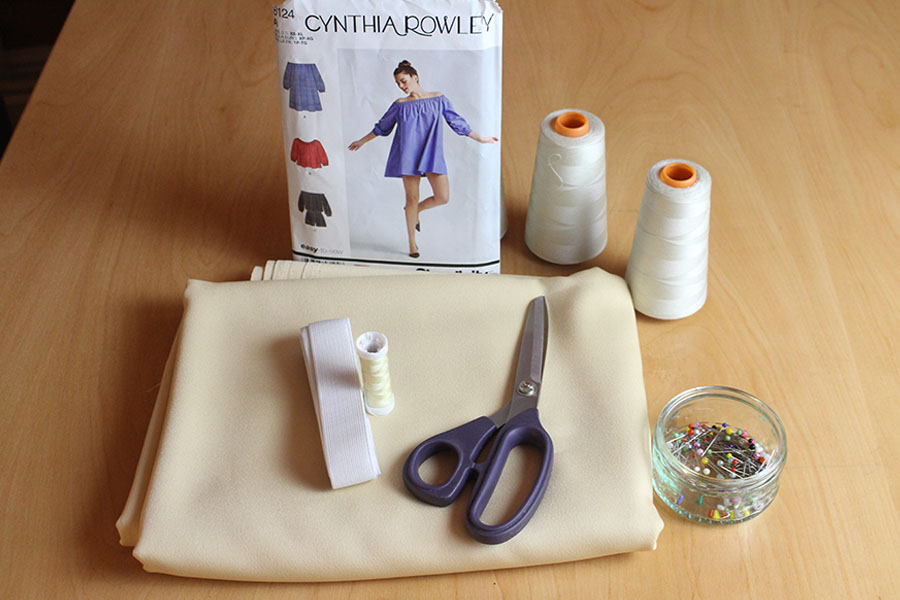
For this version I used a poly crepe in pale gold.
After you have cut out the front and back pieces, on the fold, and the sleeve pattern. You will need to cut your elastic. One piece for the neckline and two pieces for each of the sleeves, to be used to form the cuff. I didn’t cut elastic for the sleeves as I decided to do an alternative finish for the cuff.
Once all your pieces are cut out, you can get sewing.
Before I start sewing I always use some scrap fabric to test out my tension on my sewing machine and overlocker. That way I can make the necessary adjustments before working on the final project.
First, you want to join your front and back pieces together at the side seams, and then sew the under seam of the sleeve. Don’t forget to press your seams. When ironing on delicate fabrics (or fabrics you are unsure if you will burn/damage with the iron), place a pieces of greaseproof paper between the iron and the fabric to get a crisp press.
Now you want to sew the armhole. You will need to turn the sleeve right side out and pin it – right side to right side – to the bodice.
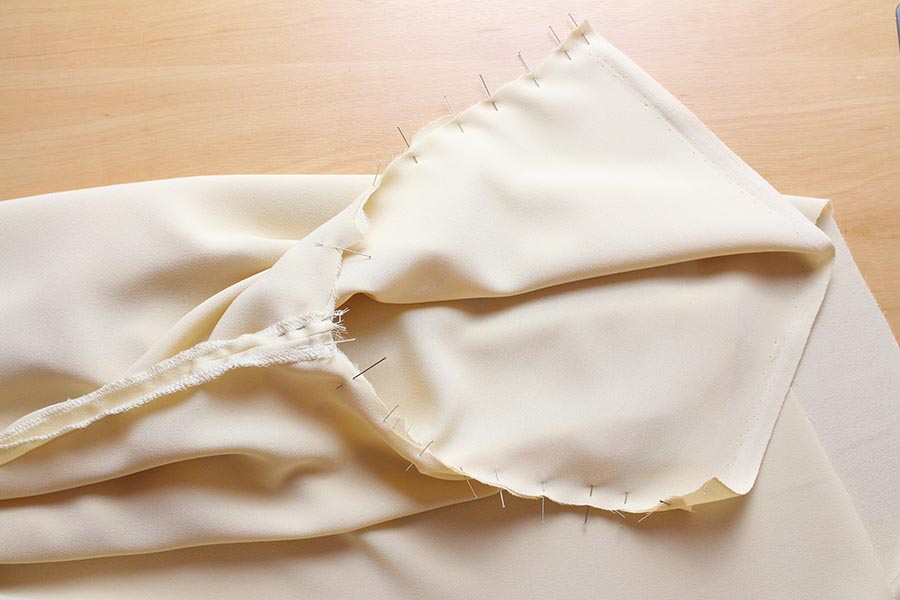
Sew the armhole seam and press the seam towards the sleeve. To prevent the seam from catching when inserting the elastic, baste the seam to the body of the dress. Remember to remove the stitching once the dress has been completed.
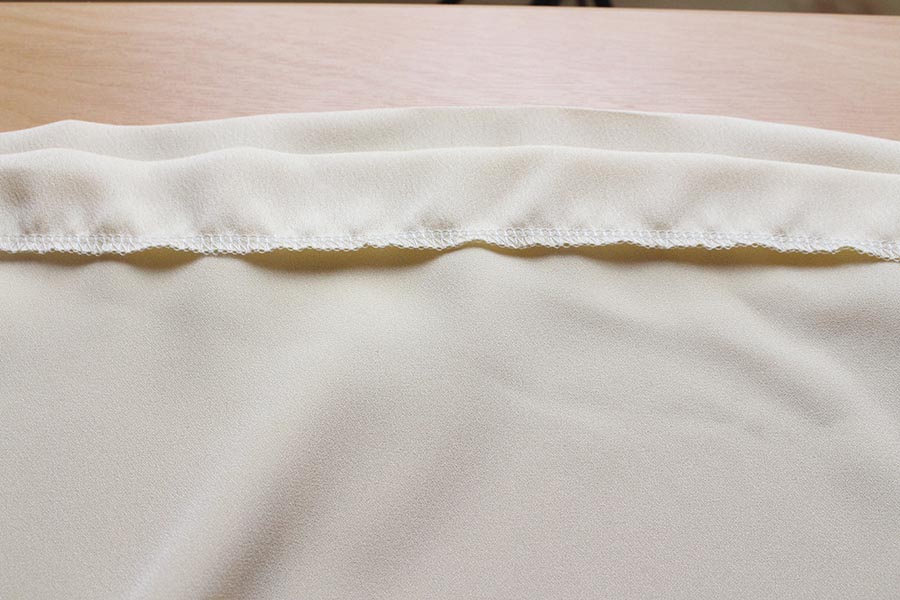
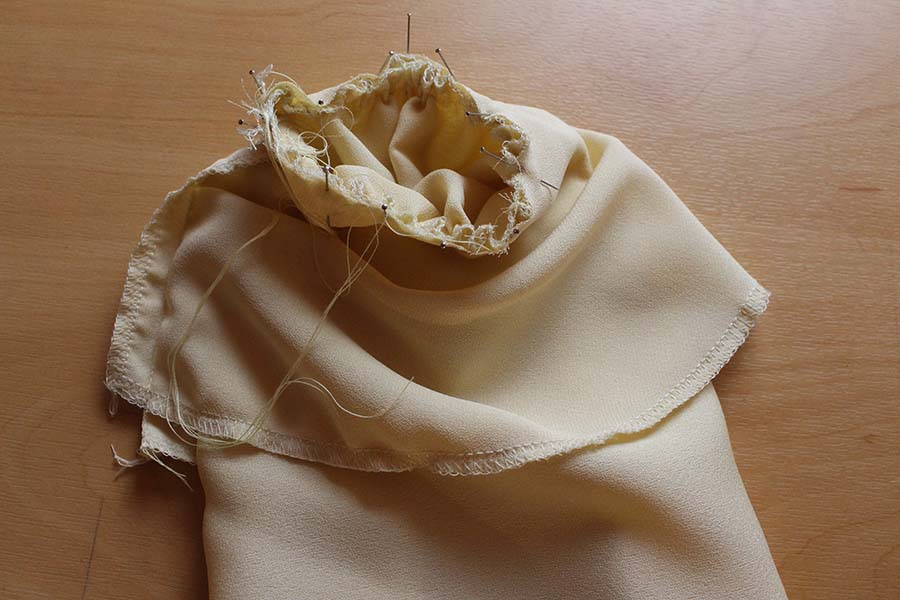
Now you are ready to make the elastic casing. Fold the top of the neck and armhole edge over by 2.8cms and press, and then fold in 5mm to neaten the edge. Stitch along the fold, close to the edge, leaving a gap open to insert the elastic. I used my overlocker to neaten the raw edge first, to give it an additional finish and make sure no threads get caught as I pulled the elastic through.
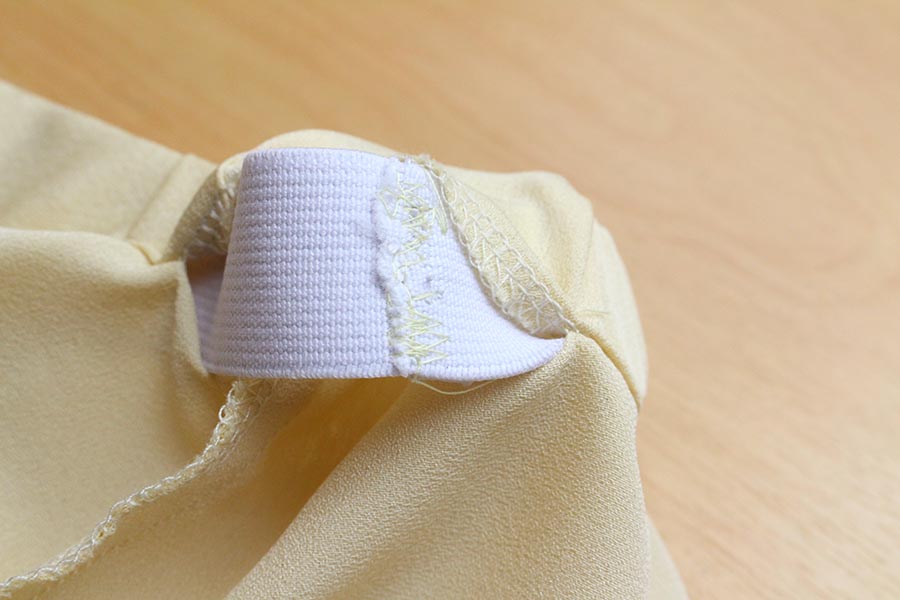
Once the elastic is inserted you will need to secure it with a zigzag stitch. A zigzag stitch will secure the elastic and still give it room to stretch out. I would recommend getting fairly ridged elastic, such as anti-twist elastic. It’s harder to pull through the dress because it doesn’t bend and fold as easily. But that is what will help to keep it’s shape in the long run after a few wears and washes.
If you cut out two pieces of elastic for the cuff. You will need to follow the same steps for the neckline. I chose not to do elasticated cuffs as I felt it gave the dress a casual look, so instead I created a flute cuff and this is how:
Measure the width of the base of the sleeve.

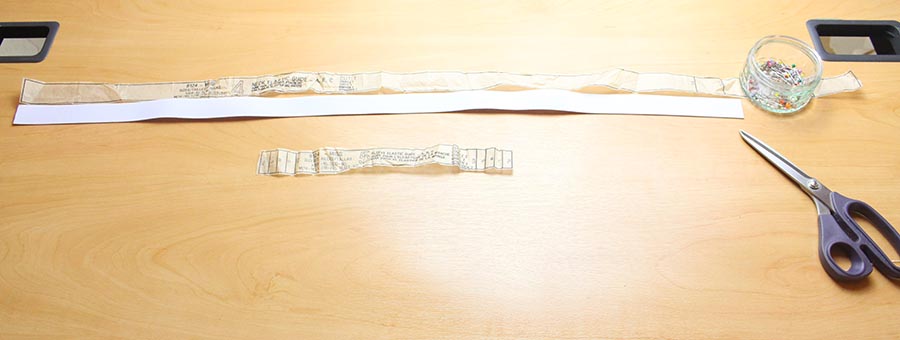
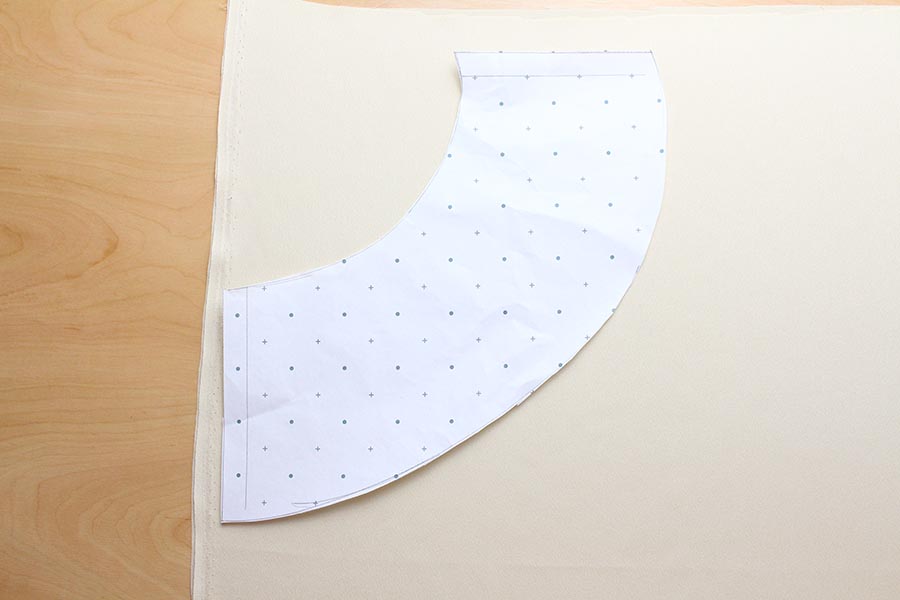
Find the middle of the width and draw a straight line down, to the complete length you want the cuff to be, and mark the middle of that line. Using the cross point as the pivot draw a curved line from the halfway point on the length up to the width.
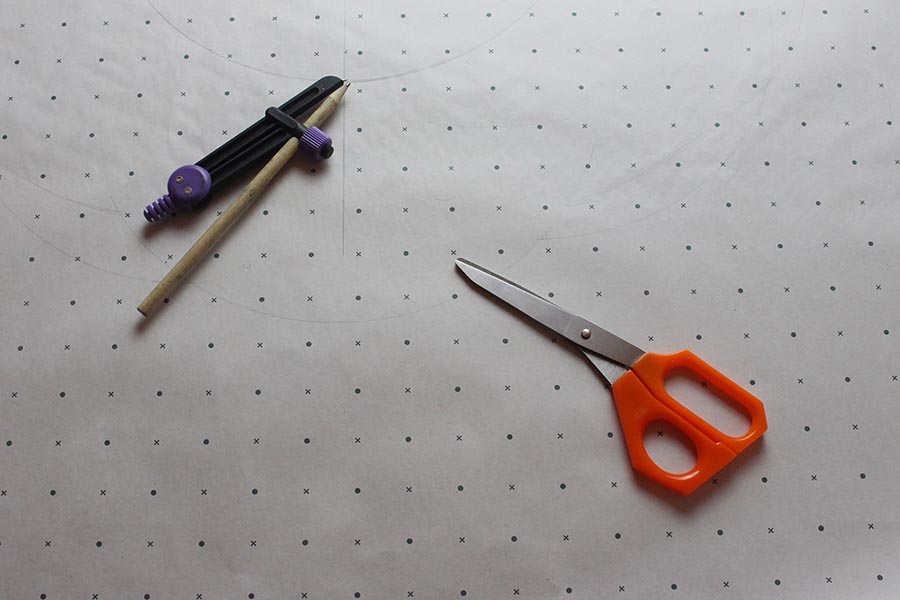
Draw additional curved lines to join the two end points of the top line. Passing through the base of the length line. Then cut this out.
Once cut out fold in half. Cut through the fold line and retrace one half of the curve onto another piece of pattern paper. Add the seam allowance at each straight edge and neaten the bottom curve. Making sure the two straight edges measure the same length.
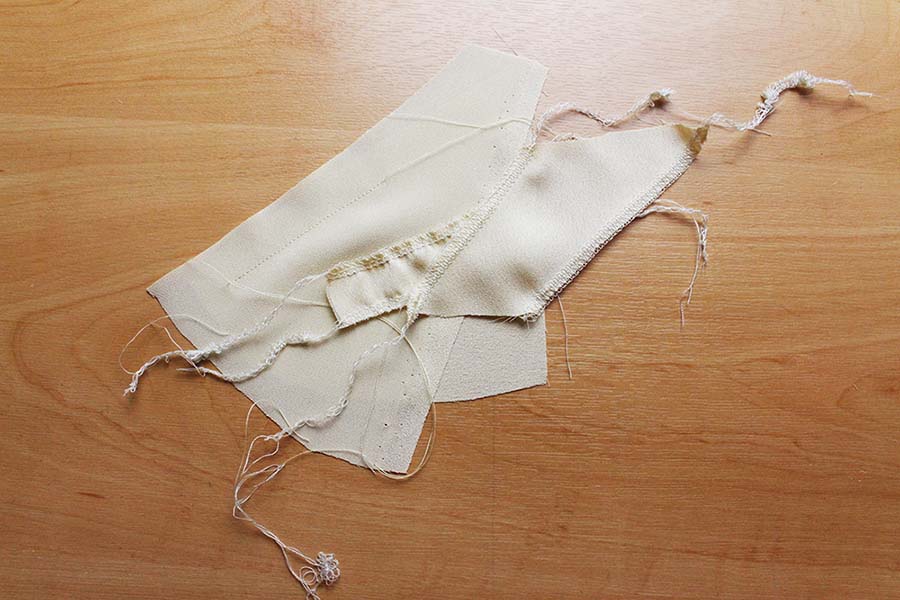
Cut this out and then pin to your chosen fabric. Making sure it is placed to cut on the bias.
Neaten the top and bottom edges first and then sew the side seams together.
Stitch two rows of gathering stitches at the bottom edge of the sleeve. Turn the cuff right side out and slip over the sleeve, matching side seams and edges. Adjust the gathers so the sleeve fits into cuff. Pin, baste and then stitch.
Press the seam towards the cuff.
Turn up 1 cm of the bottom of the cuff and press. Stitch close to the edge of the cuff, easing fullness as necessary.
For the hem of the dress, turn up 2.5cm at the bottom edge. Press and then turn down 5mm at the raw edge, press and stitch close to fold. I neatened my raw edge with the my overlocker before folding down to secure the hem.
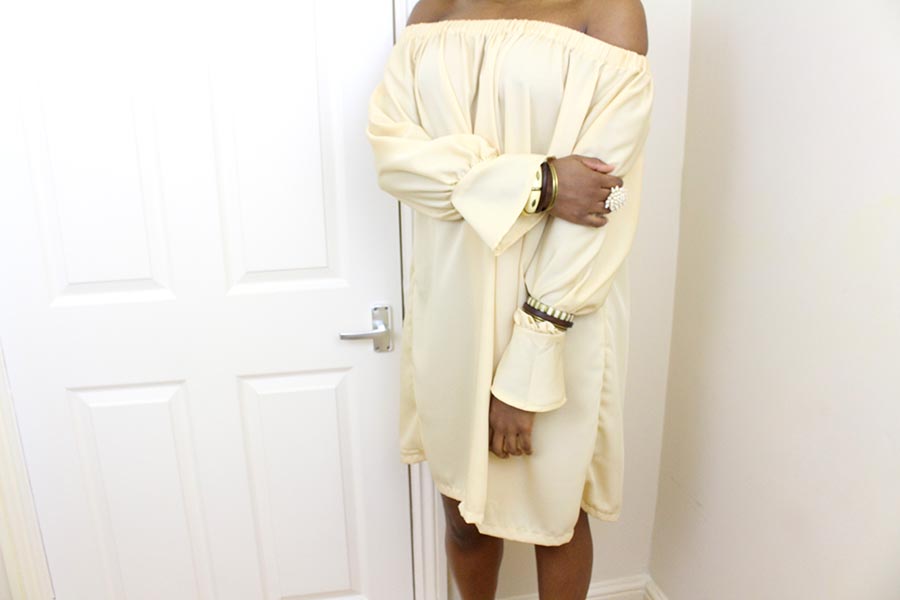

There you have it, your brand new Bardot dress ready to wear in 6 hours or less. The great thing about this style of dress it that it can be easily dressed up or down and it is super comfortable. For the more advanced seamstresses among us, this particular pattern is very easy to manipulate, and it is possible to fully customise it to make a truly unique piece. This is the second time I have used this pattern; the first time I made this dress I modified the sleeves to be cape sleeves and I think the next time I make it I might change the front to have a faux placket.


 We’re thrilled to announce that we’ve partnered with Tree Nation, the platform to reforest the world & fight climate change! Home to over 90 planting projects in 33 countries, Tree Nation is a non-profit organisation that helps people & companies offset their CO2 emissions.